


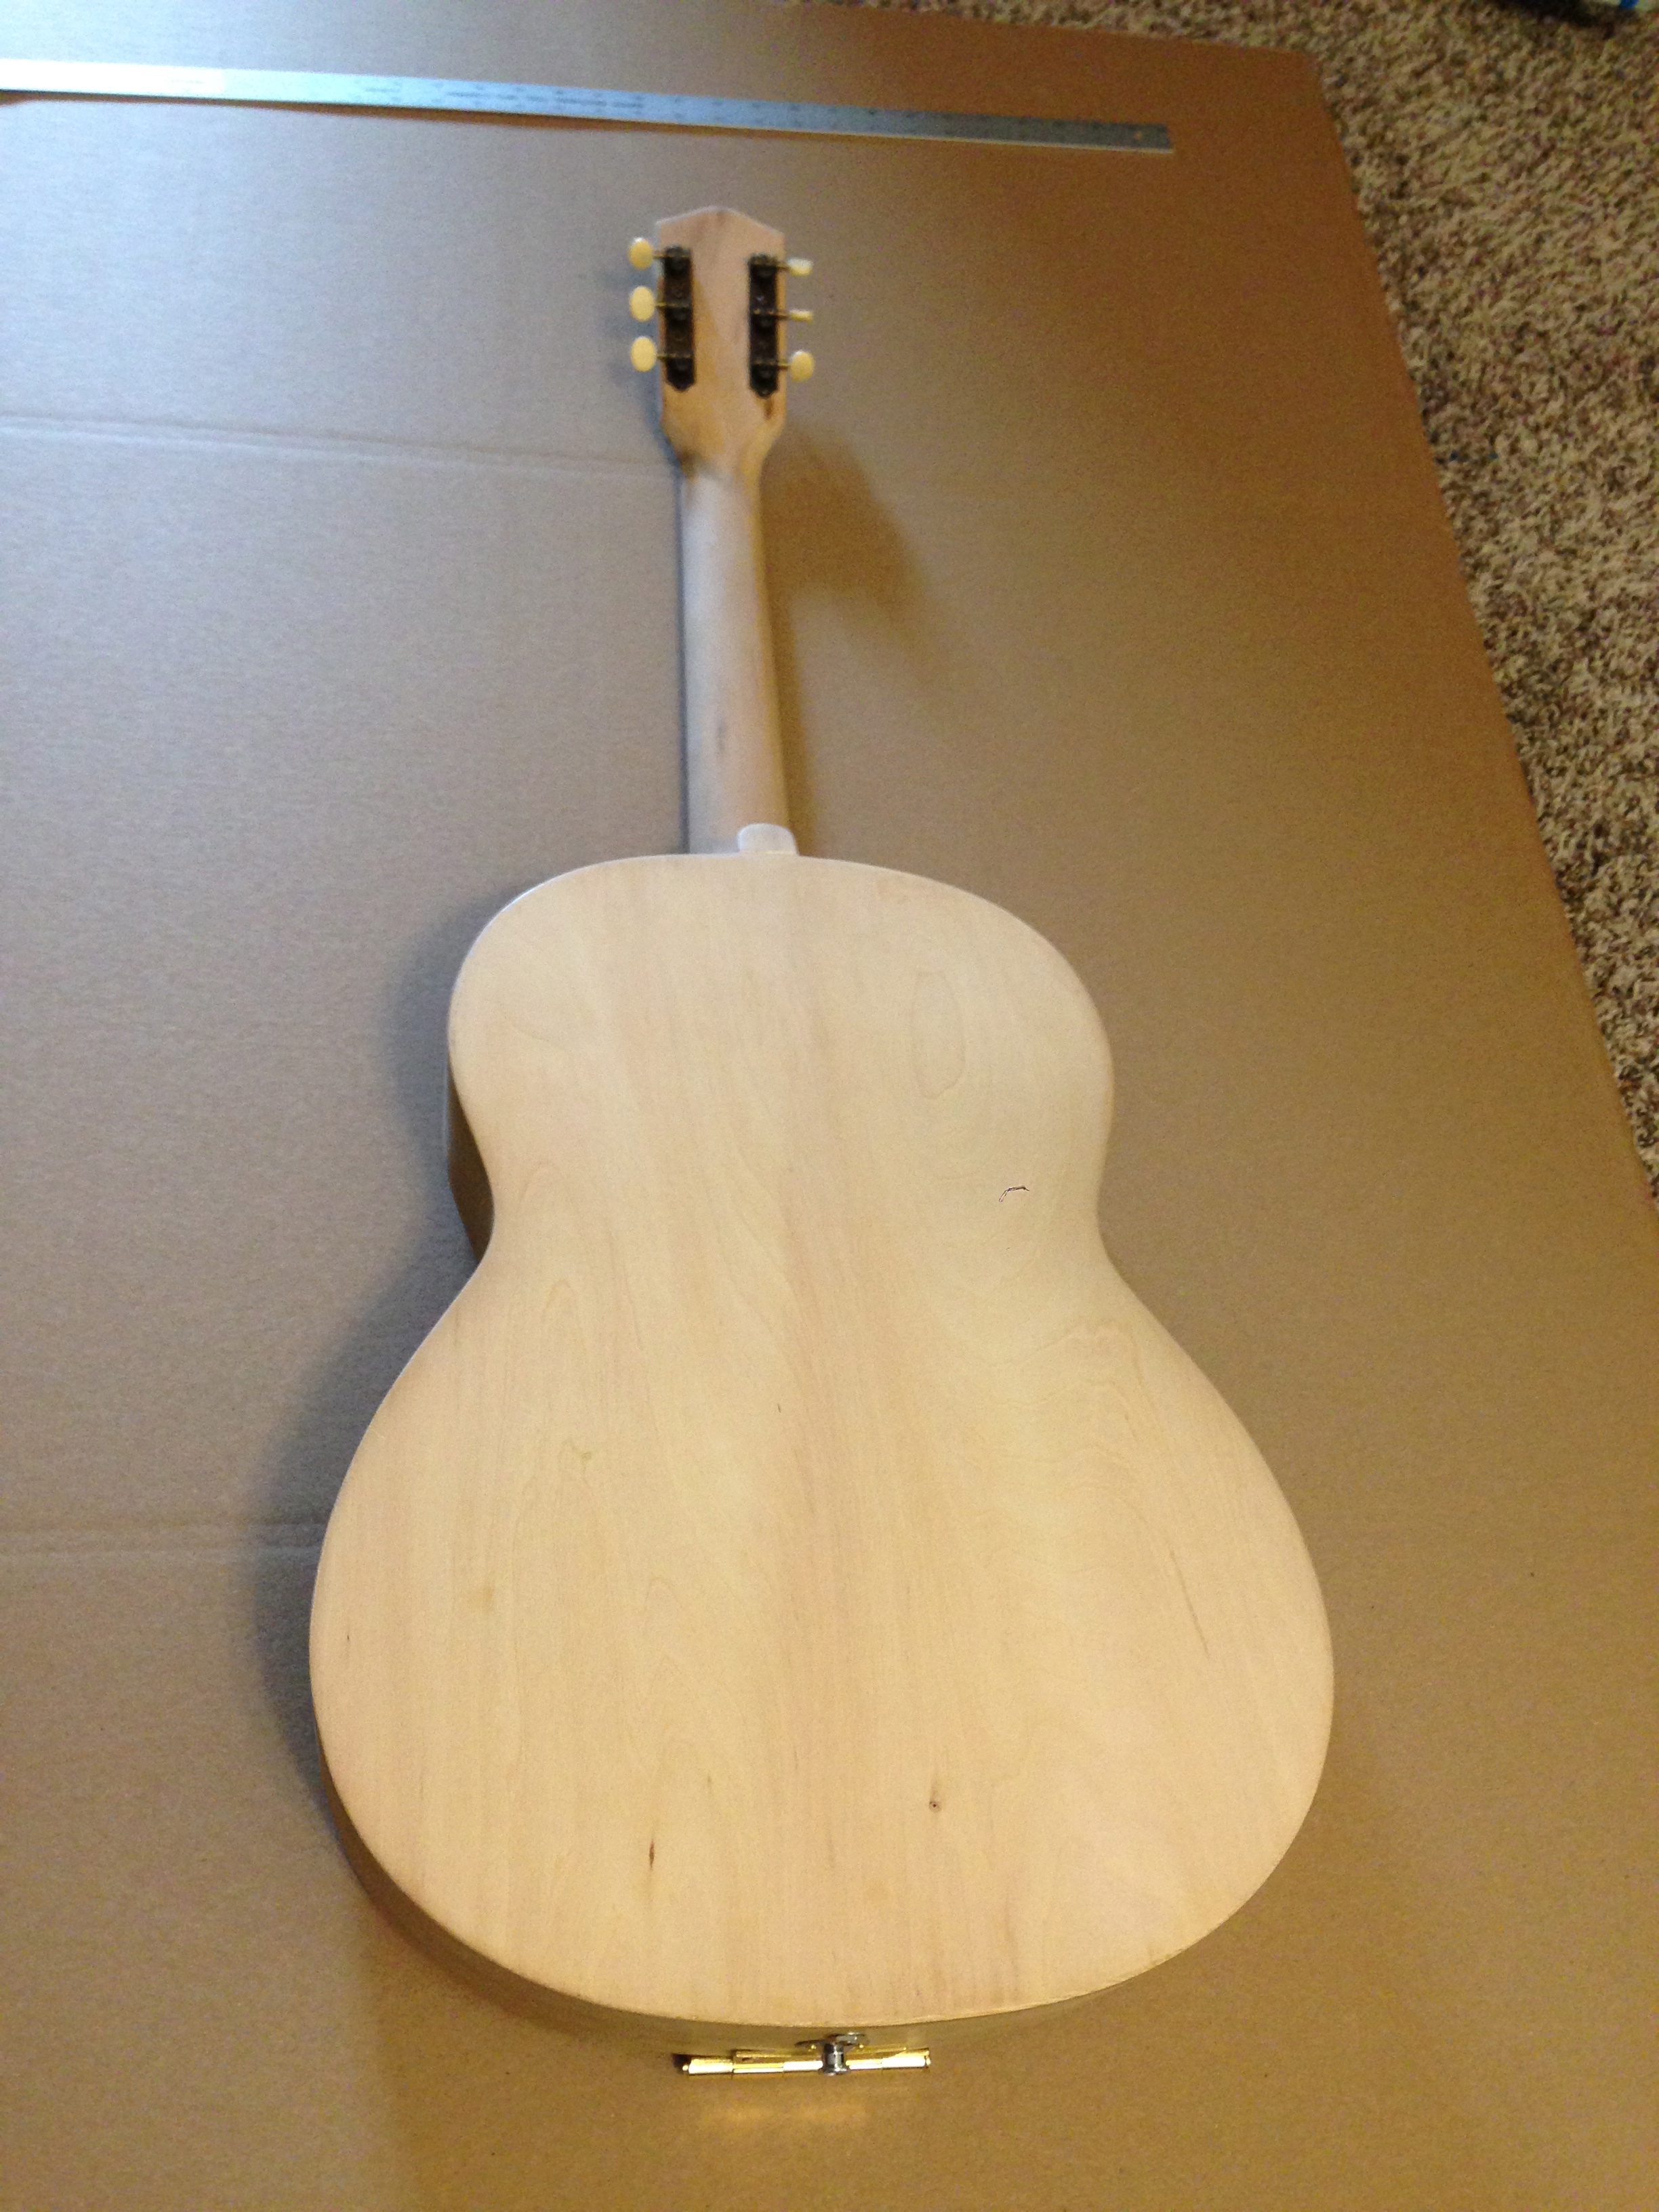
After completing the resonator guitar project, I set out to find a case for it. It was difficult to find a reasonably priced guitar case, so I thought of making something distinctive out of wood. Then, I considered how duct tape could be used as a primary building material—this case is the product of that notion.
It took seven rolls of duct tape, one large 2-ply box, and a length of chain.
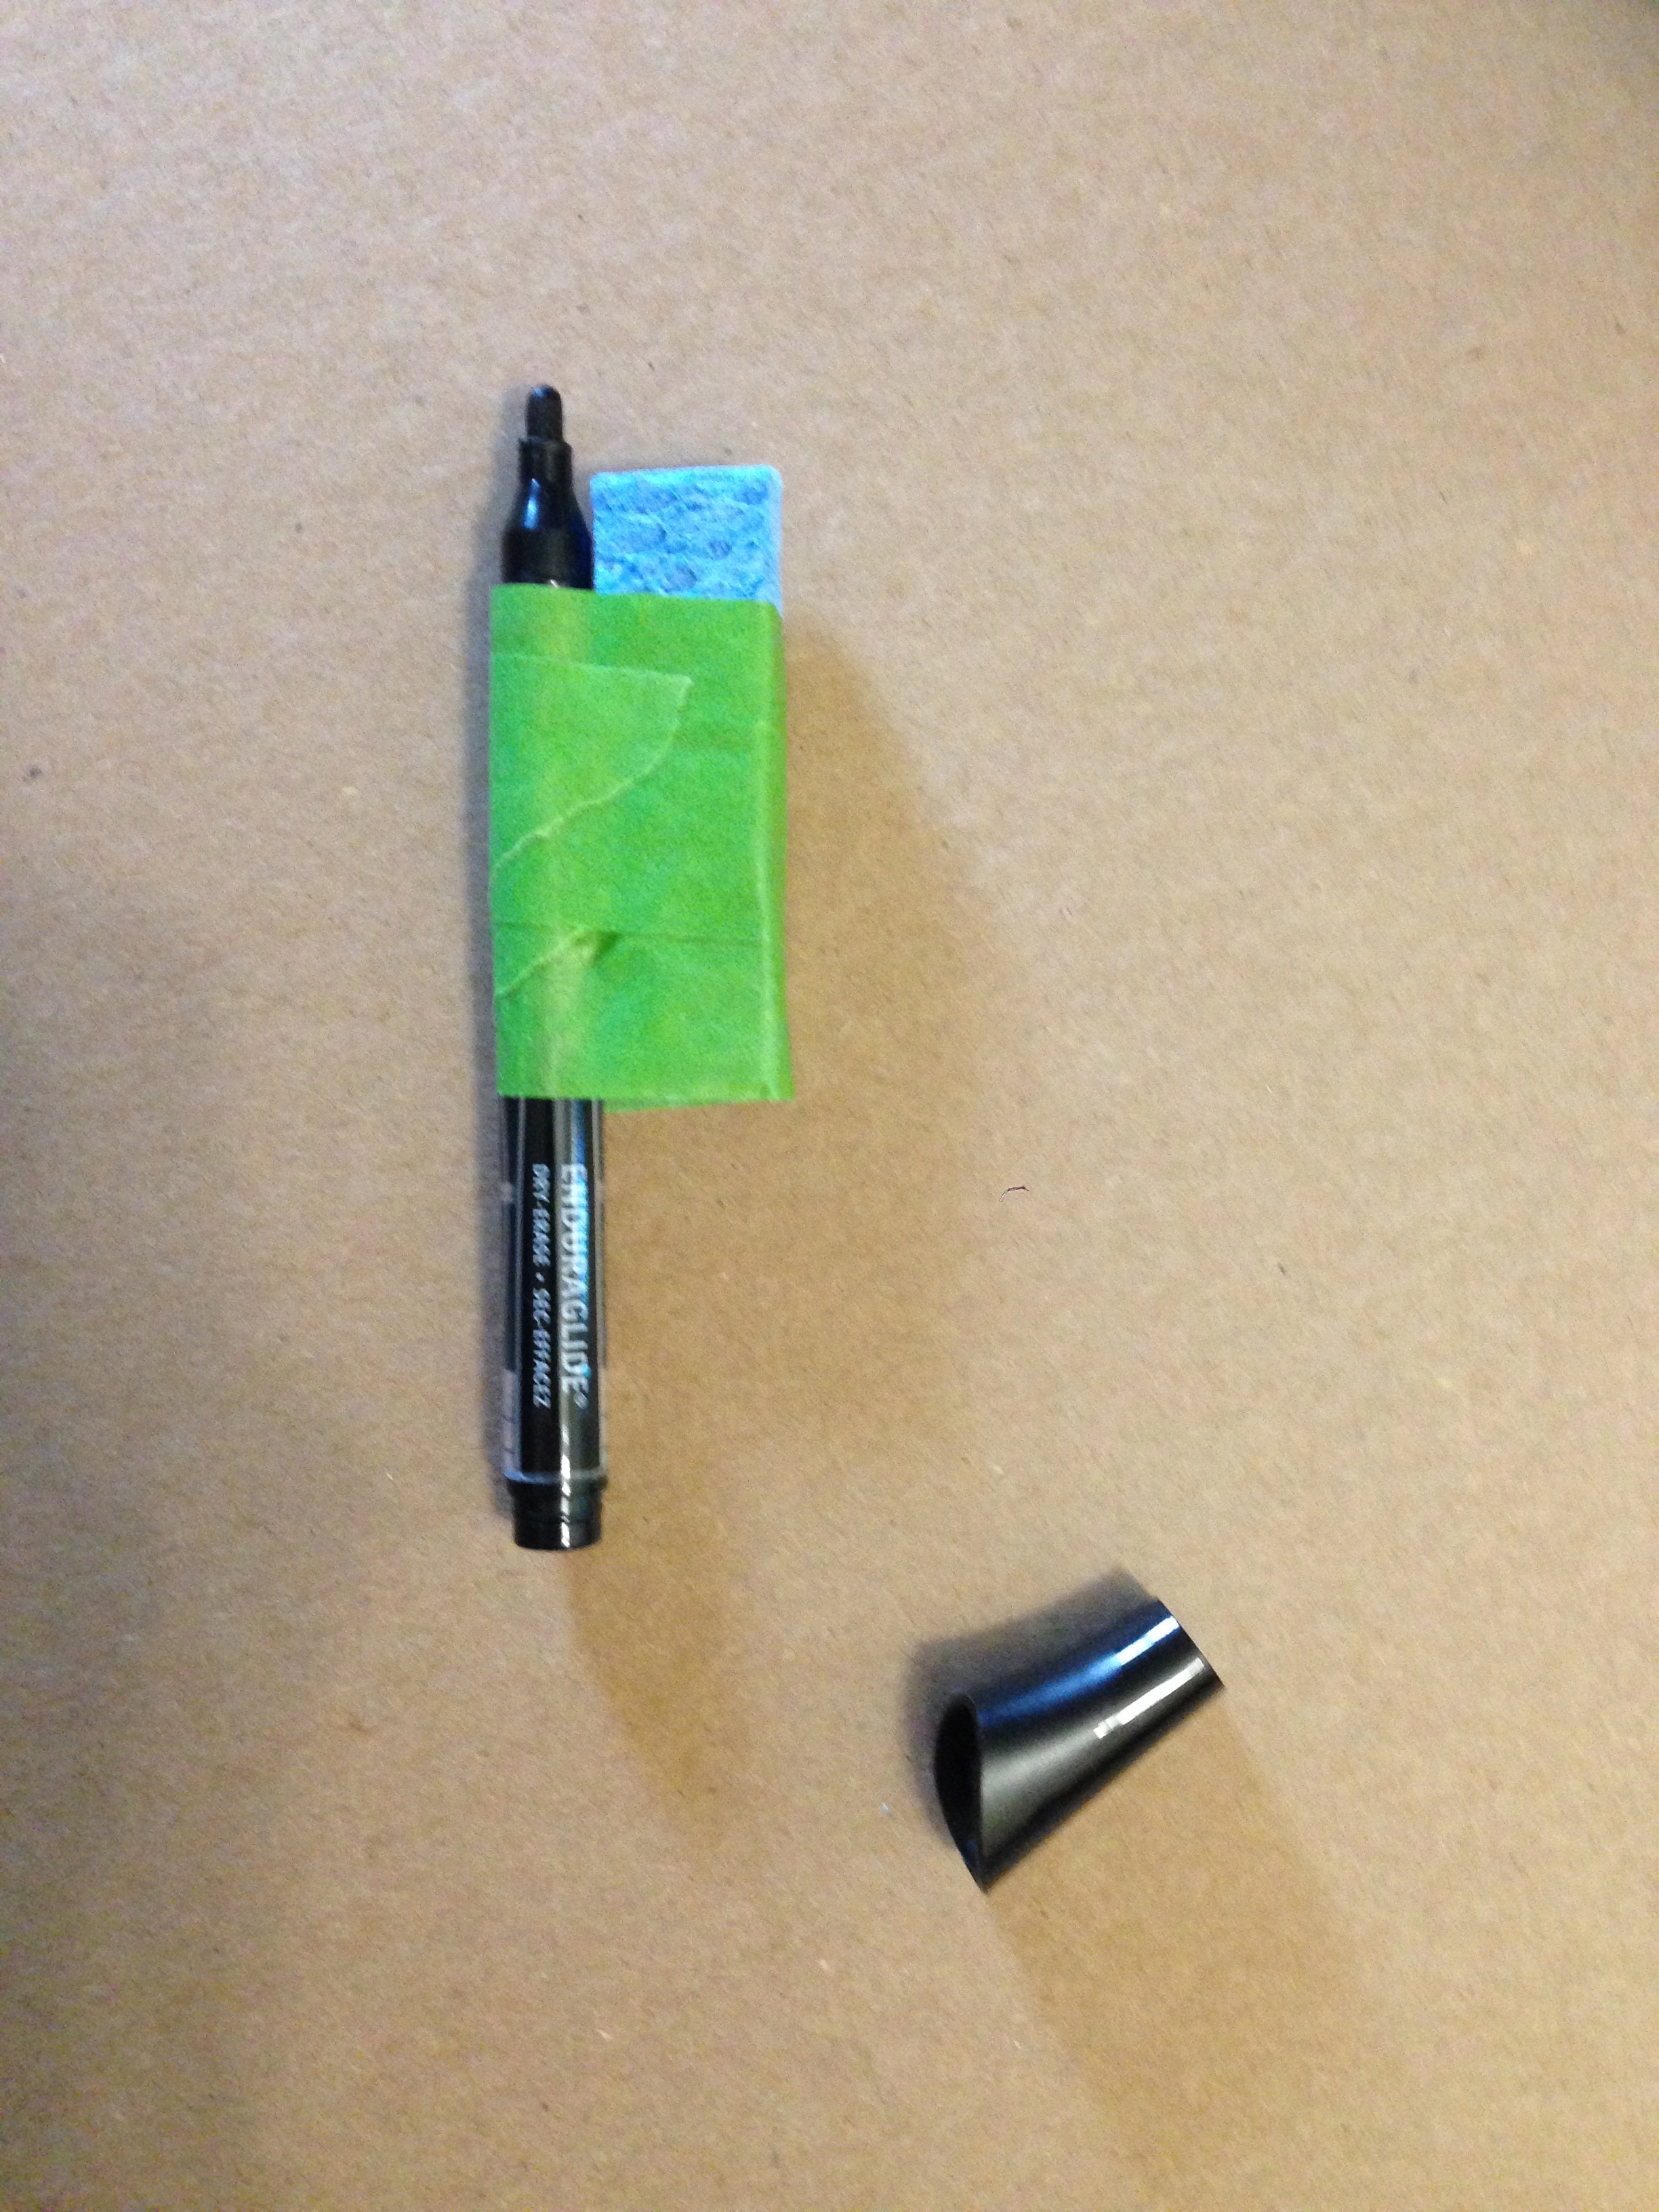


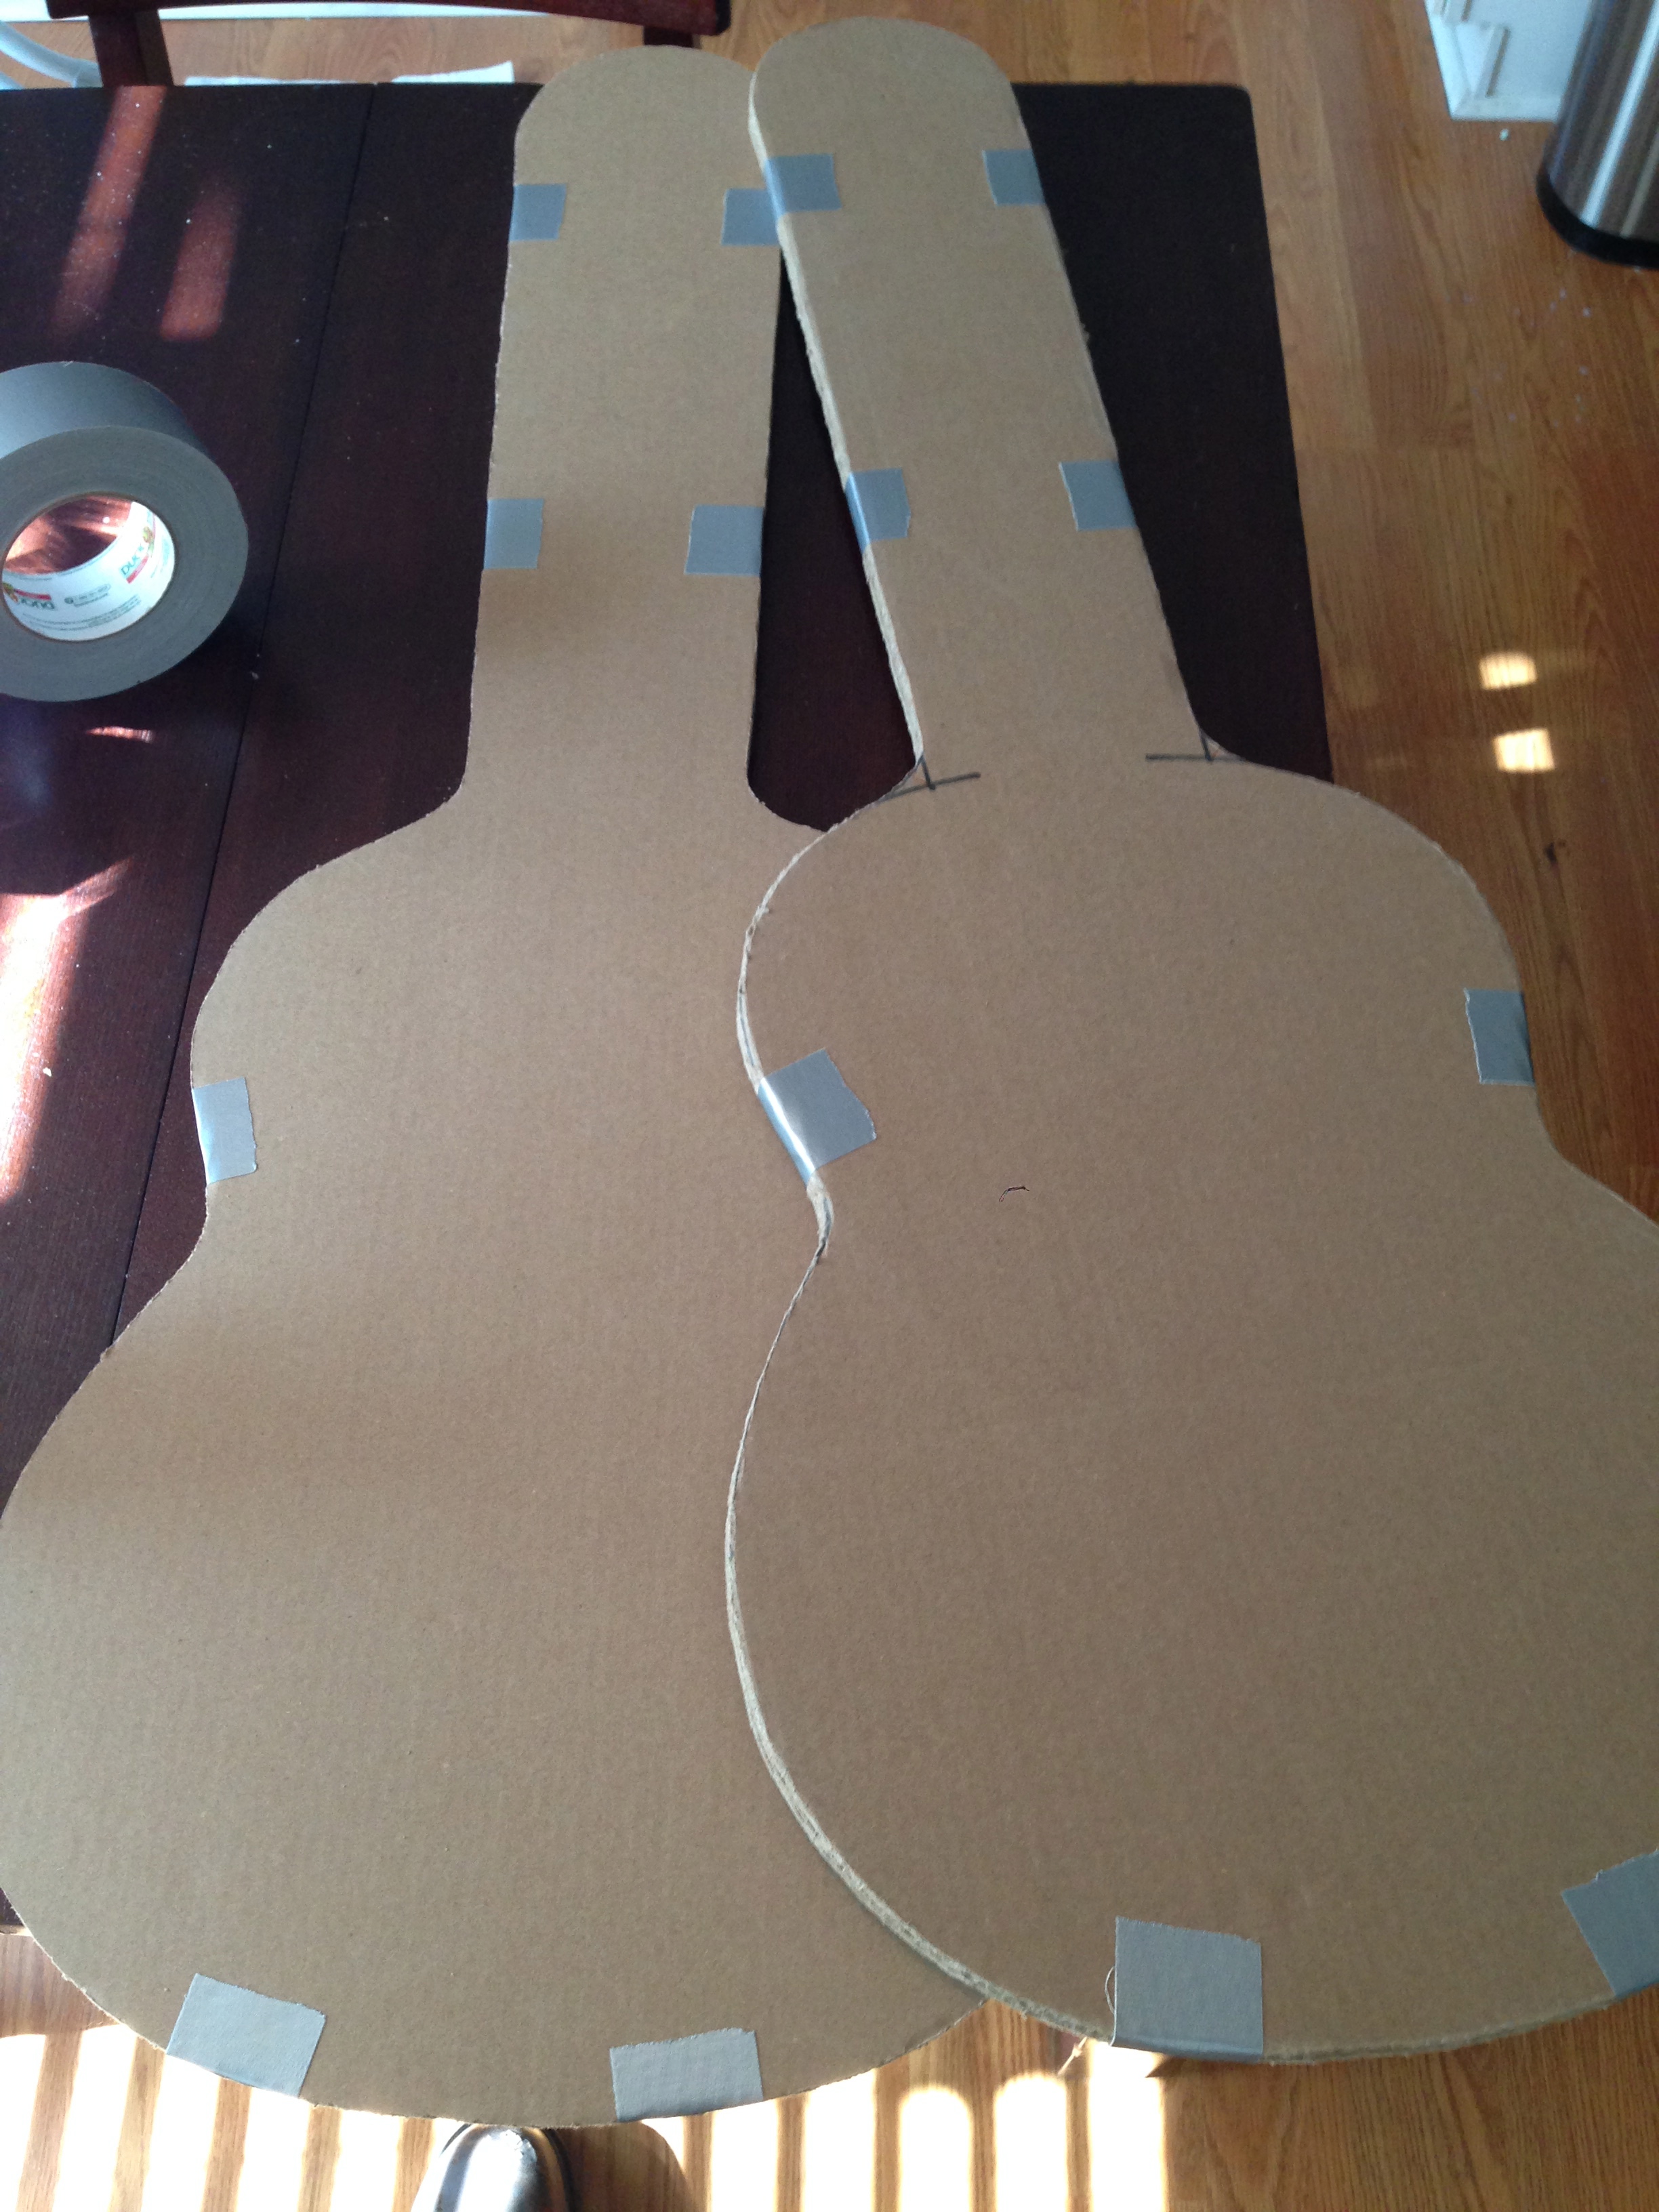
I began by tracing the guitar for a custom fit. I cut a thin sponge down to a 3/4” strip and taped it to a marker to create a 1” outline around the body of the guitar. Then I measured about an 1” on either side of the tuning machines and finished the neck portion of the case with a ruler and a compass to round off the top.
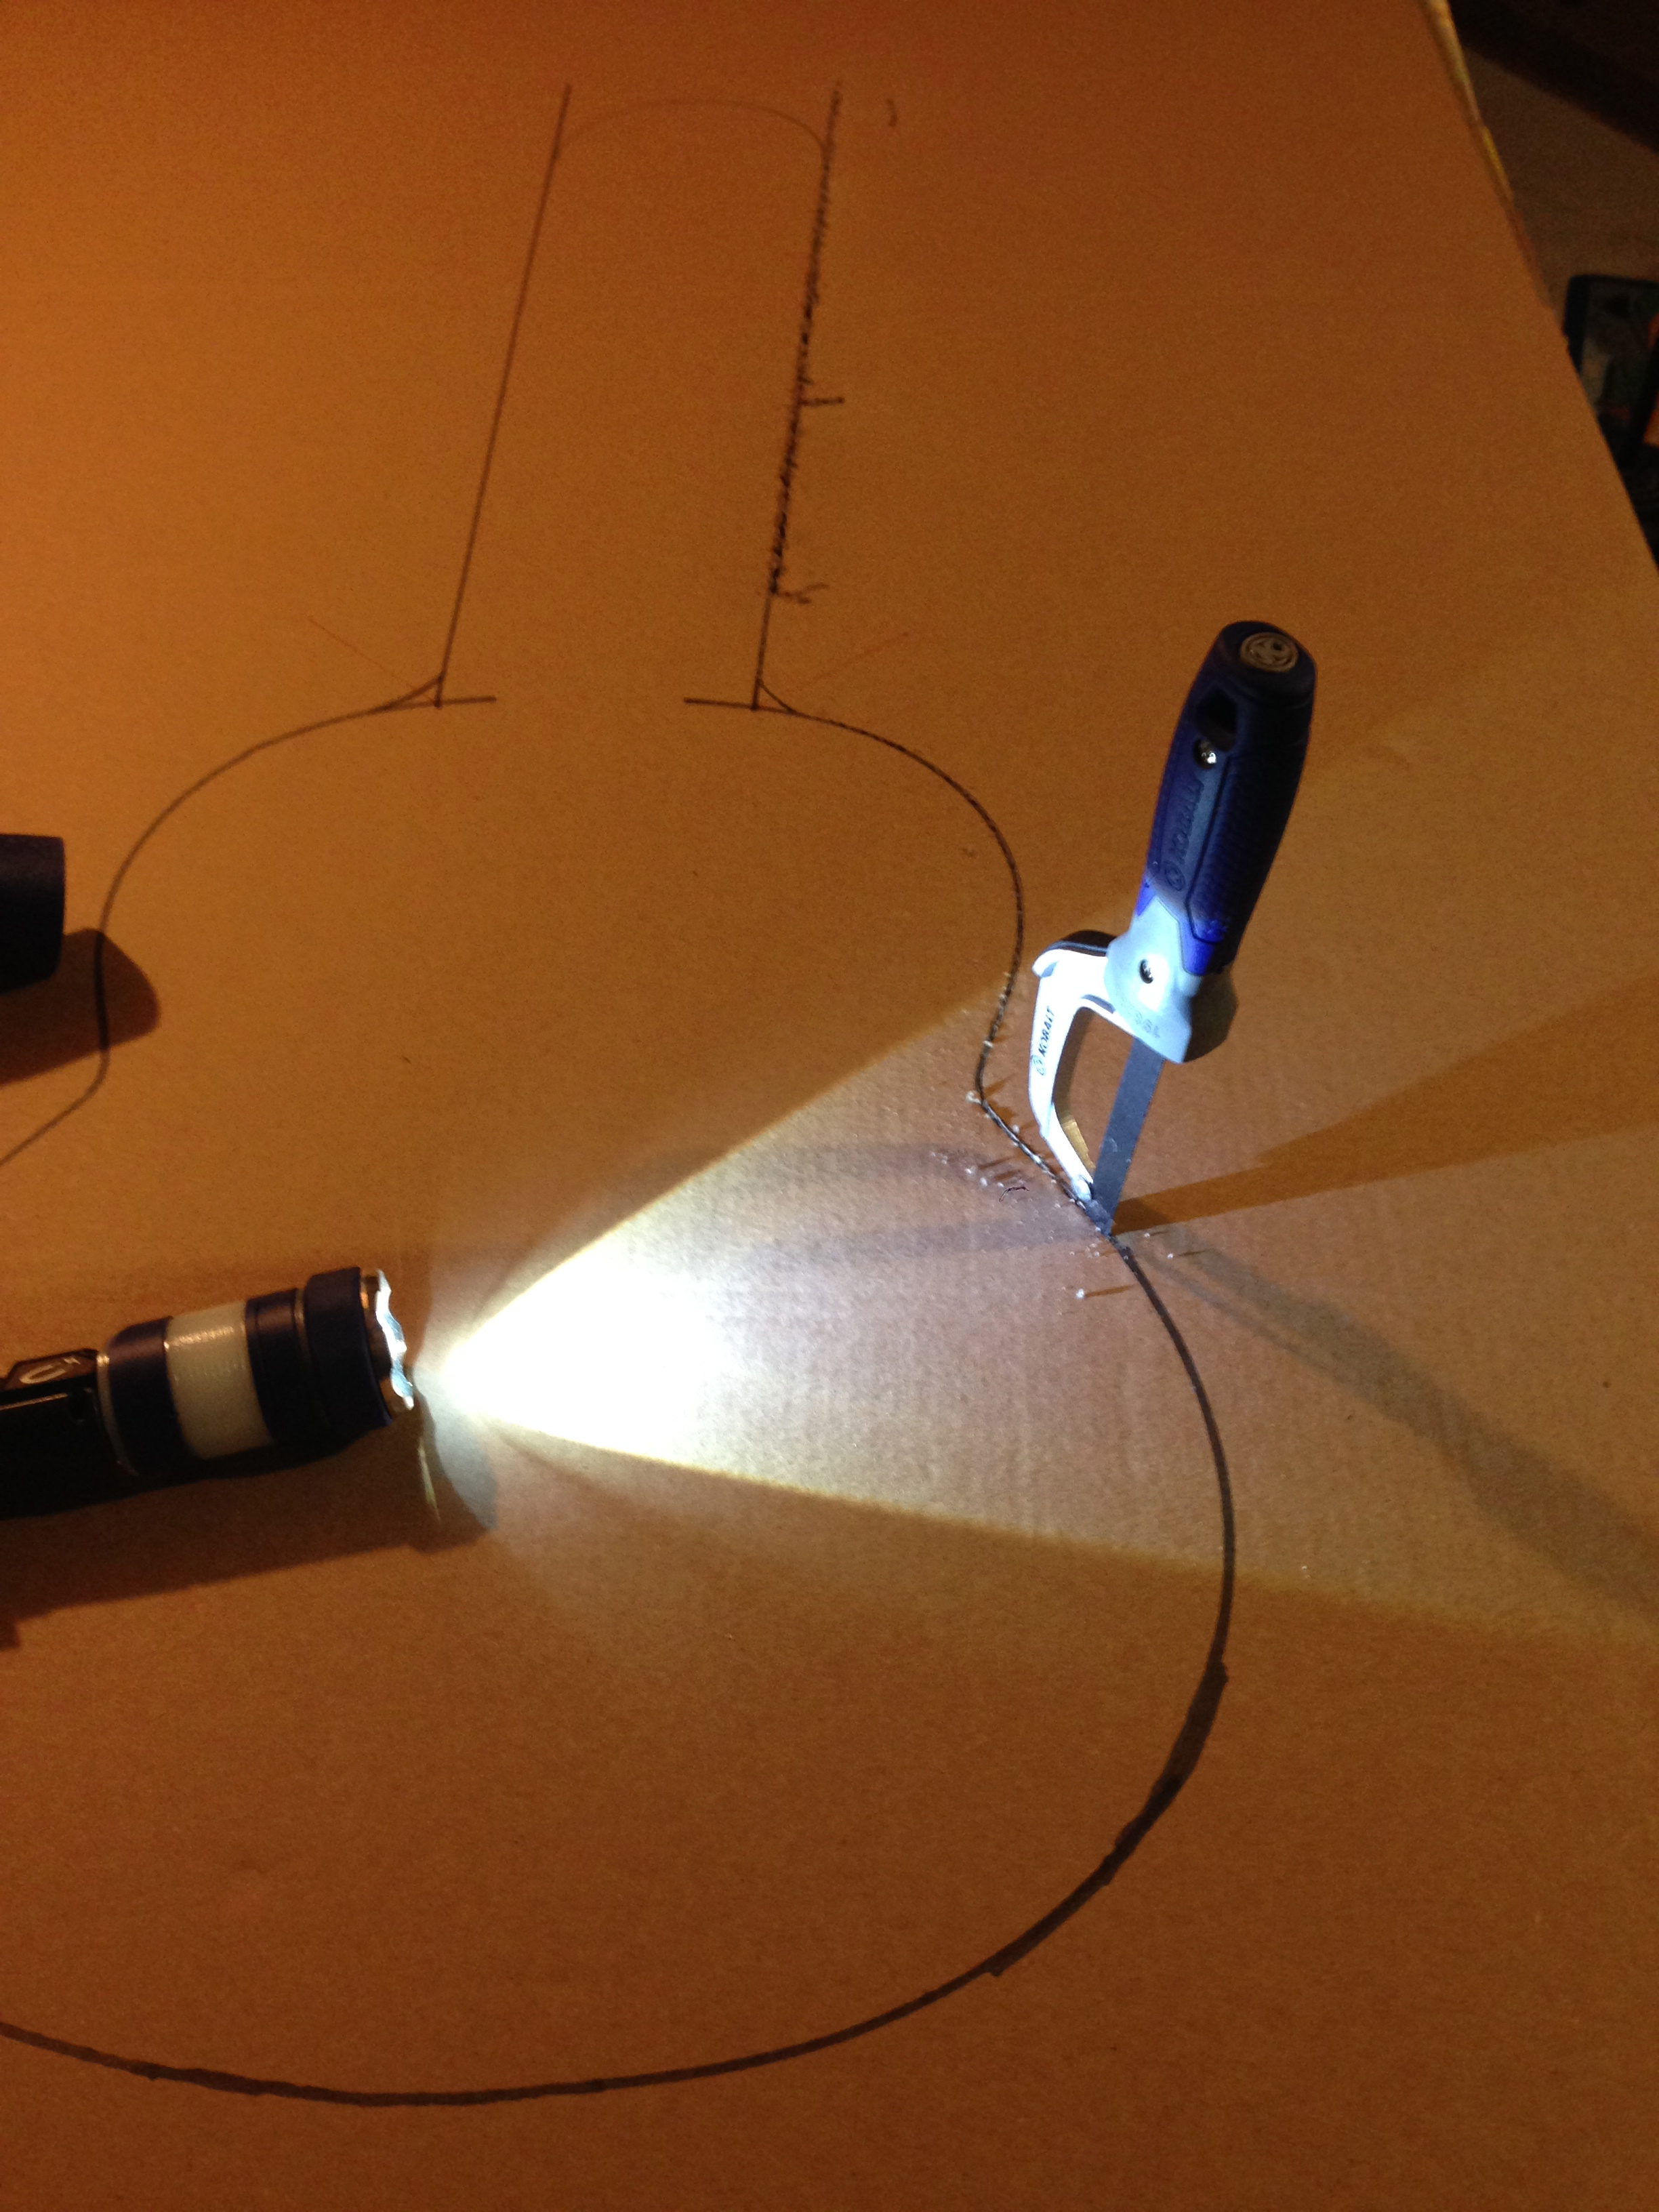


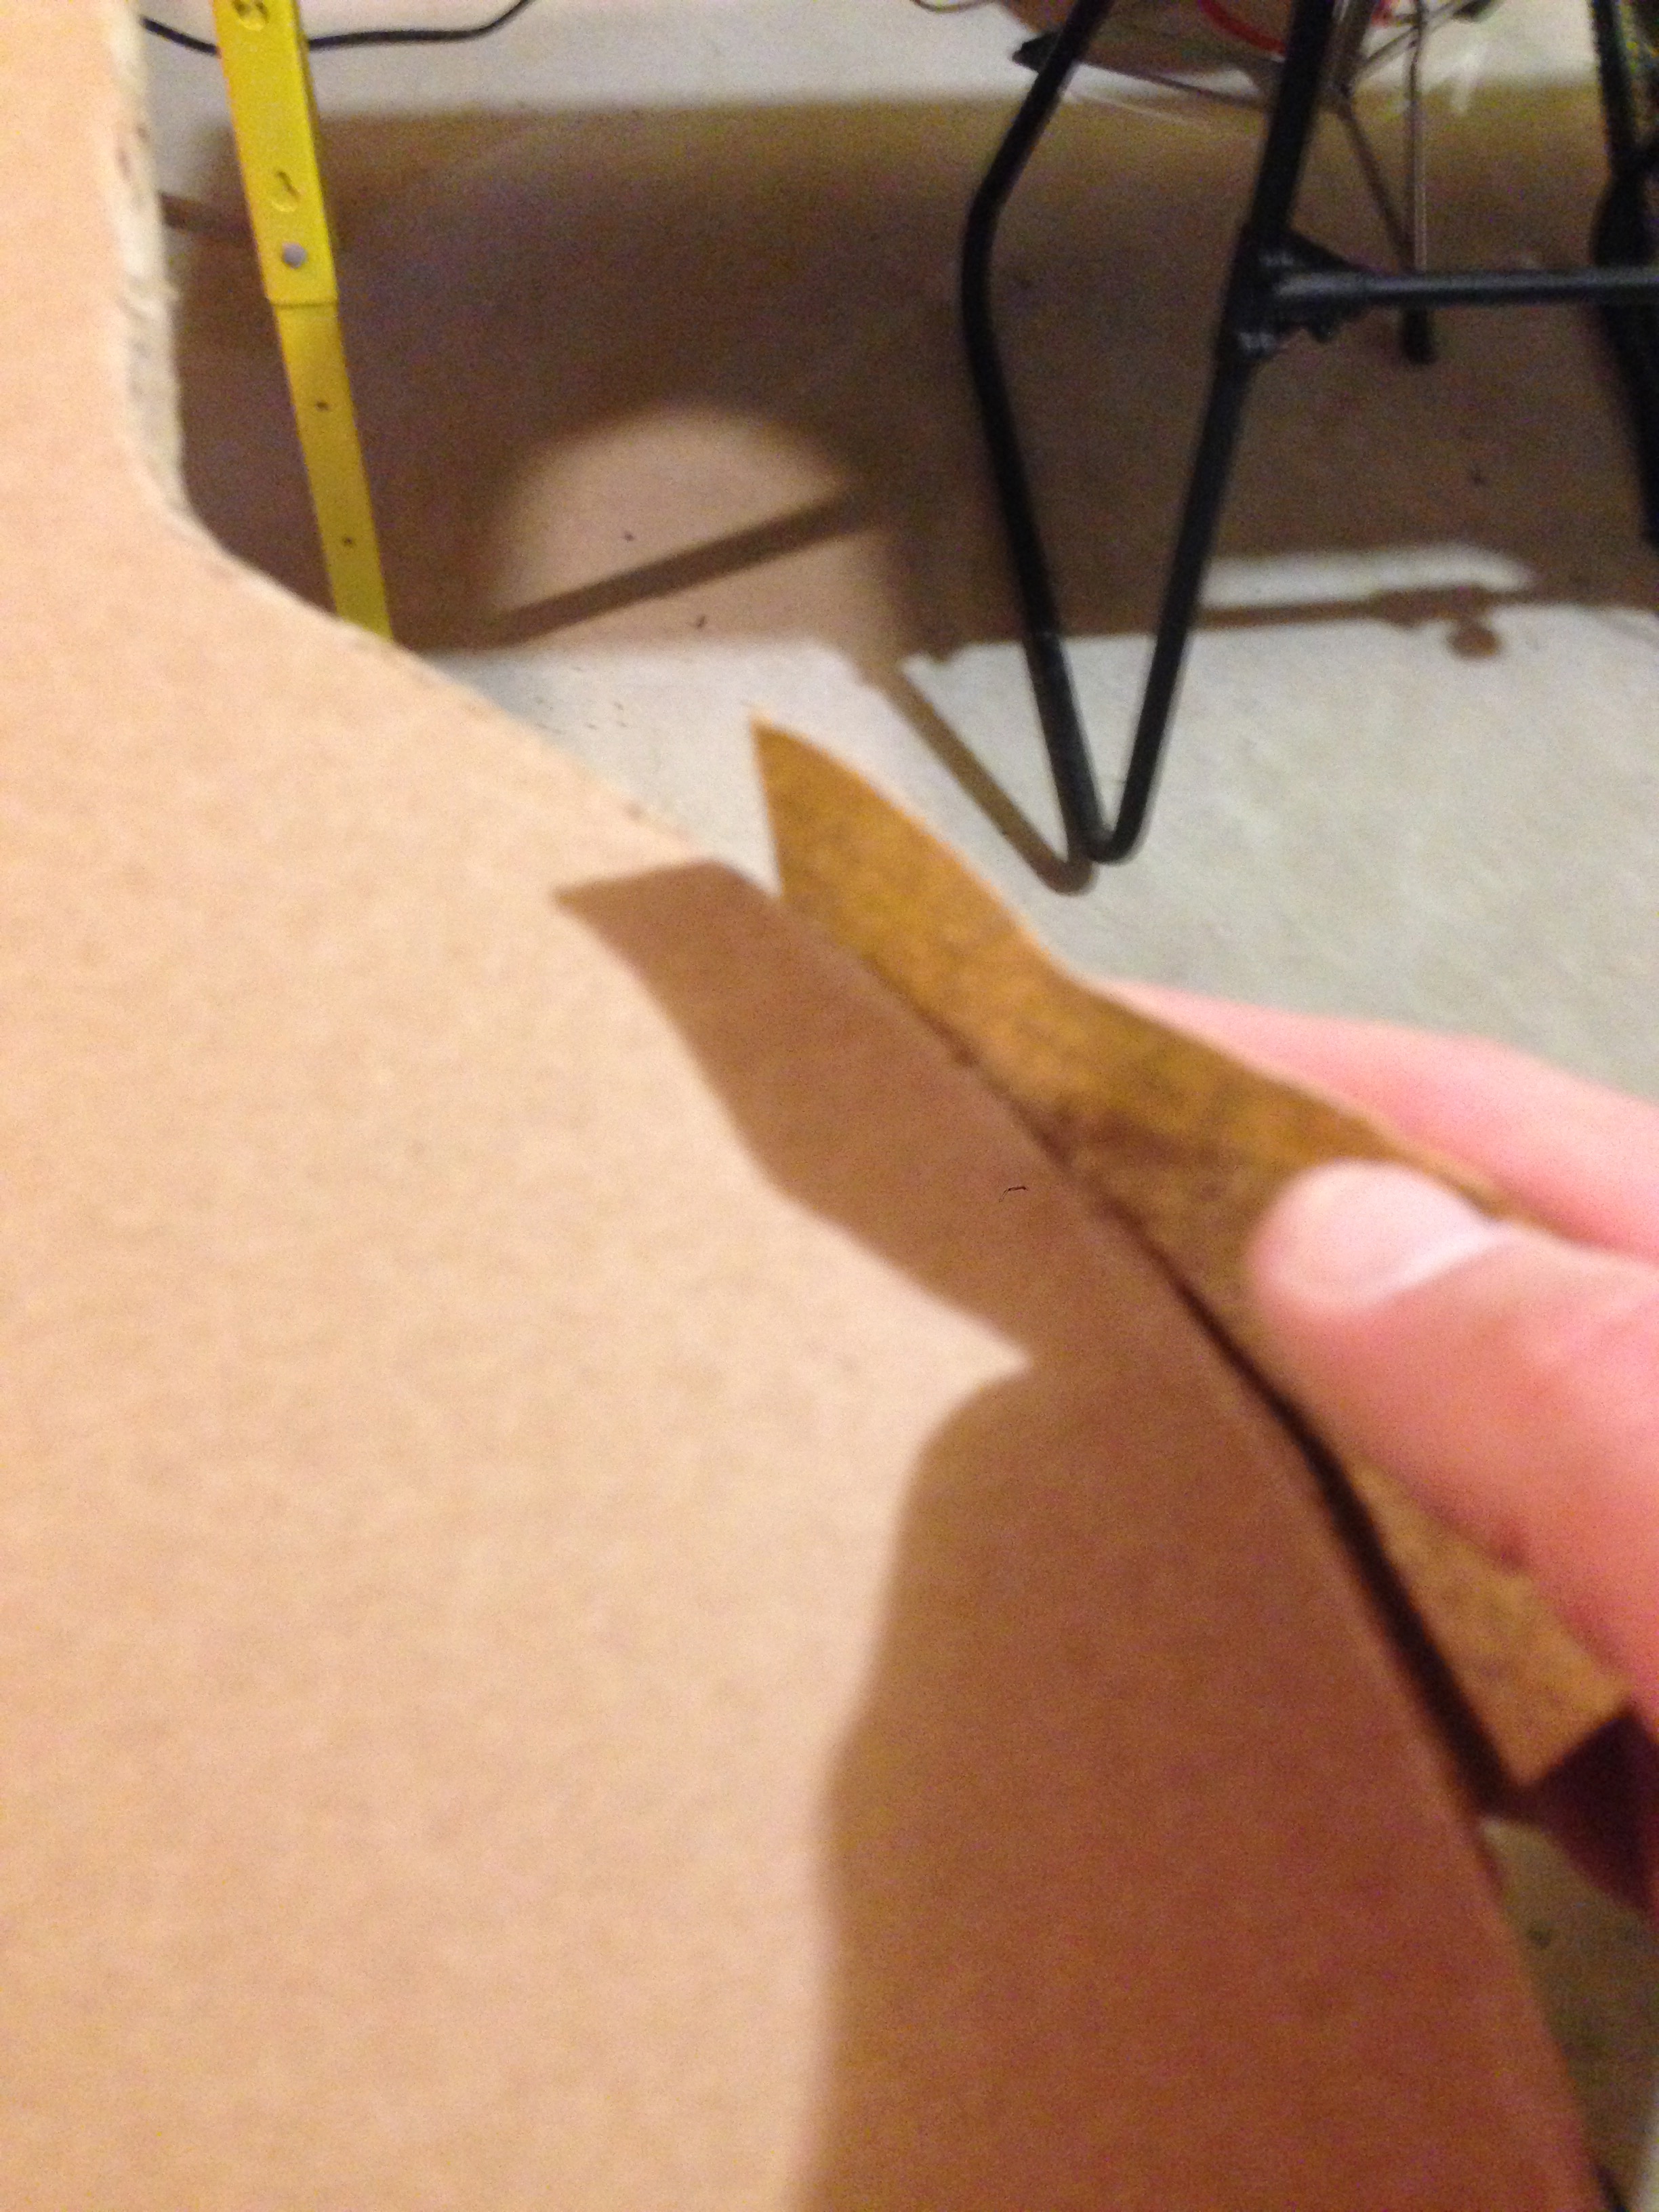
At this point, the box was folded in half creating an 8-ply thickness. I cut along the guide line with a mini hacksaw, which produced a pretty clean cut. Then, I filed the perimeter of the cutout, following up with some 150 grit sandpaper. I checked the cutout against the guitar and it appeared to fit well.
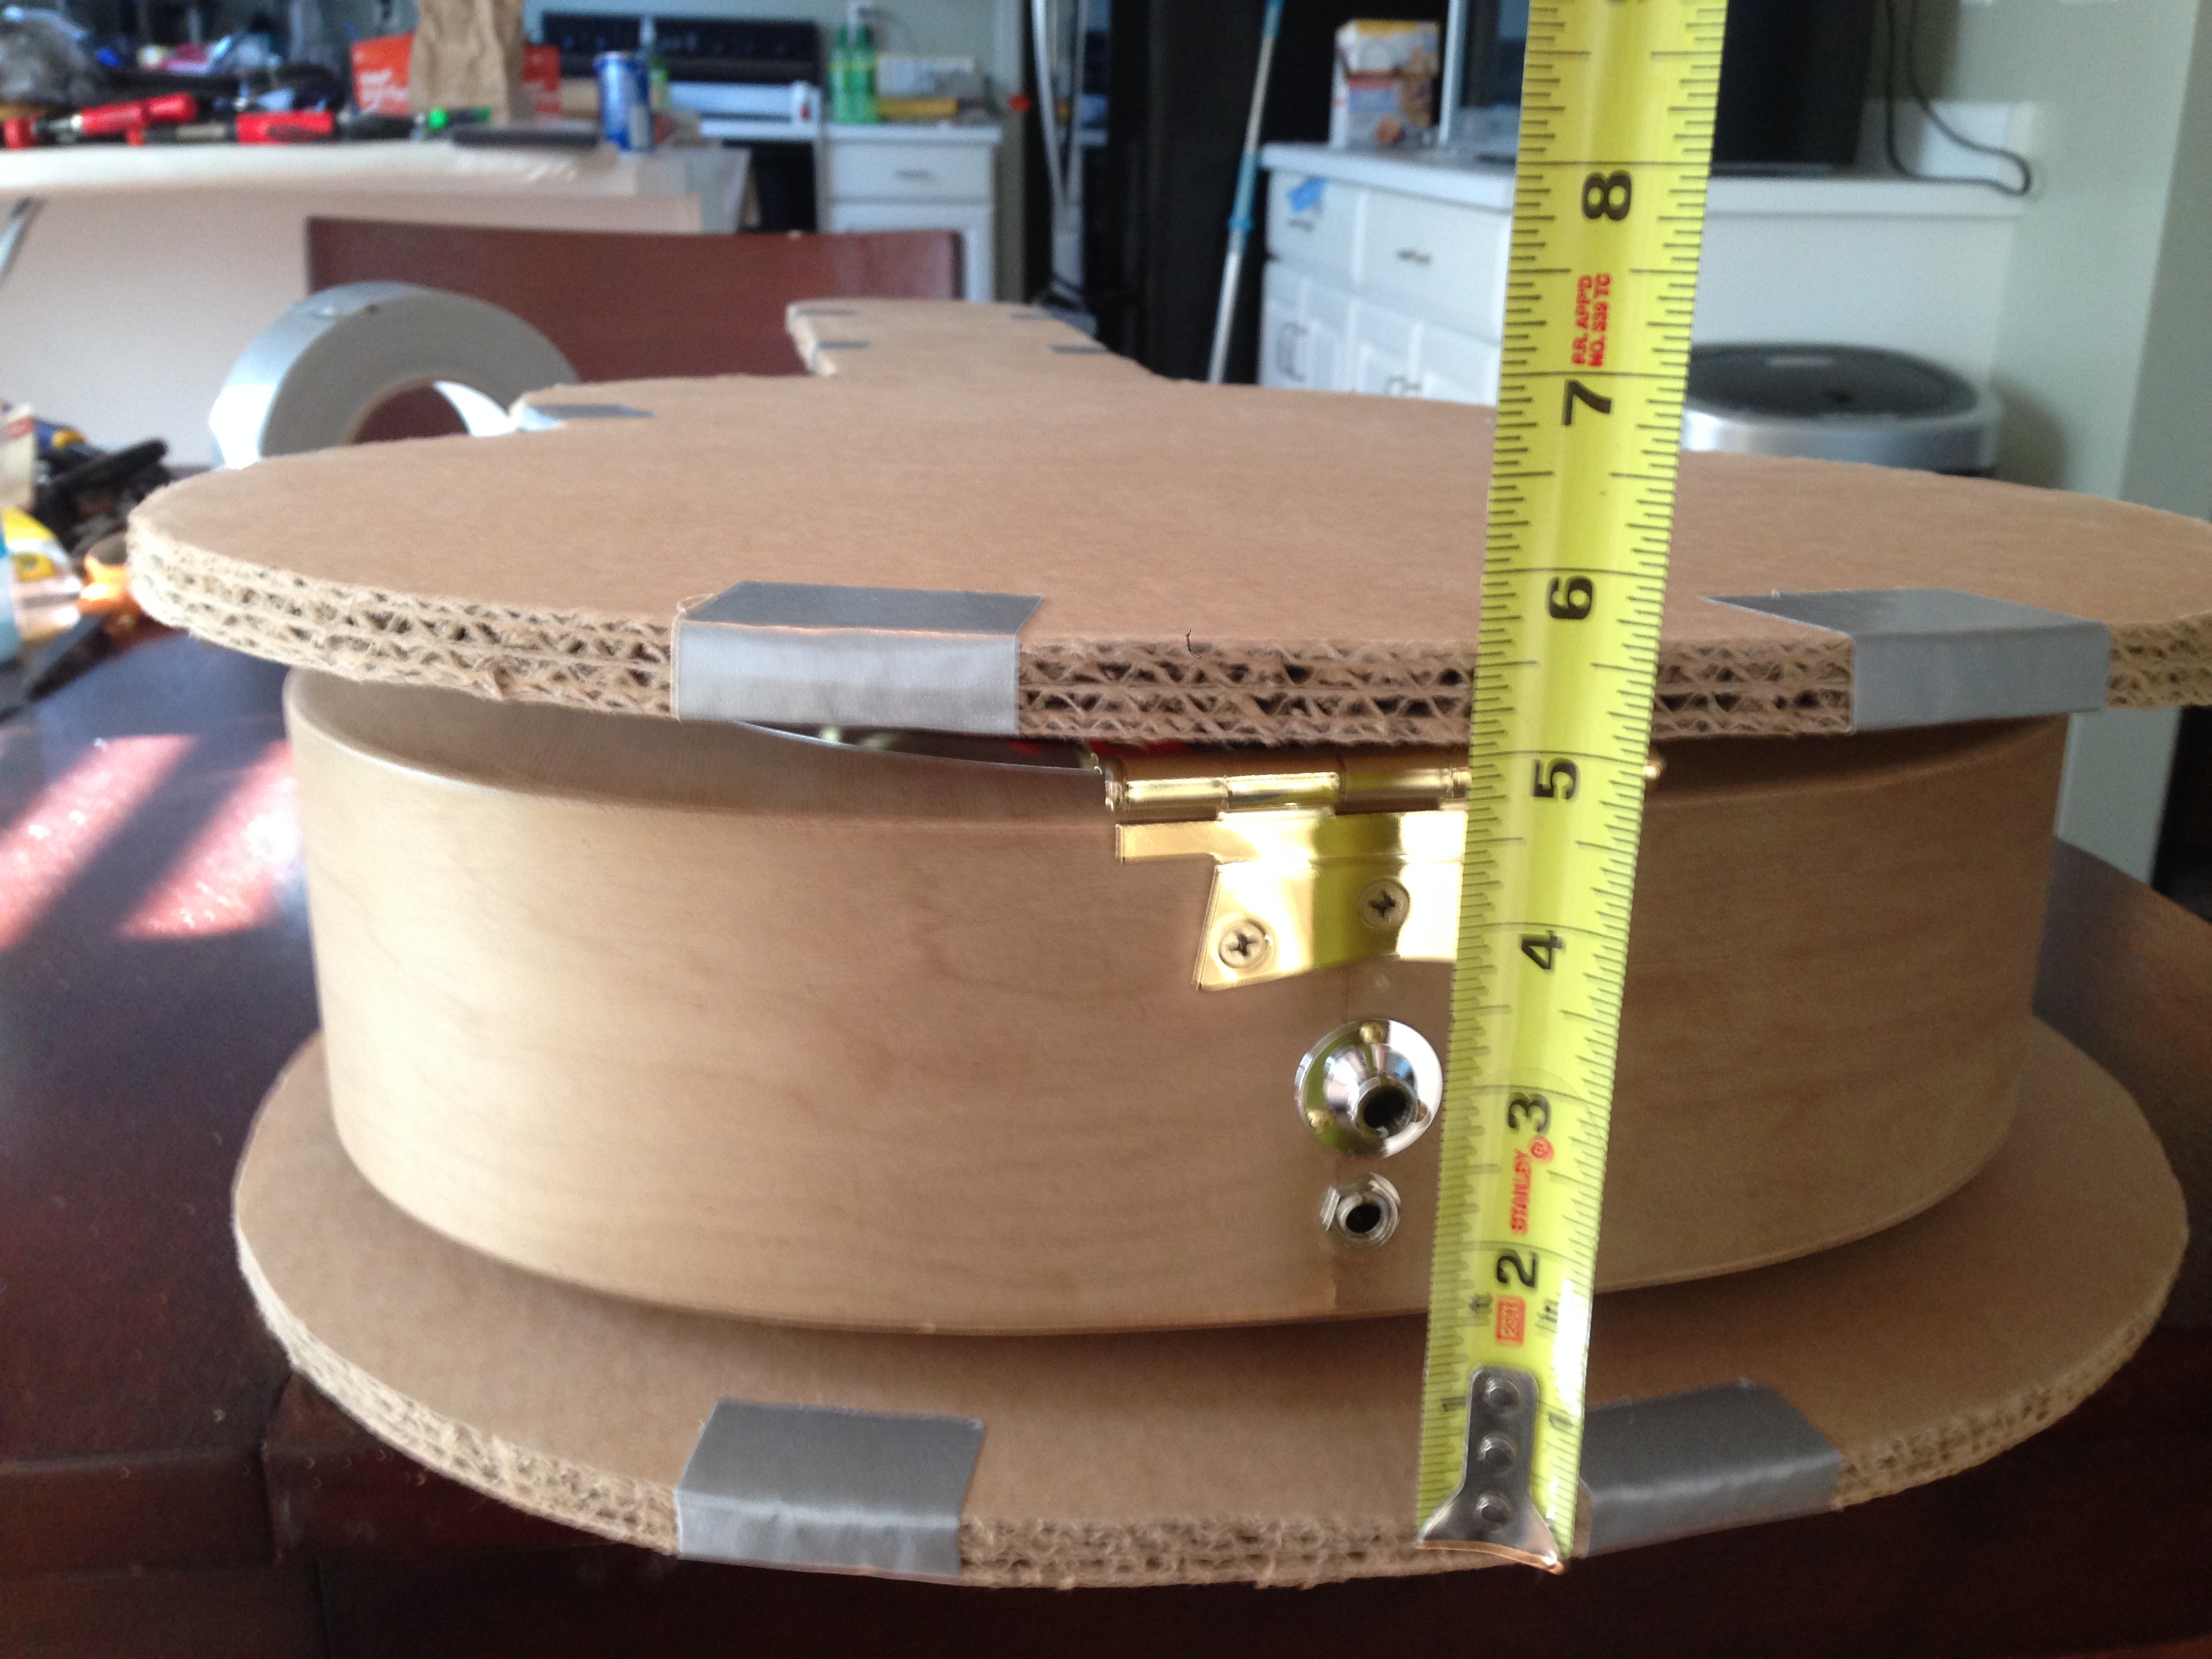
I split the cutout in half and duct taped two sets of four plies together to create a top and bottom for the case. I placed the guitar in between the cutouts and measured the thickness needed for a secure, yet comfortable fit. Five inches appeared to be reasonable, so I drew a 5” strip on the remaining cardboard from the cutout and cut it with a circular saw. I cut two additional bundles of strips.
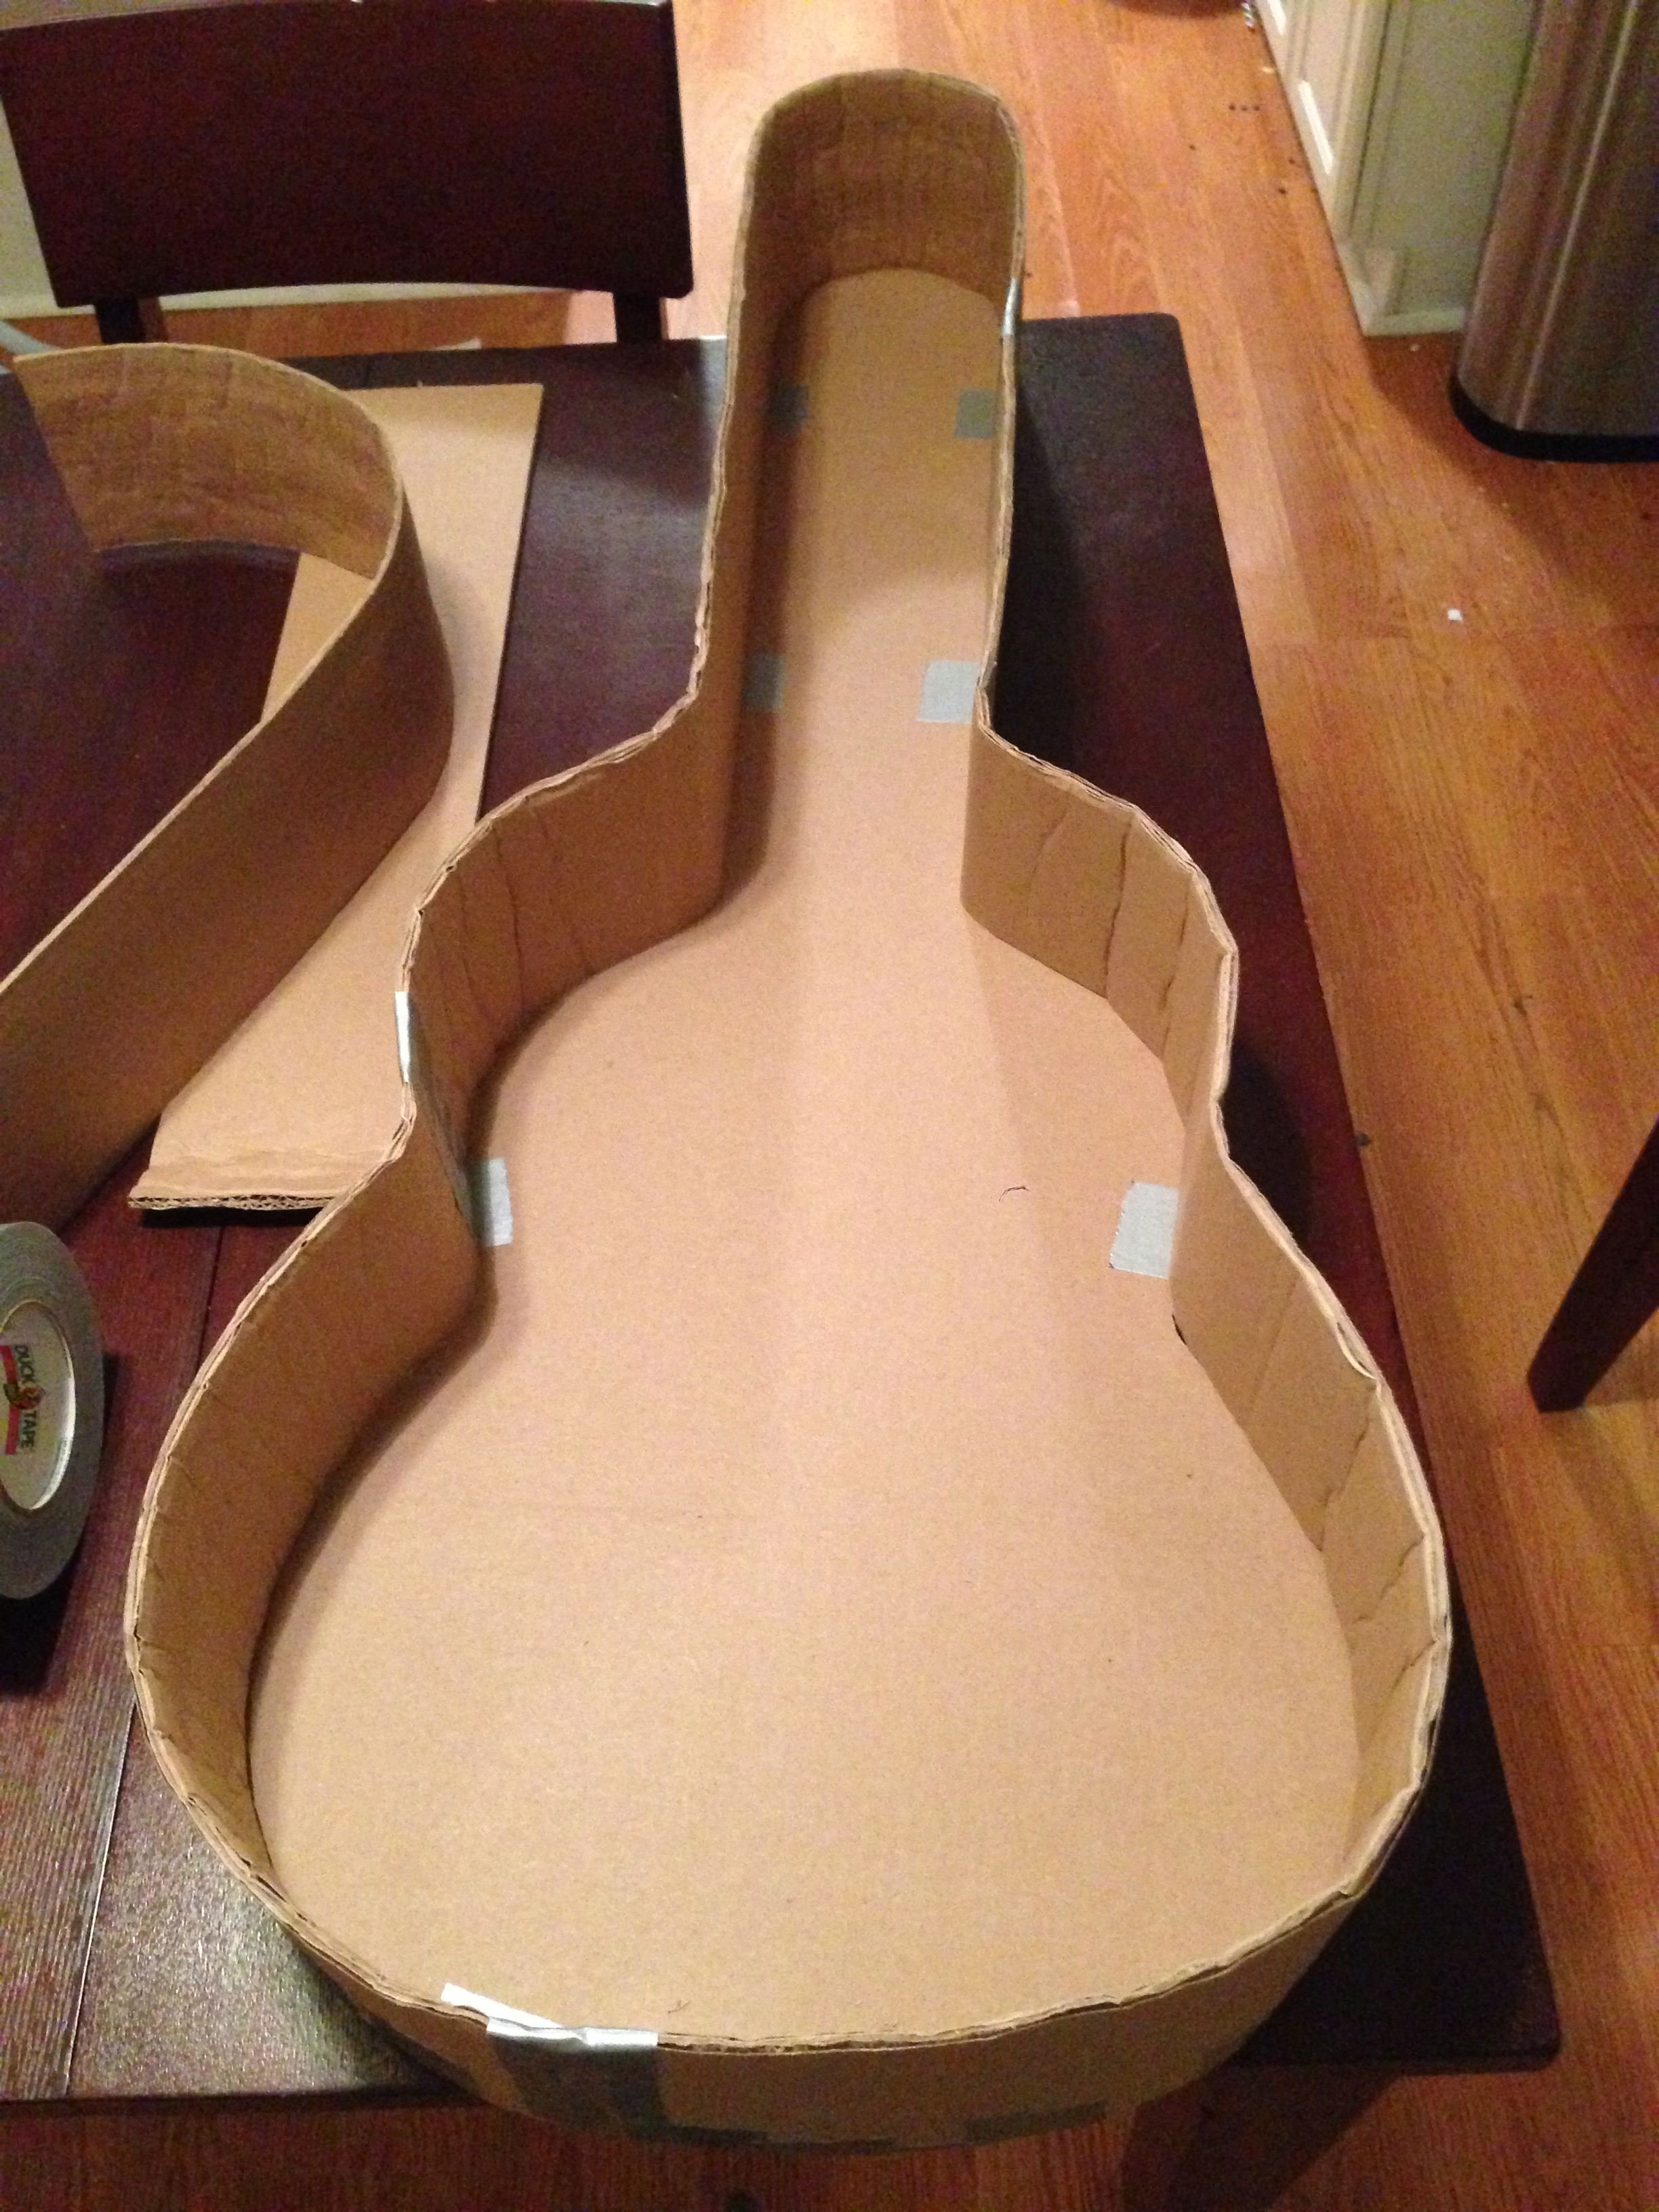

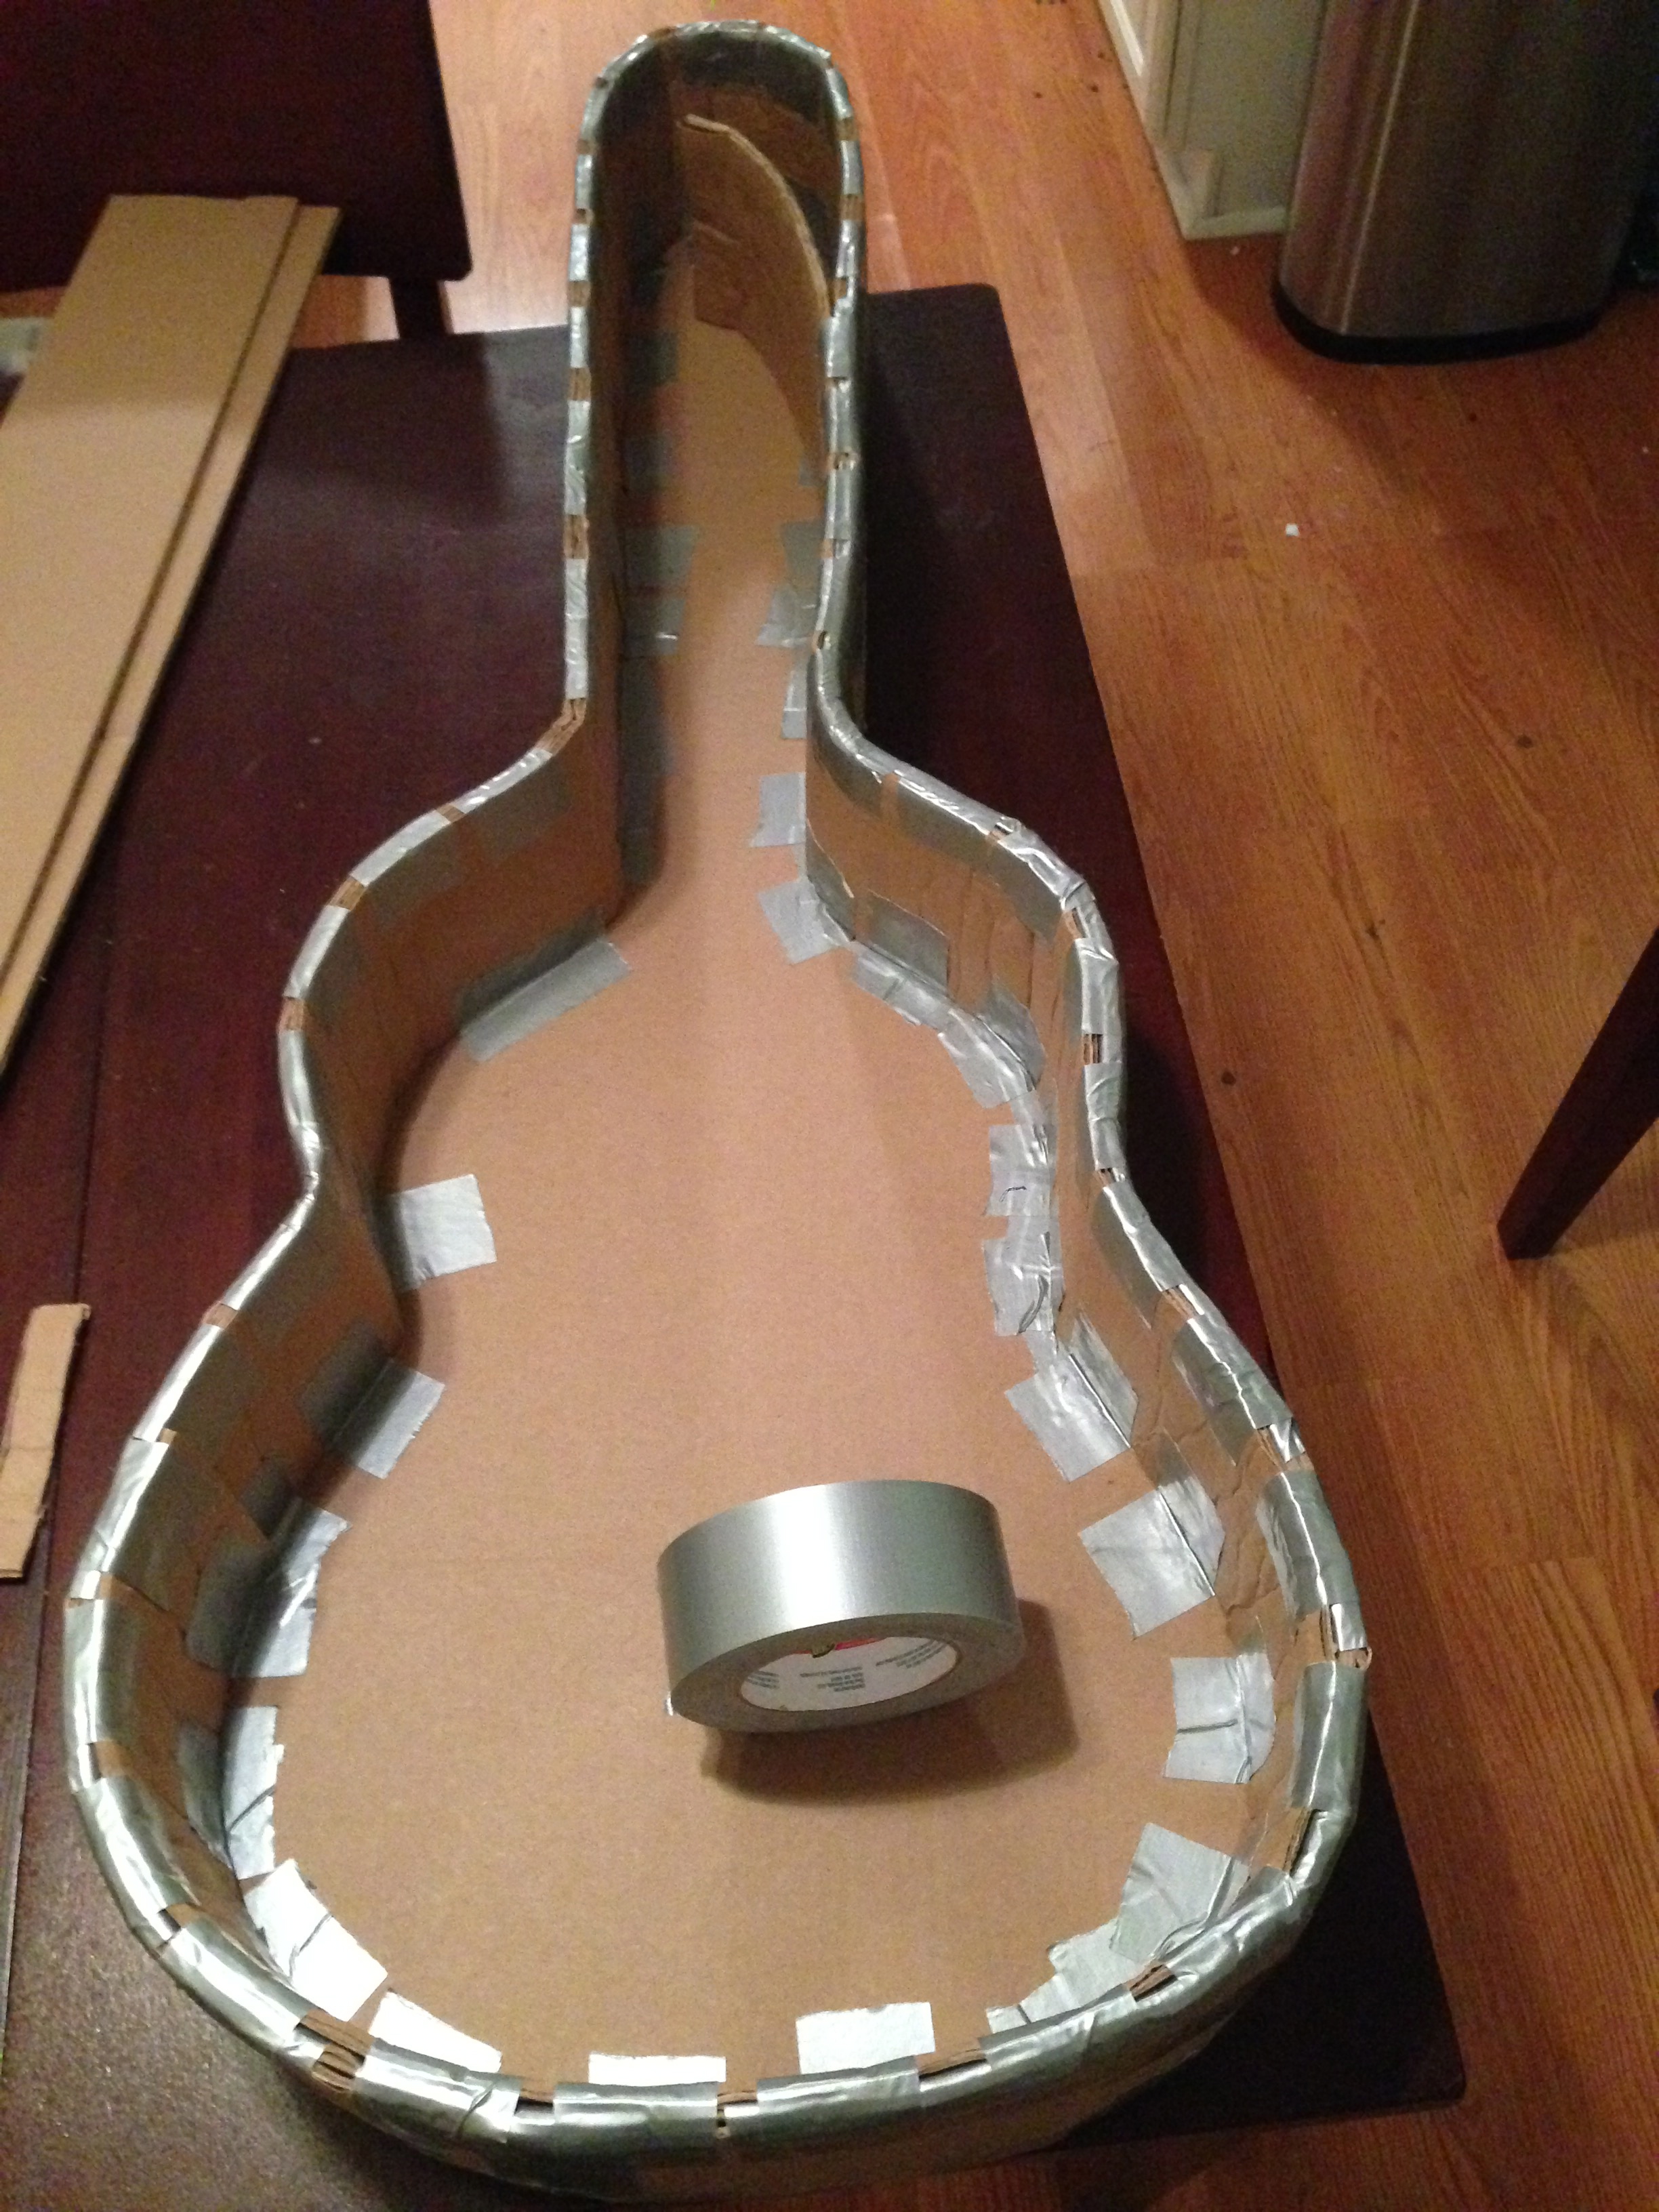


Using duct tape, I formed the outside shape for the side of the case. I added a second and then a third layer to the inside of the case—at this point, it felt pretty solid. I spliced the ends together and then checked the fit of the guitar, along with confirming that the sides were deep enough by checking the lid. I reinforced the bottom and sides with gray duct tape and then began applying black duct tape to the bottom. I decided to create diagonal stripes with the tape and covered the bottom, pulling it tight as I secured the ends up the sides of the case.
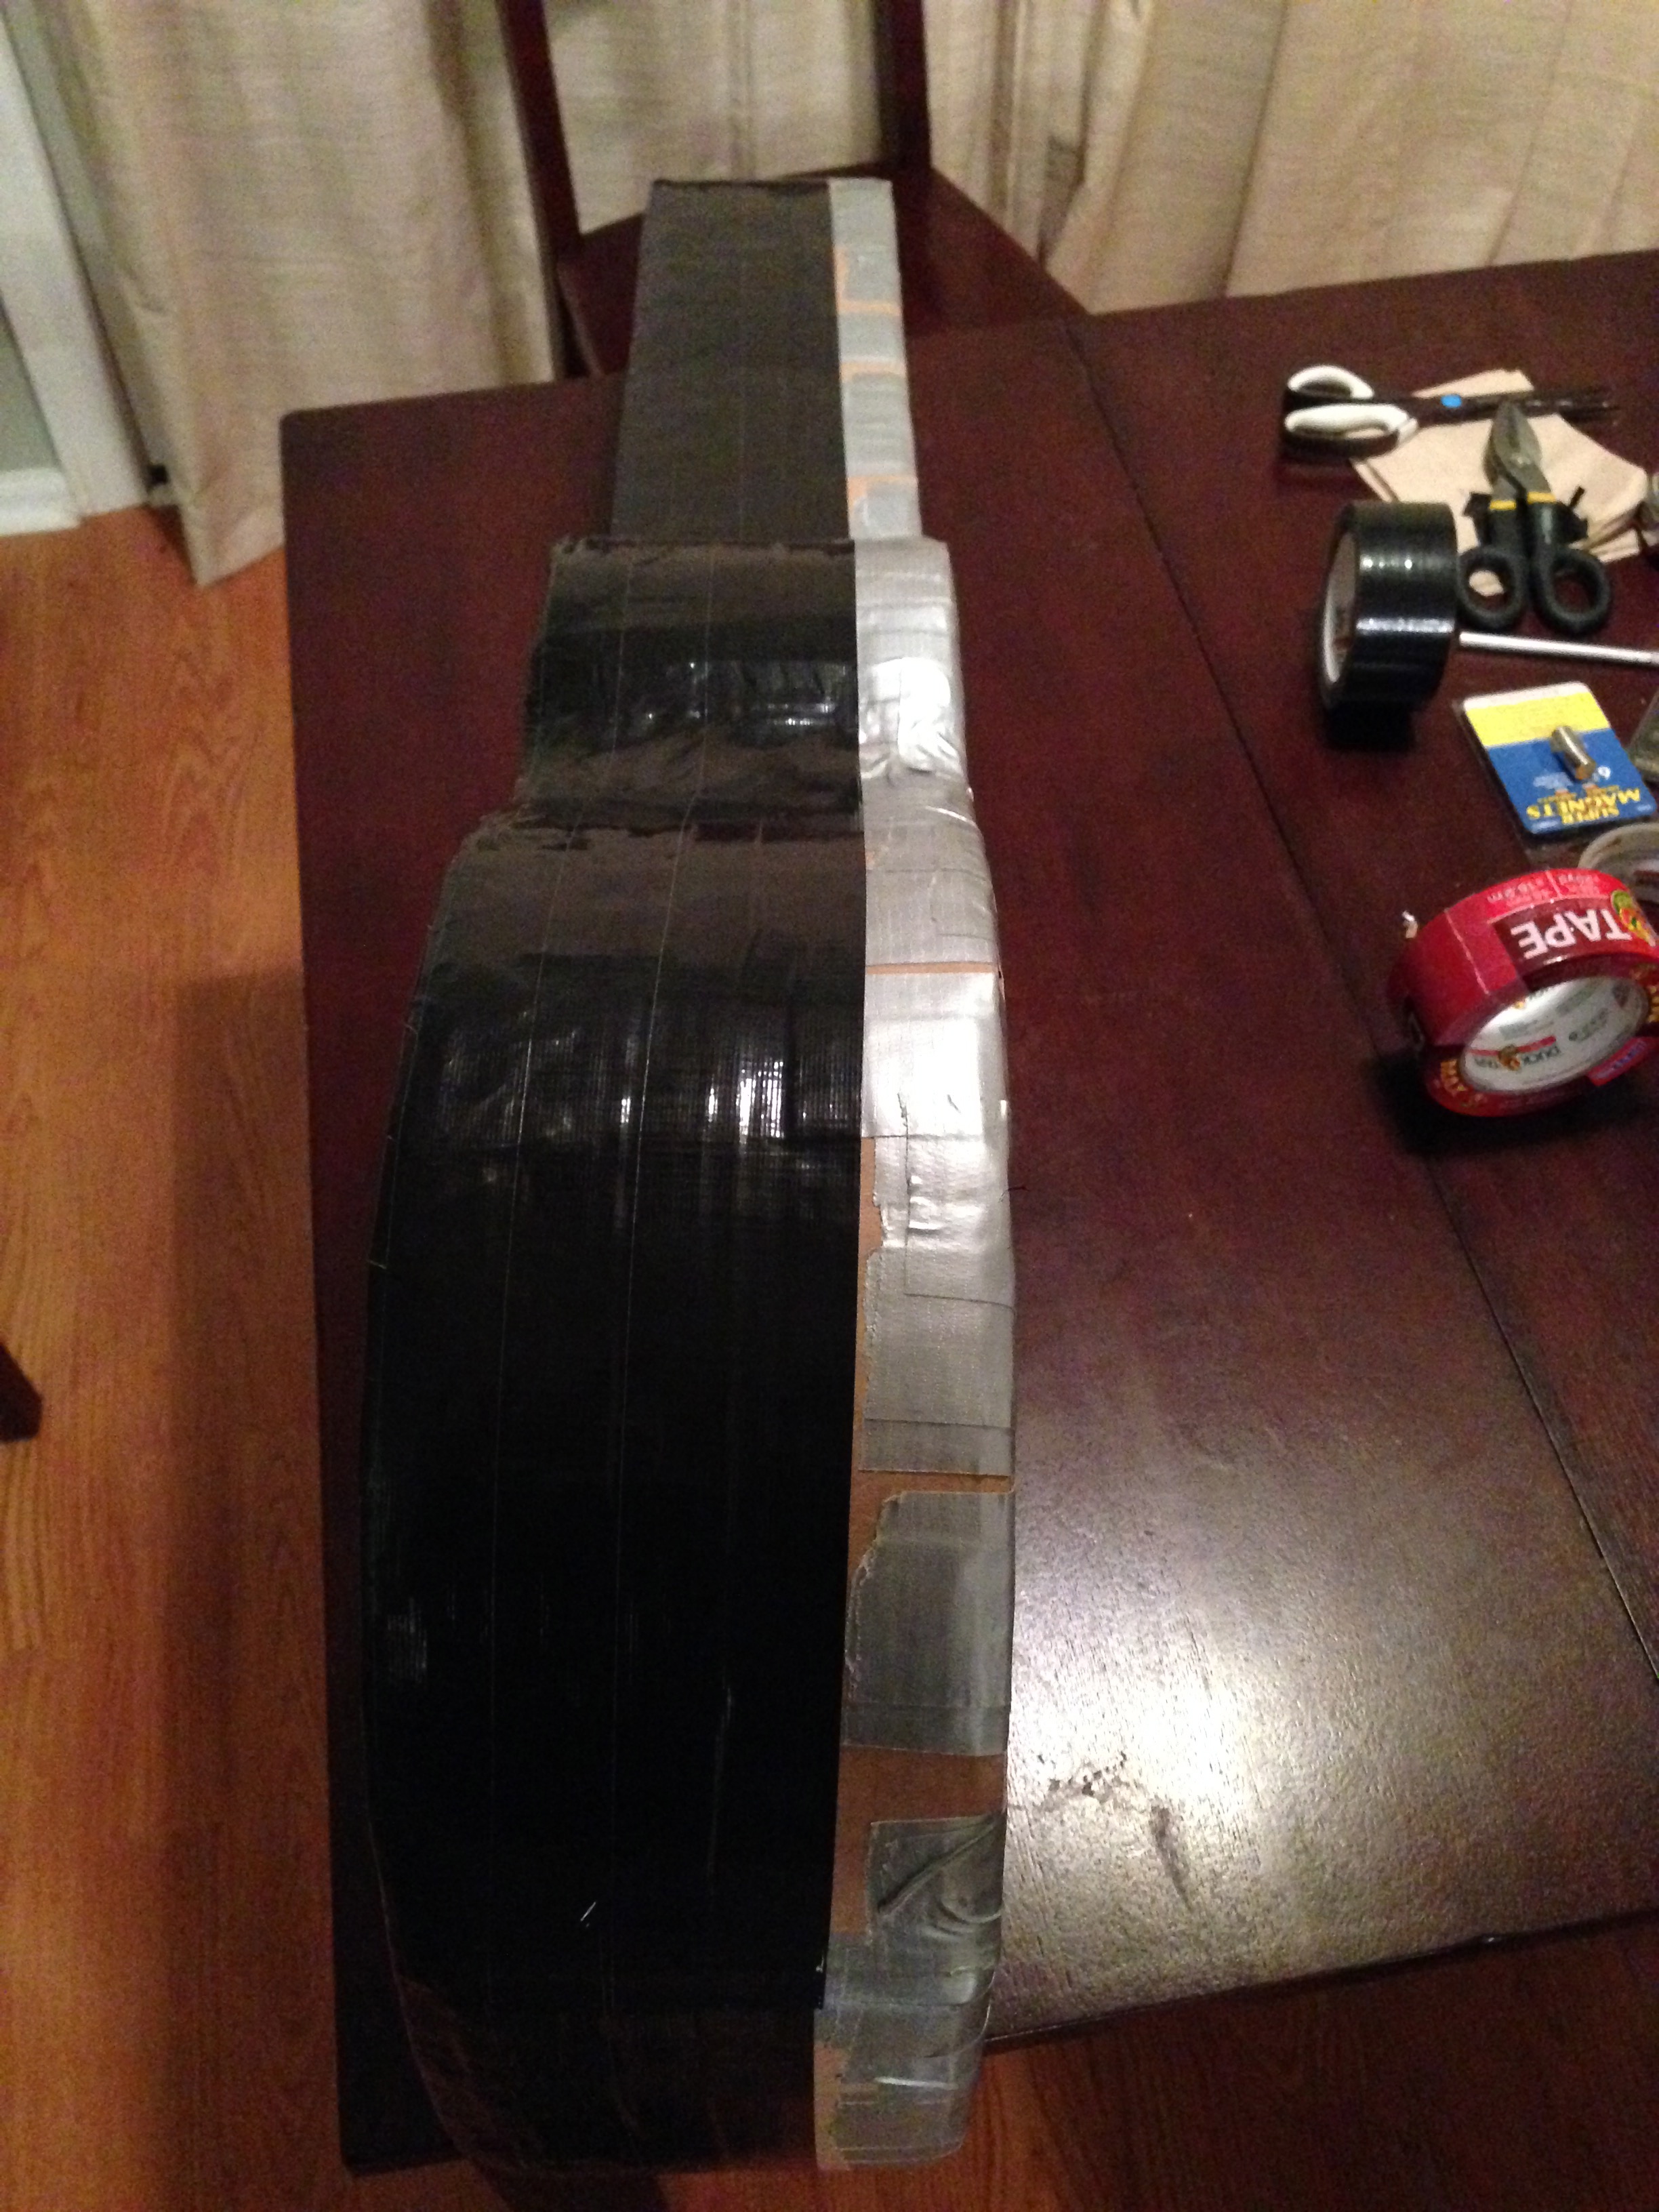
I applied tape to the sides of the case. Starting at the bottom of the case, I placed strips of black duct tape around the sides, progressing upward until there was about a 2” gap at the top. (I found that using duct tape meant that you had to plan out how the layers would be applied so that each layer covered the messiness of the last layer. It would never be a perfectly flat finish, but the bumpiness would at least be covered.)

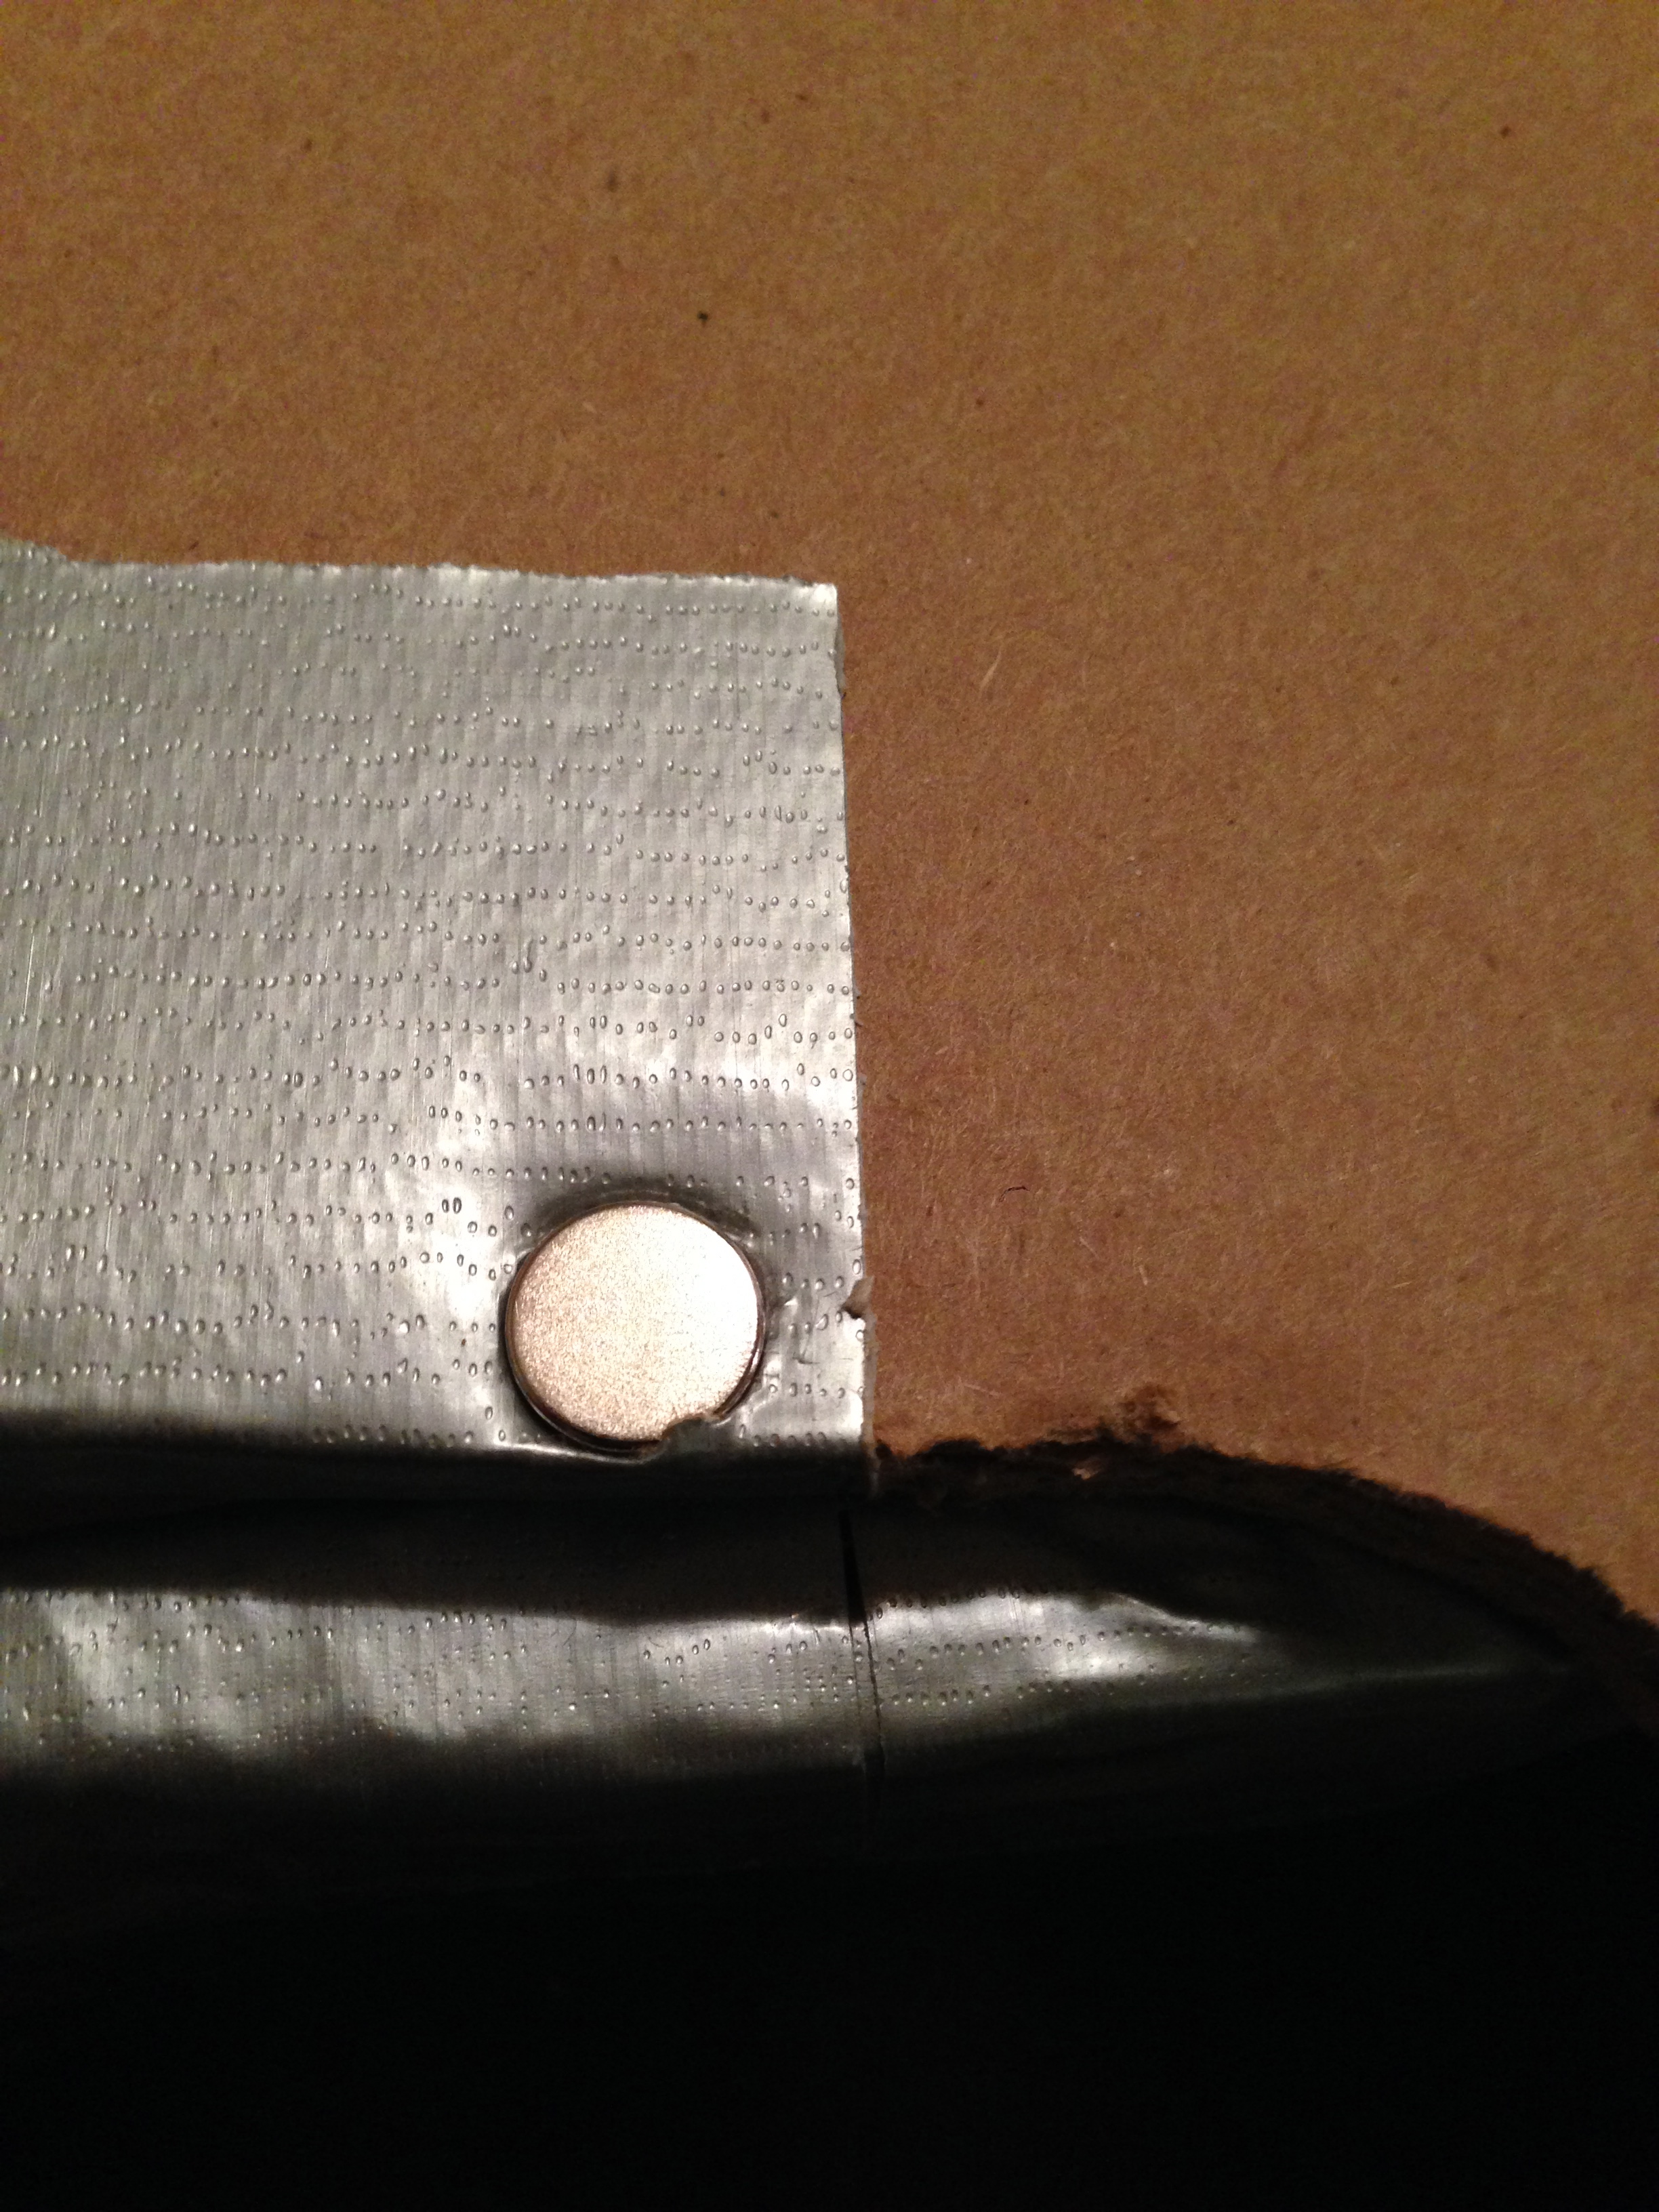
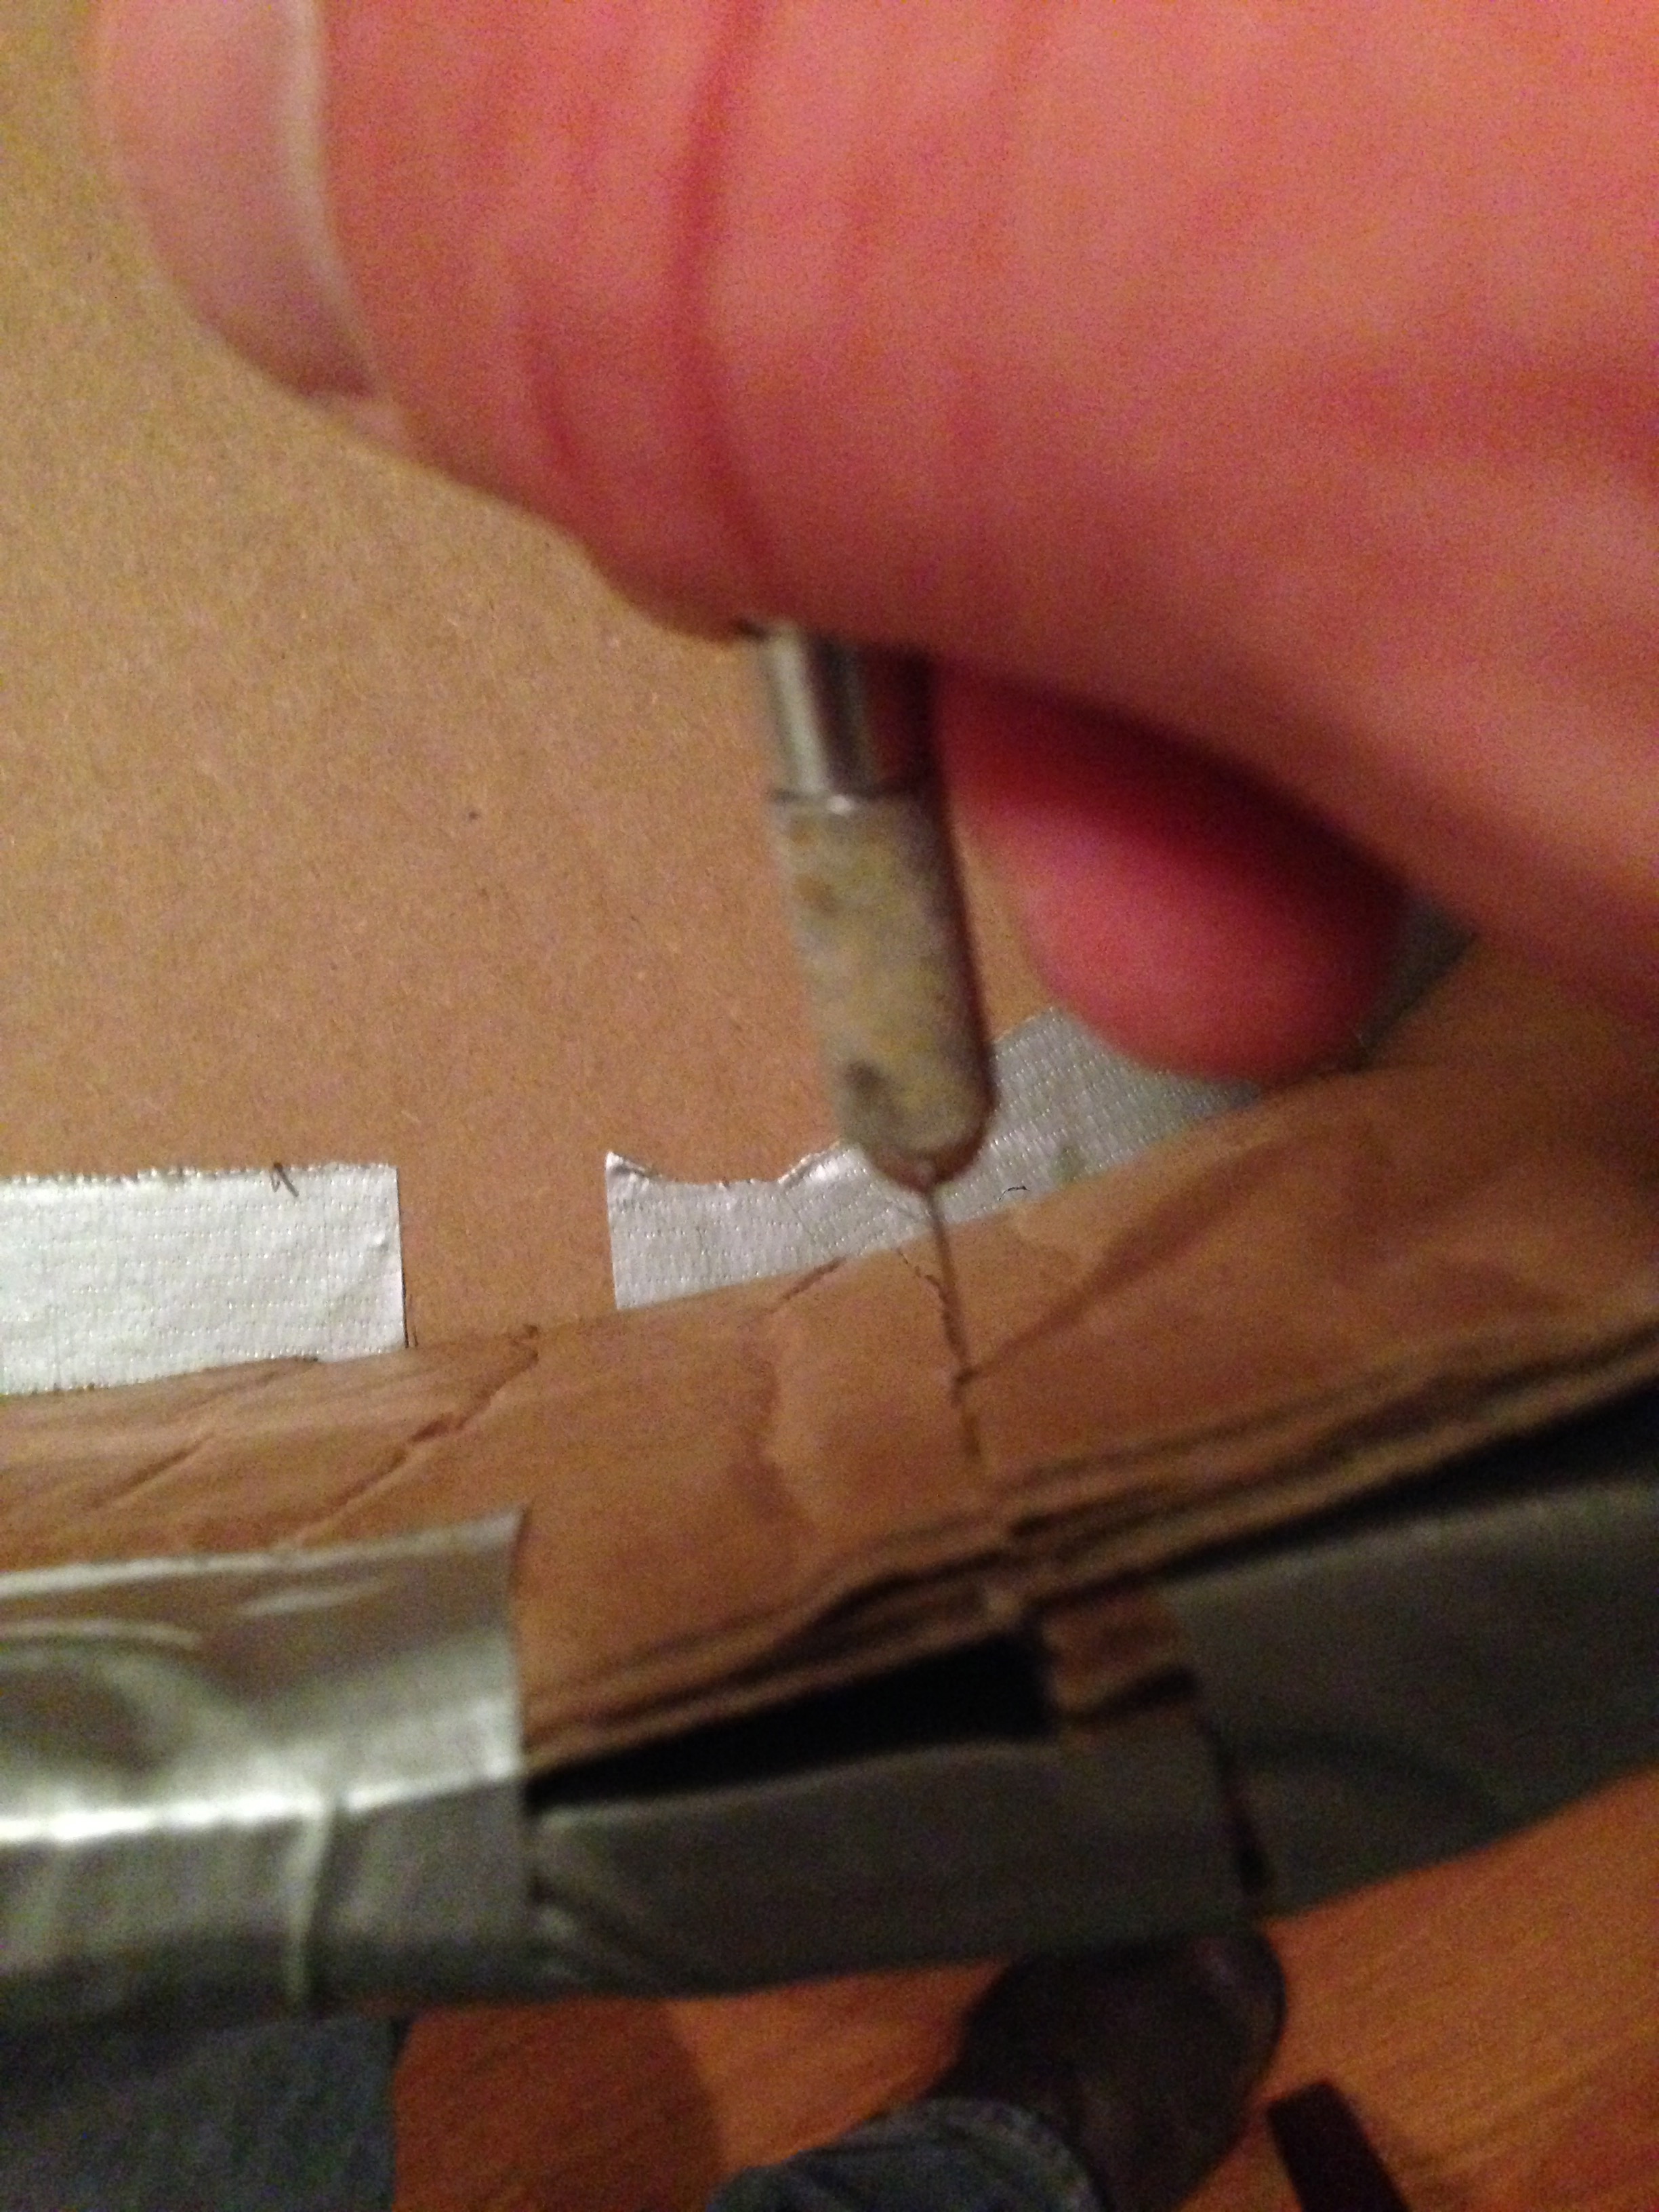
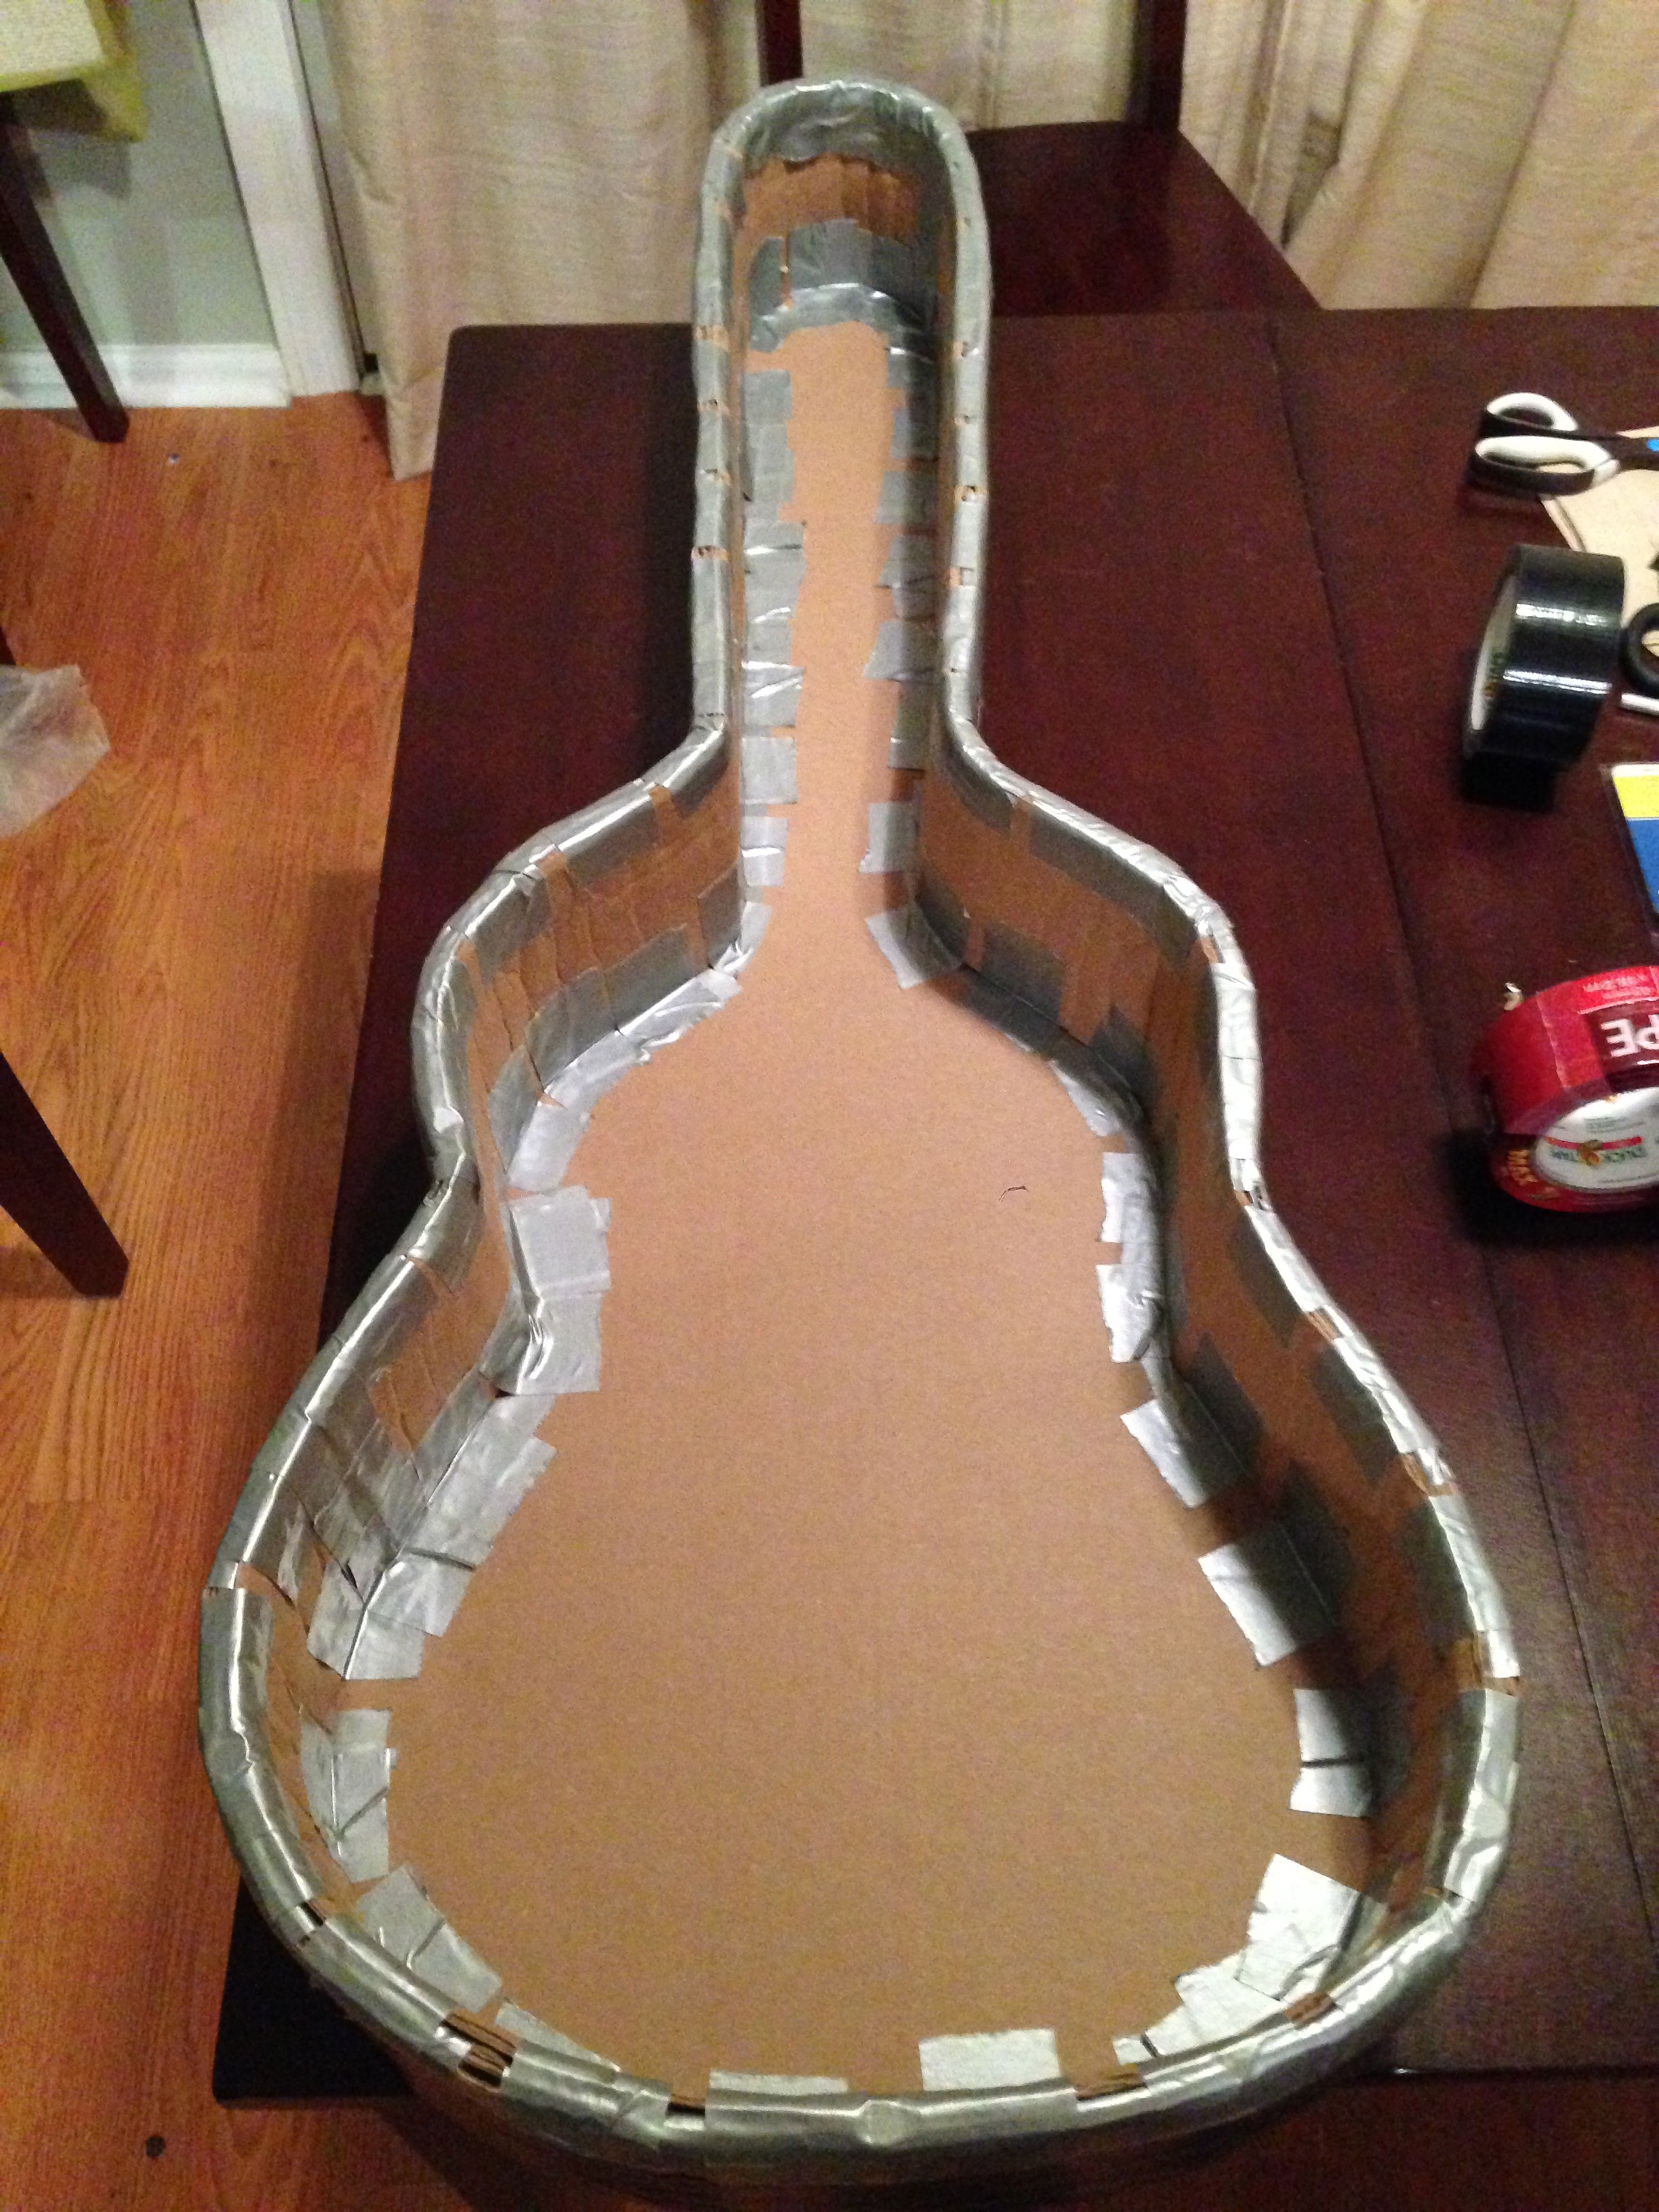
I prepared the lid and sides of the case for the magnets that would hold the lid on the case. I cut small holes in ten places around the rim on the sides of the case and then cut ten holes in similar locations on the bottom of the lid. I installed the magnets such that the sides would attract the lid, and then secured the magnets with duct tape and tested the lid.

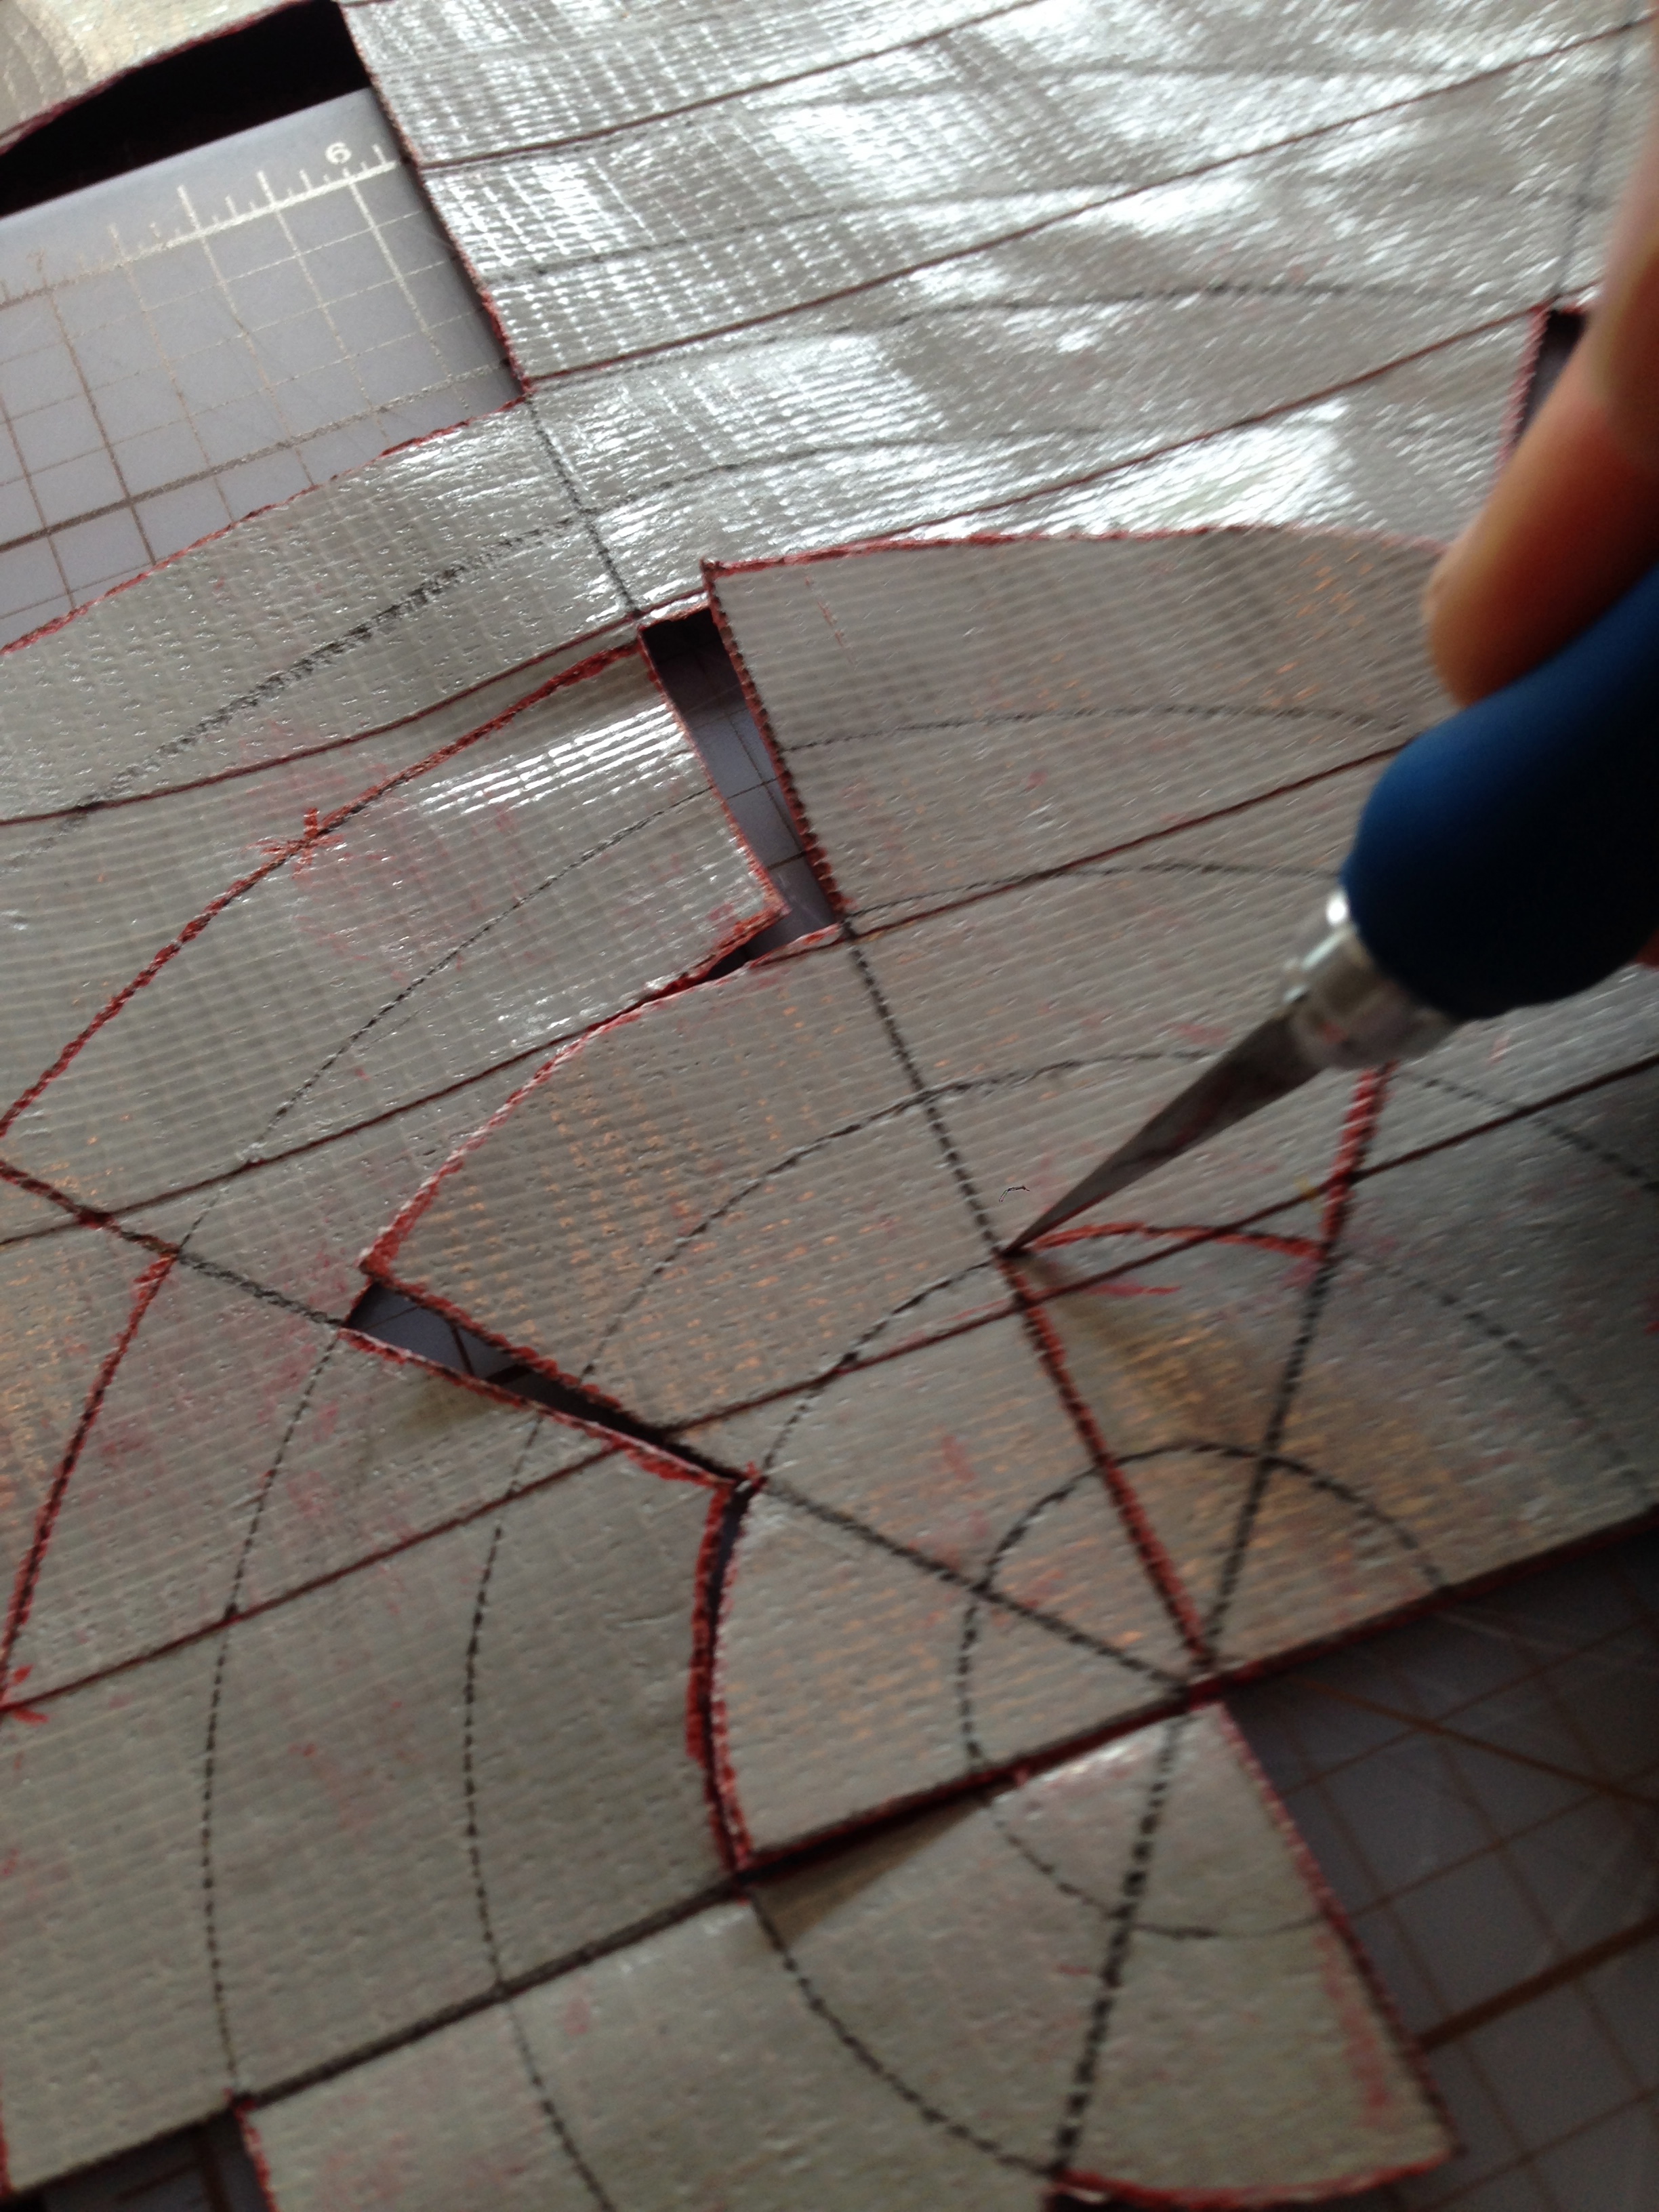
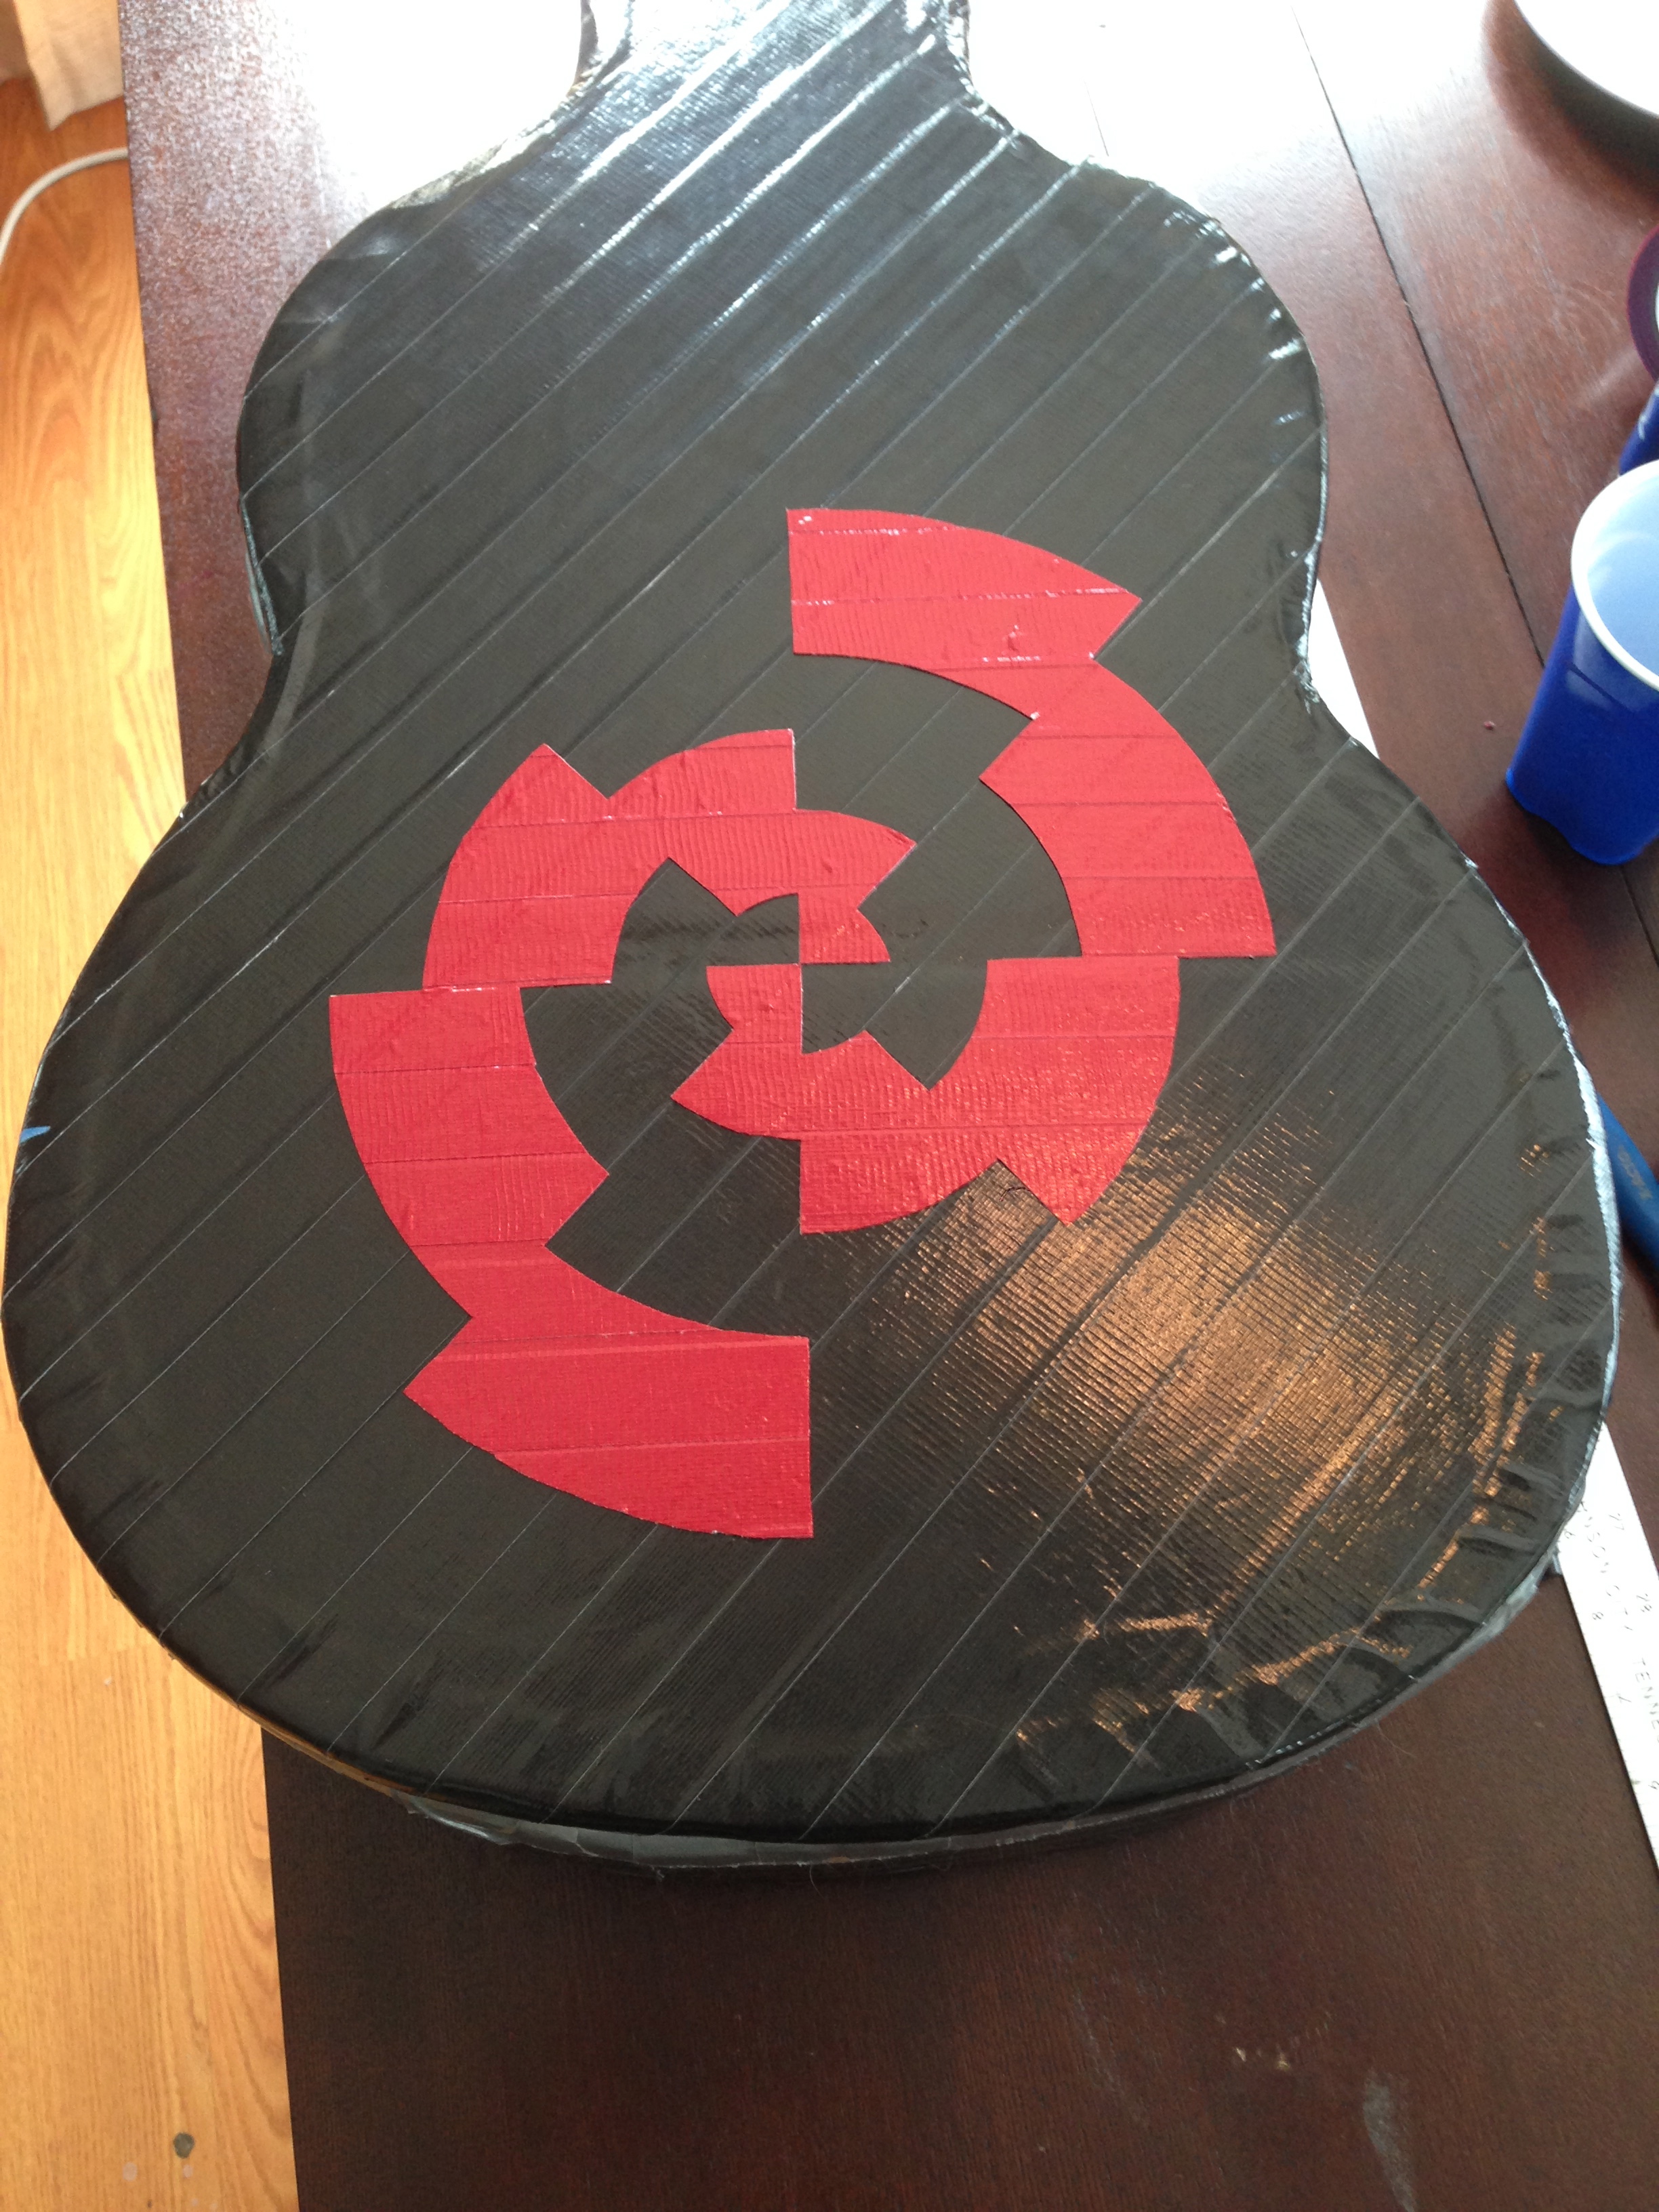
The spiral design is something I created a long time ago for a band that never came to fruition. I placed tight layers of red duct tape in steps (much like the back of the case) until I reached a desired length and width. Then, I sketched out the circular graph on the back of the tape with a ruler and compass. I drew the spiral backward and then cut it out with an X-Acto knife. It attached to the lid easily and turned out surprisingly well.

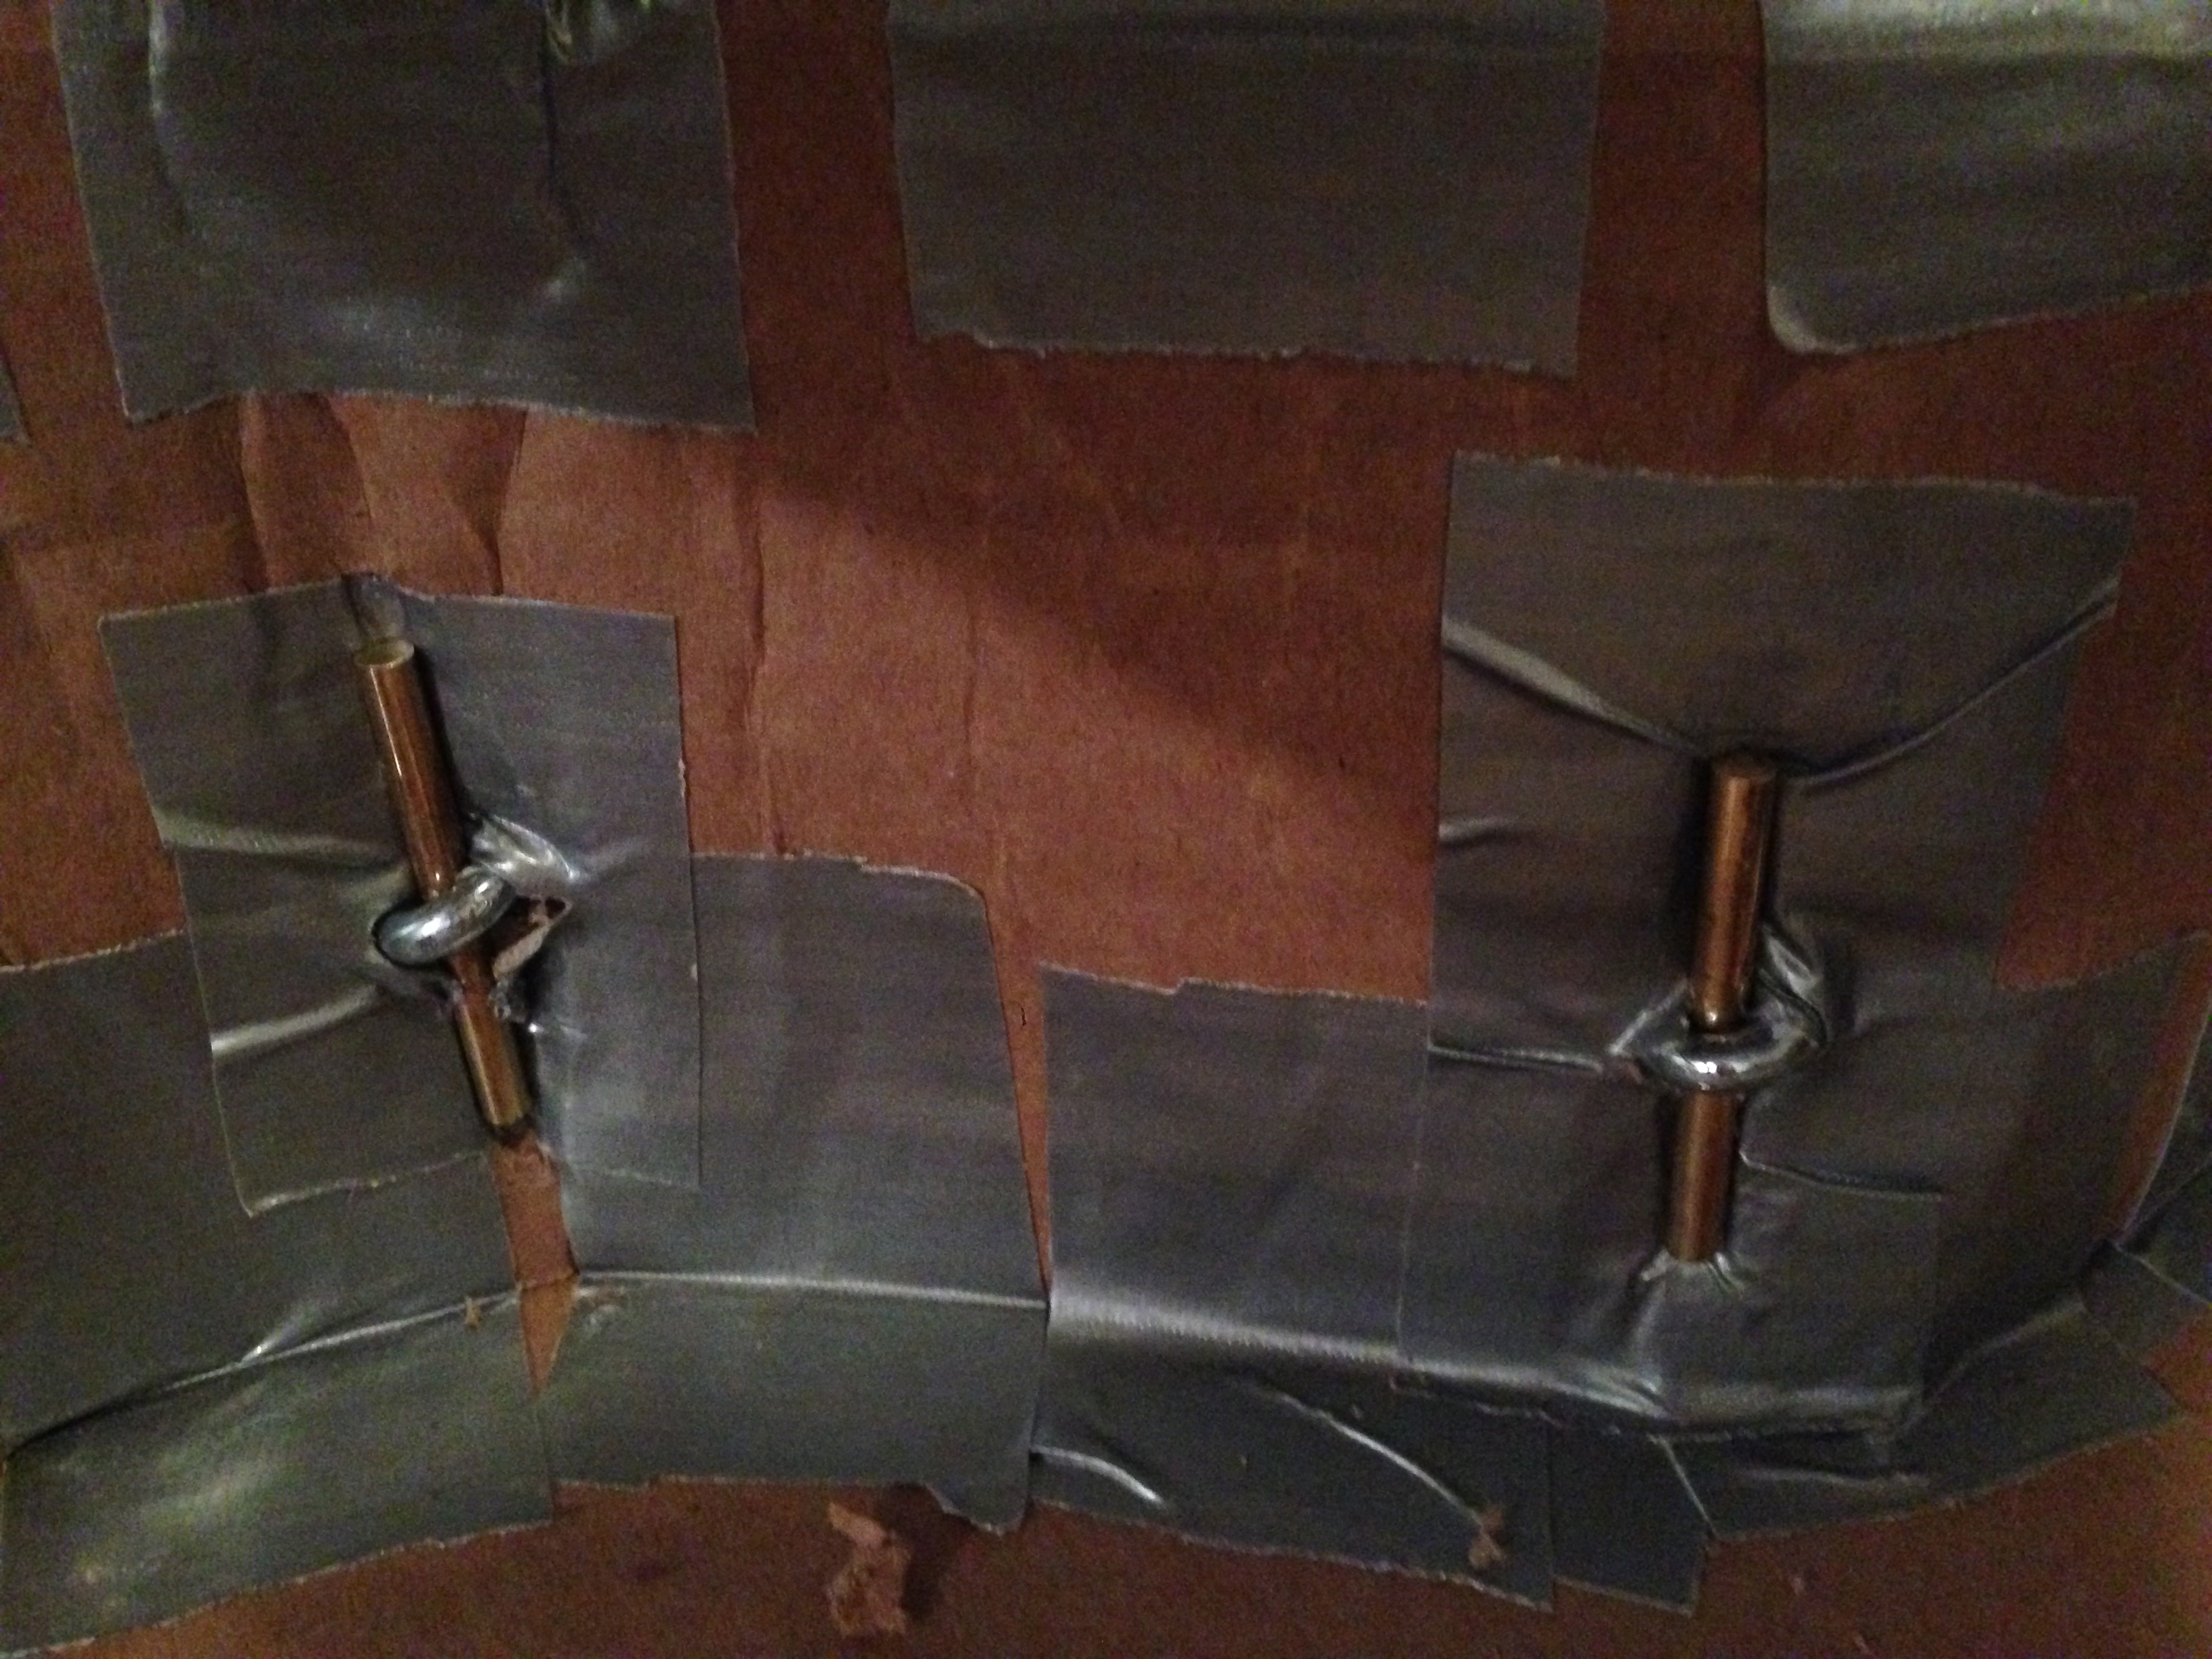

I was concerned about what to use for a handle for most of the project, but I couldn’t be happier with the chain handle that I ultimately decided on. It installed easily. Two cuts in the side of the case and some scrap brass bar to hold the ends securely in place. A couple pieces of gray duct tape finished the ends nicely.
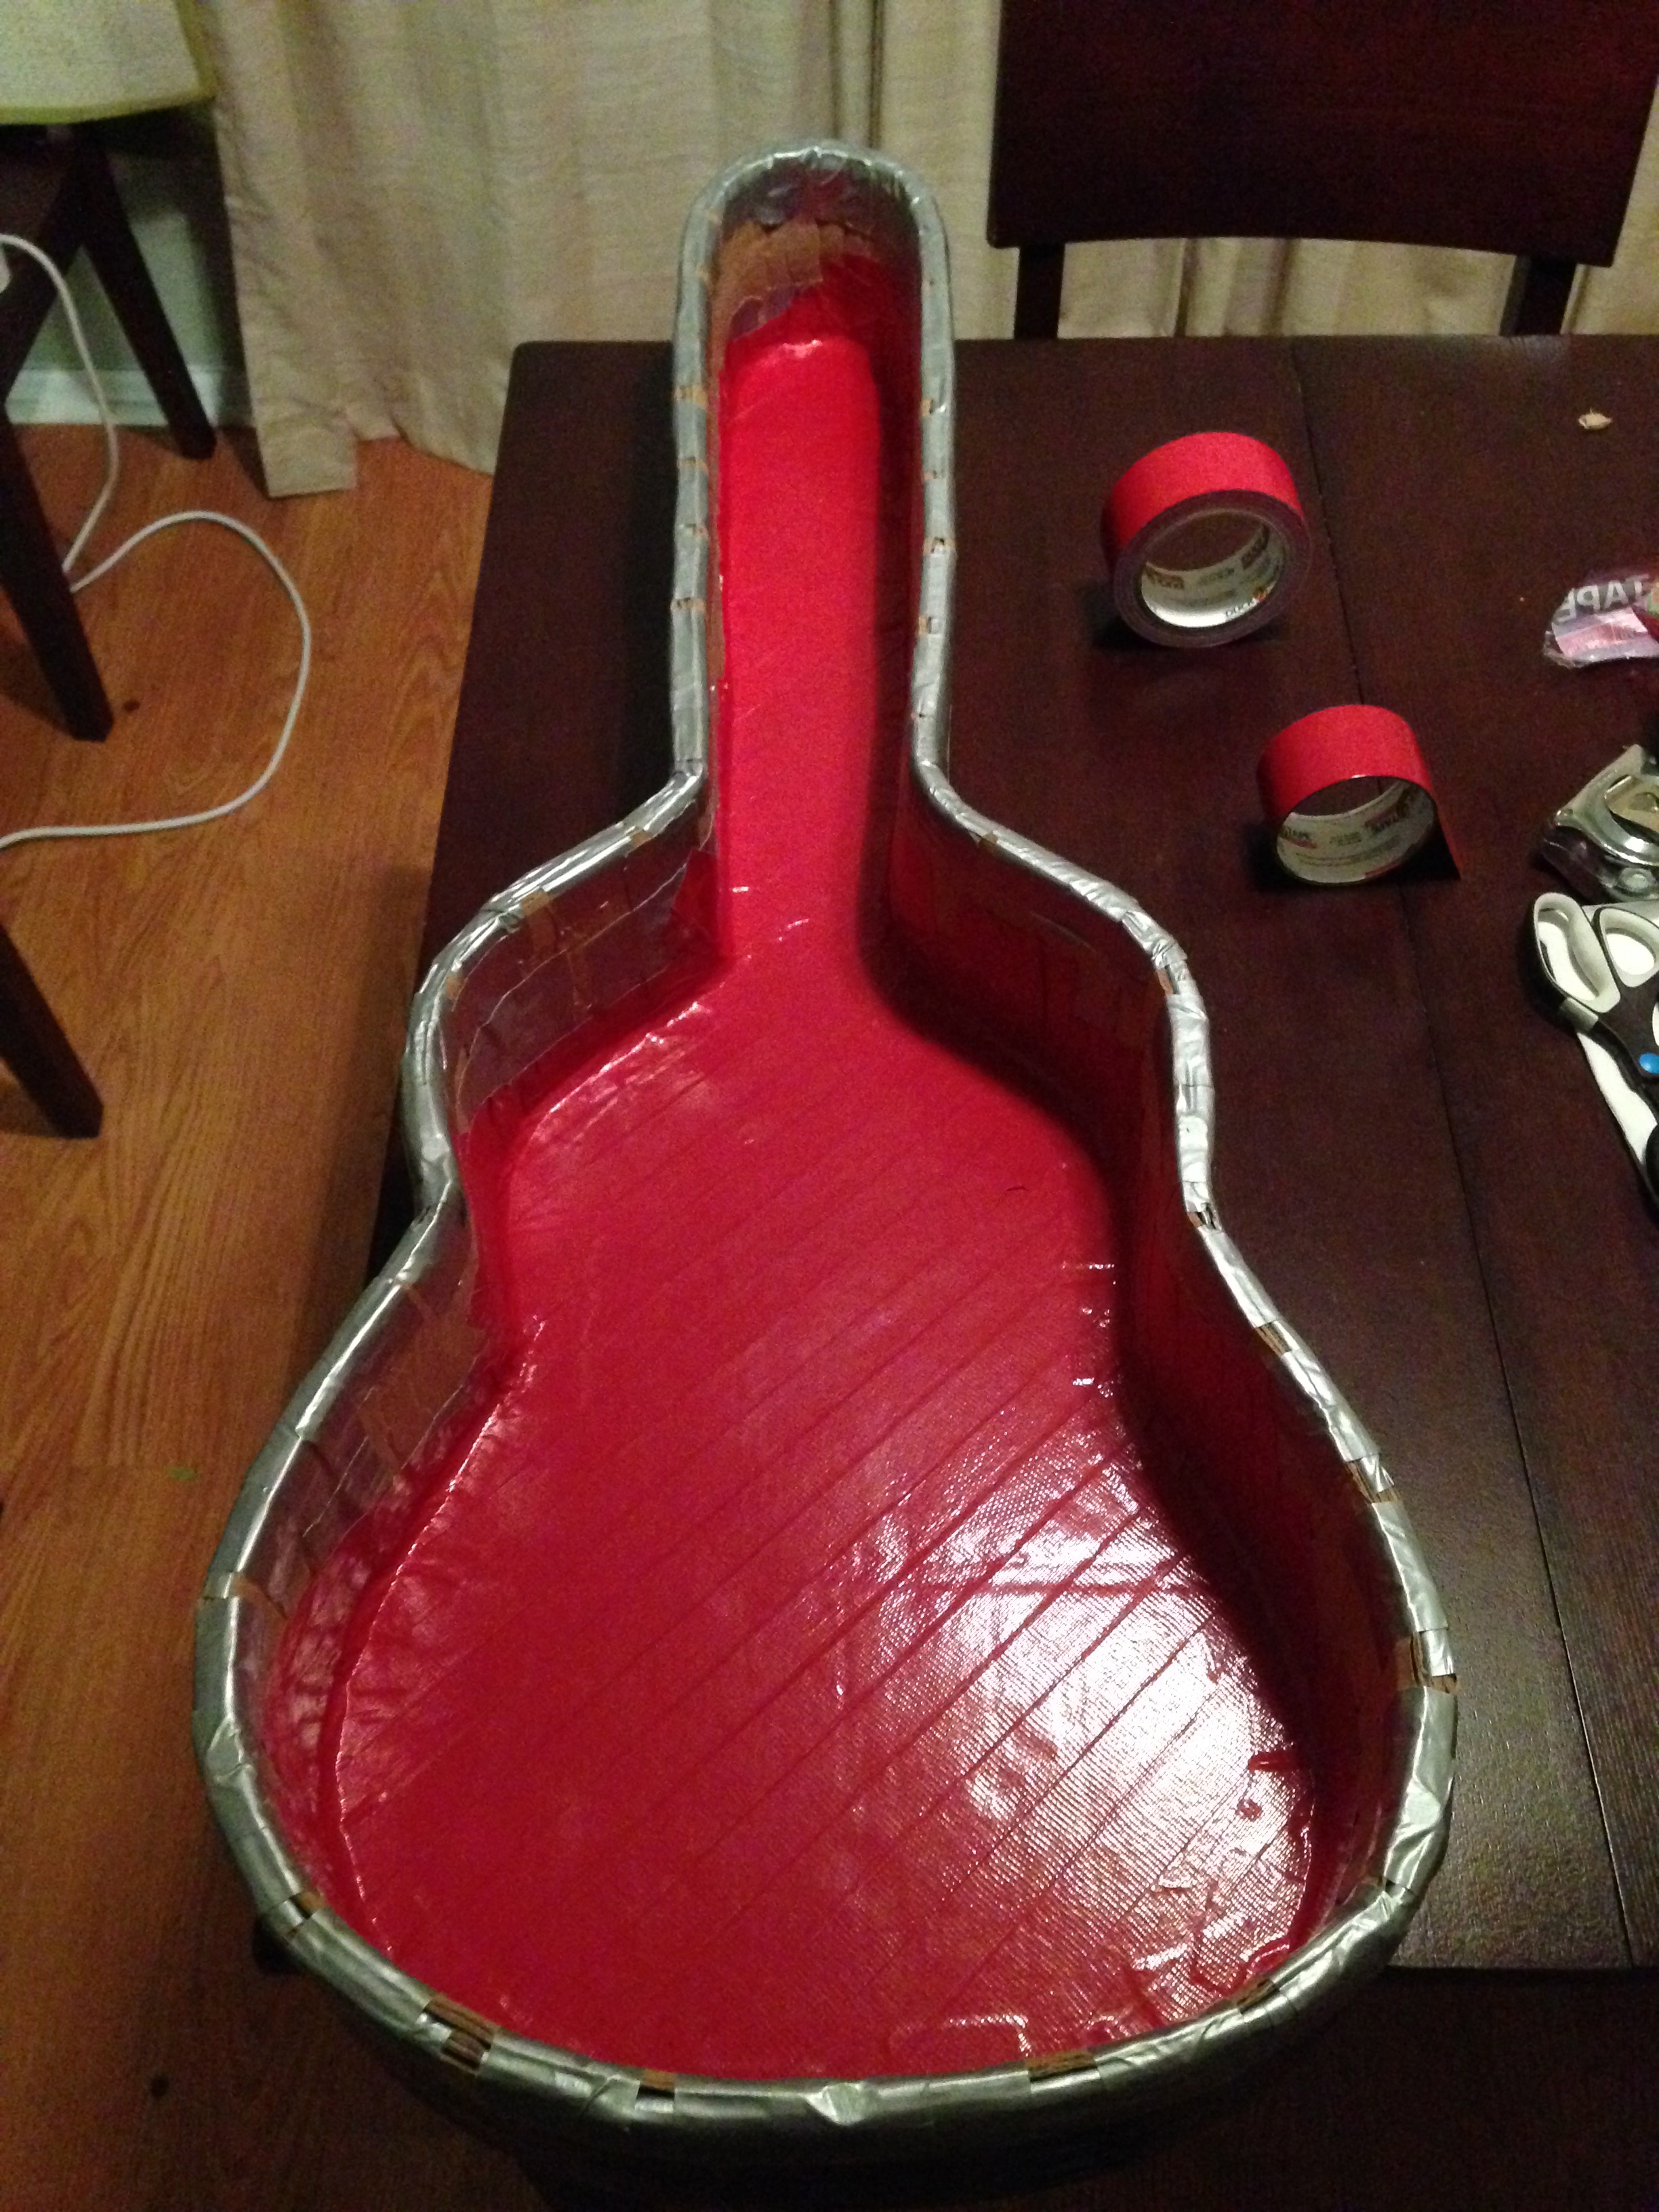
As for the remainder of the case, I added red duct tape to the bottom interior of the case in the same diagonal patterns as the outside. Next, I added vertical overlapping red duct tape around the interior sides, starting at the bottom side interior, up and over the rim, and onto the black tape around the exterior—the red duct tape was then cut flush with the black tape and the excess removed.

To create the red stripe around the outside of the rim, I continued running the black duct tape in overlapping strips up the side of the case until there was a thin strip of red around the rim. I applied red duct tape on the bottom side of the lid—I cut the strips of tape long and cut it to shape so that there was a thin strip of black around the underside of the lid. Lastly, I used scrap cardboard and red duct tape to create a neck rest and storage compartment.
Building this case was a lot more work than I had anticipated, and ultimately cost slightly more than the used cases that I passed on because of price, but it was an awesome project just the same.
![]()
