
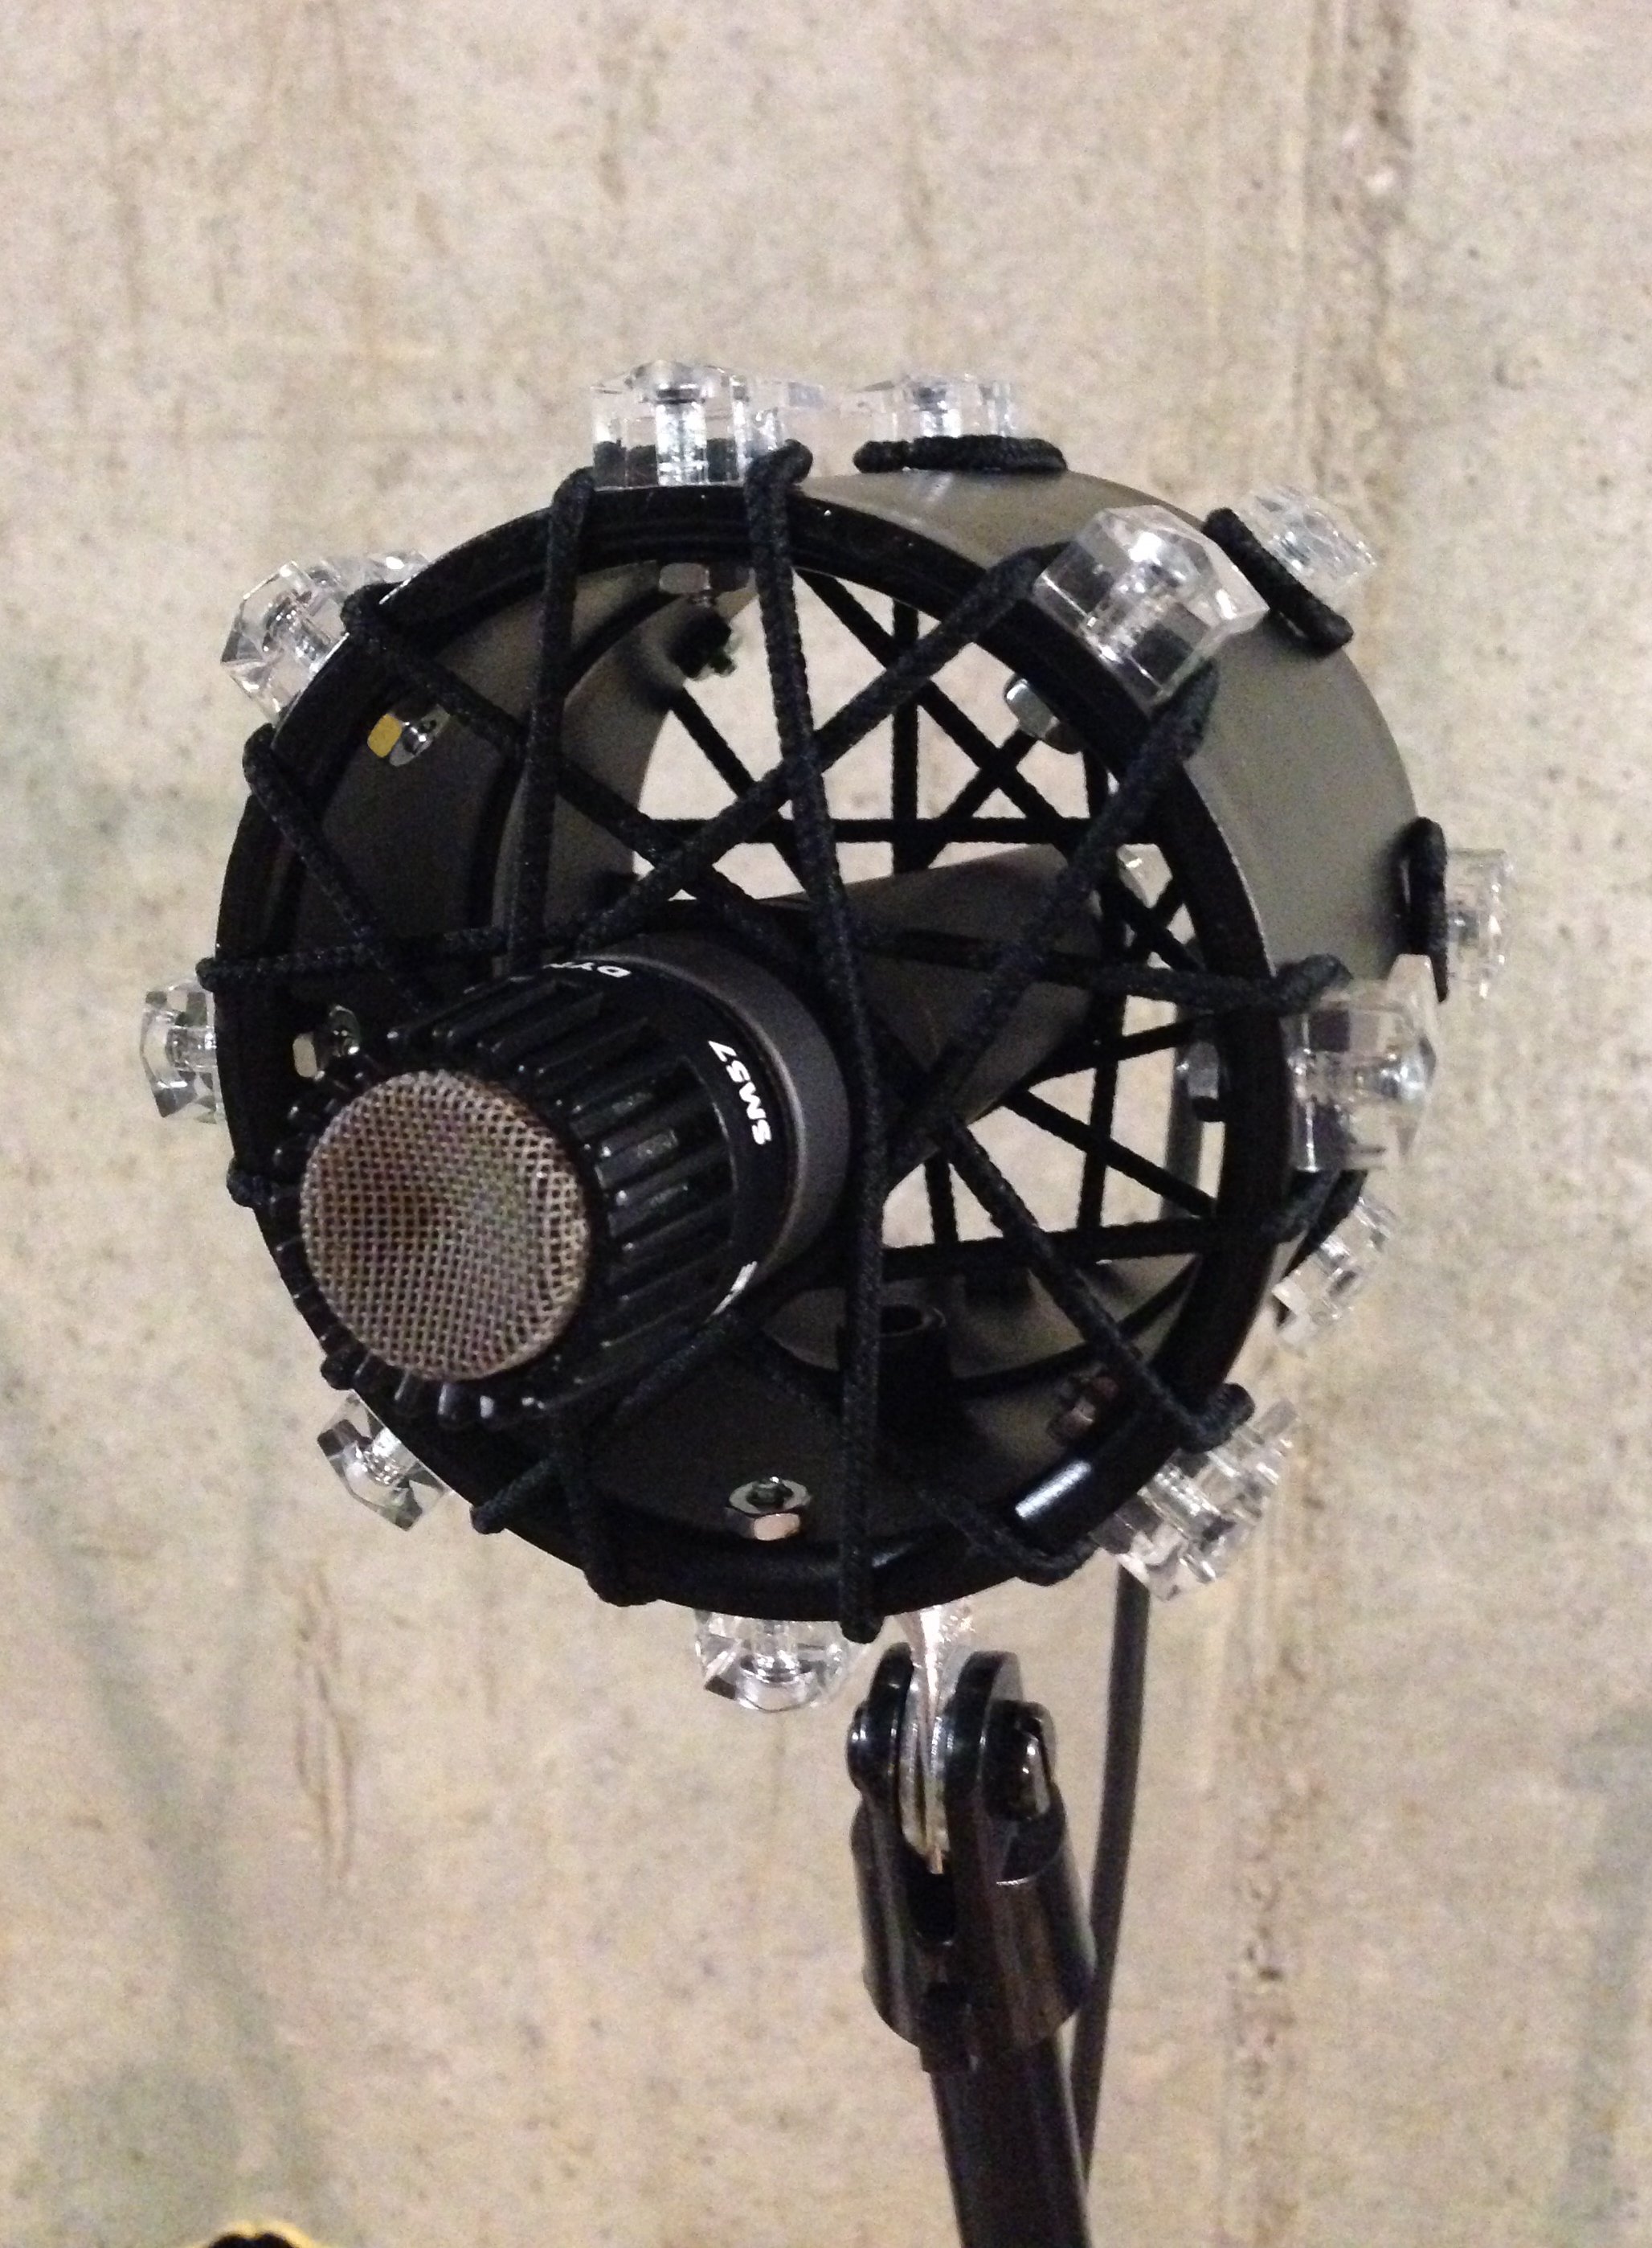
Some years back, I was recording a song with some friends. During previous meetings, we had found that the kick drum mic was picking up a lot of vibration noise, so I threw together a quick fix—I cut a small piece from a scrap of 4” PVC from the garage, attached the bottom part of the broken mic clip, bolted on some mirror hangers, and then strung up a handful of hair ties…problem solved.
This is an intermediate project requiring elementary fabrication. Depending upon the tools and supplies you already have, the materials necessary for this project will cost under $20.
Please read through the instructions before beginning; if you are prepared, and have everything on the list set up, you should be able to complete this project within a few hours—see the part/suggested tool list at the bottom of the page. Click on any image to zoom in for a closer look.
INSTRUCTIONS:
1) Make a Template:
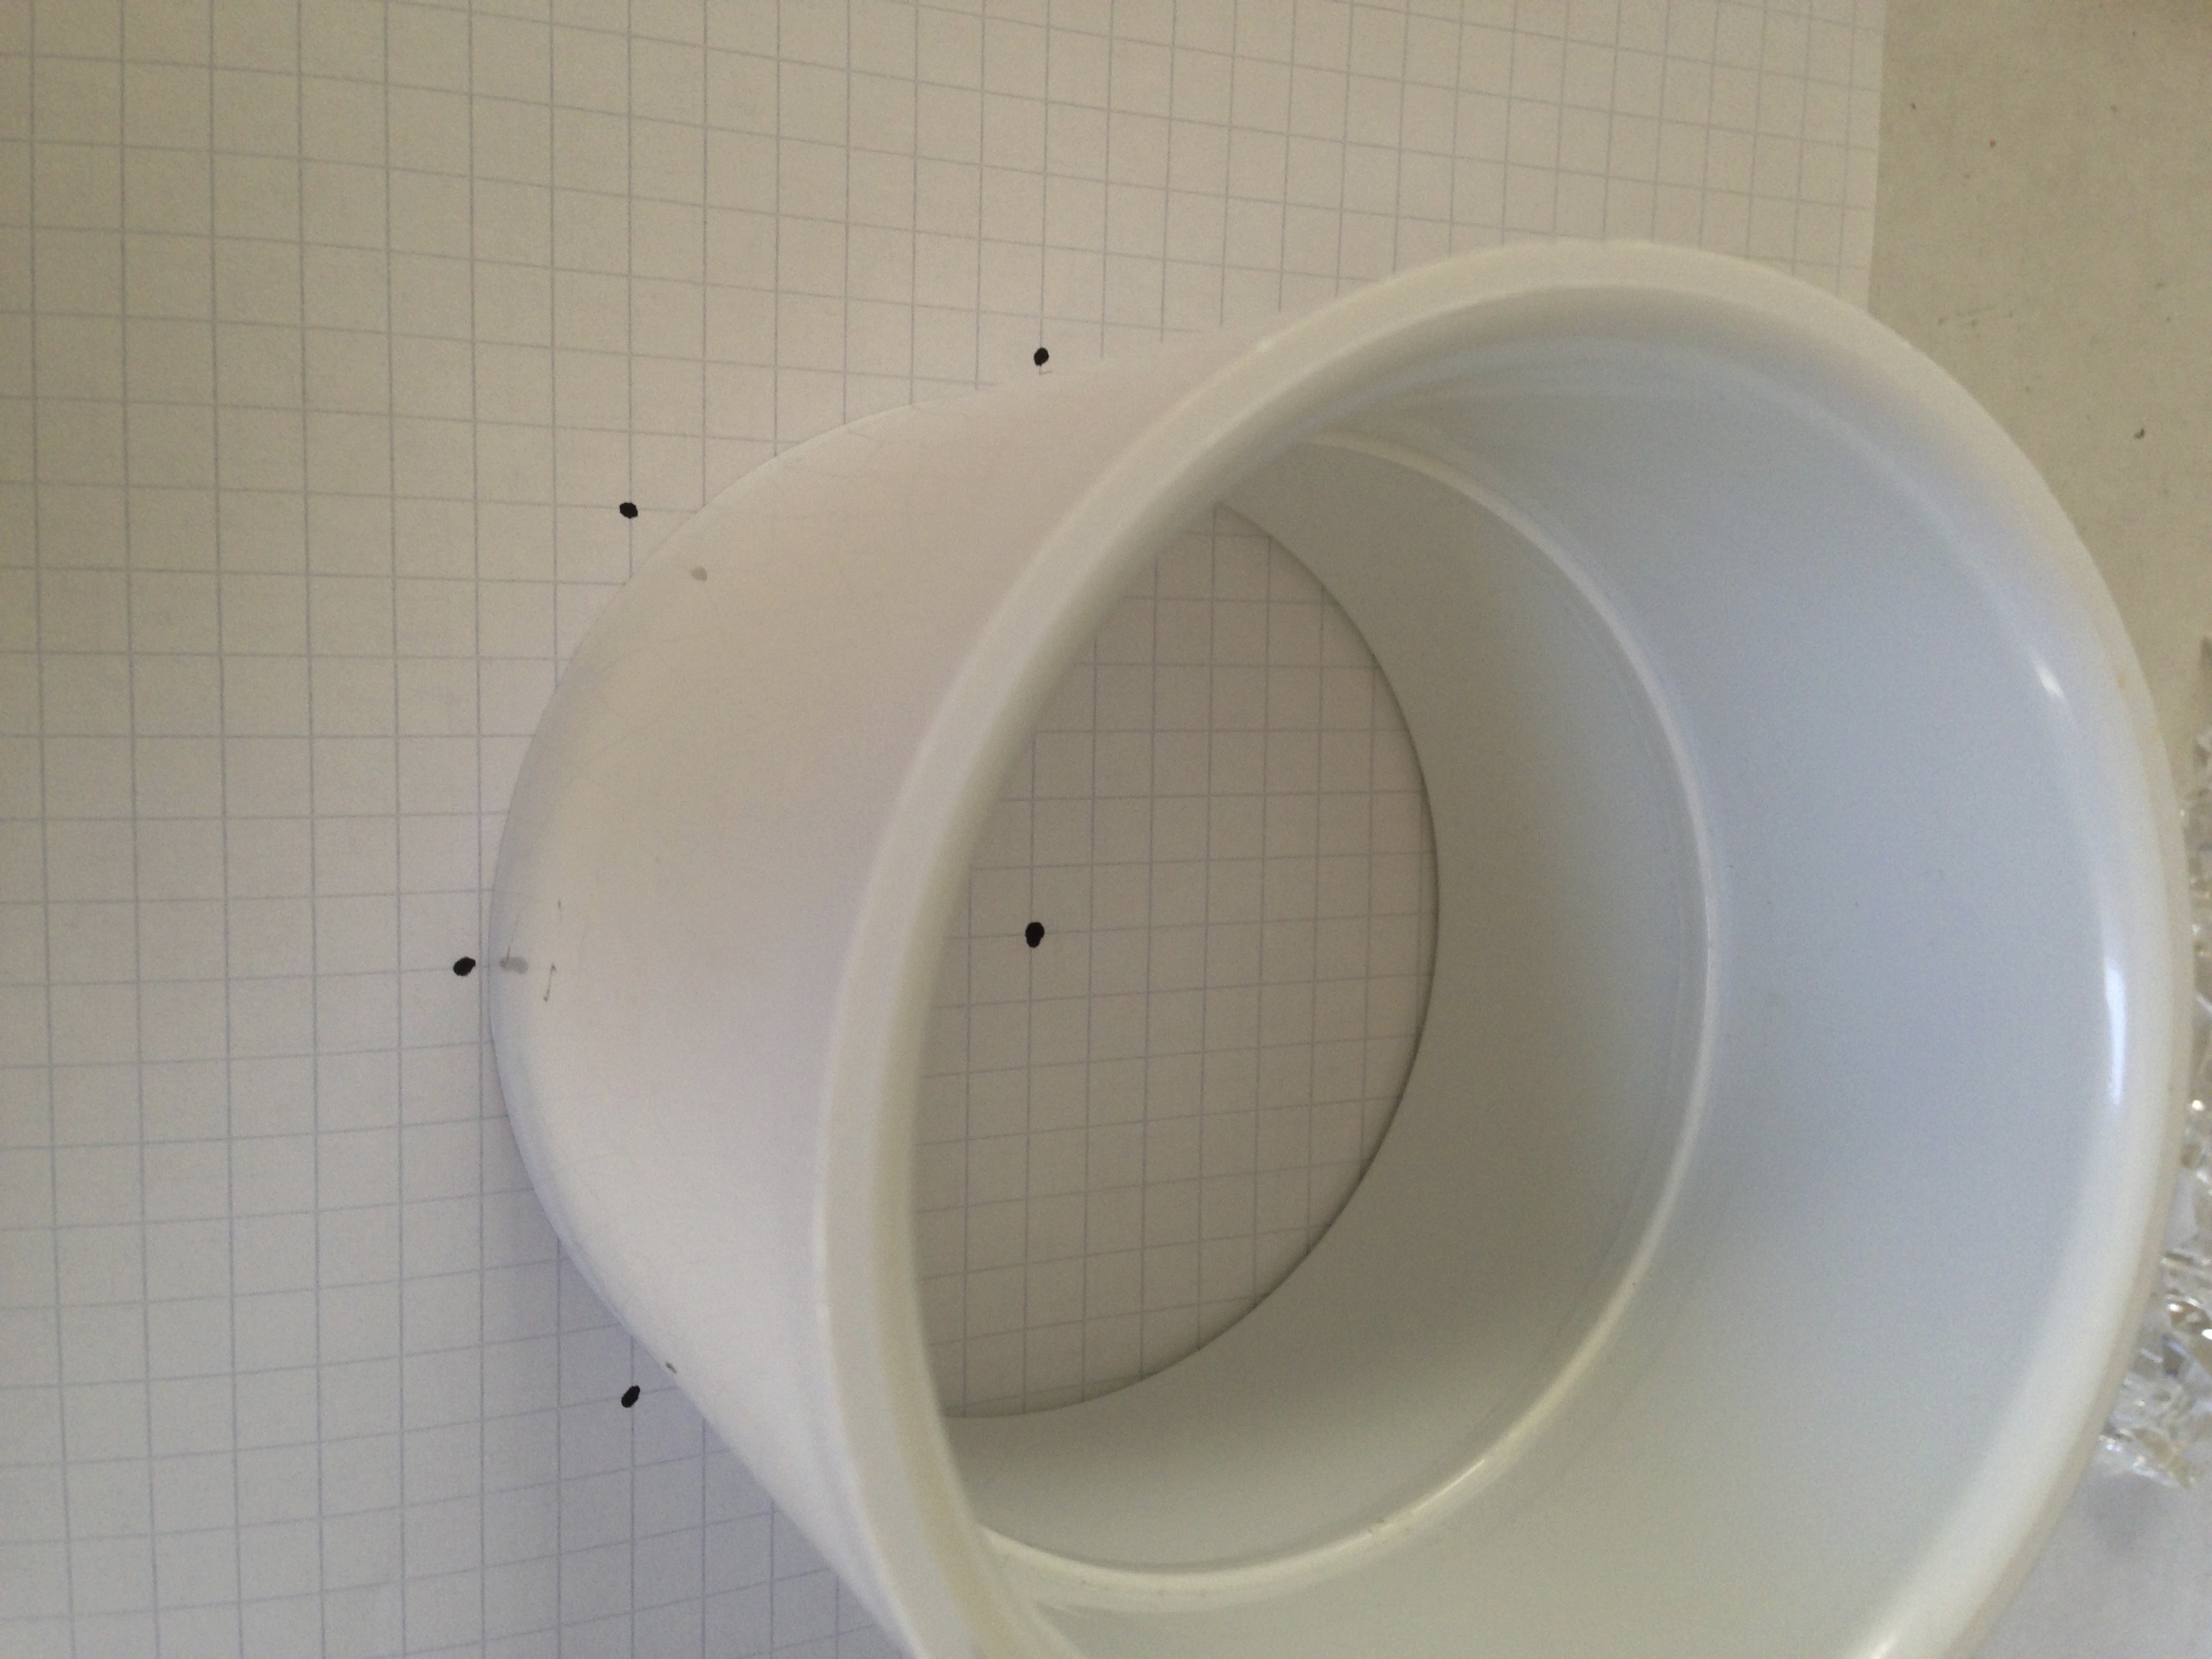

a. Using four line per inch (16 squares per square inch) graph paper, draw a small dot at an intersection in the center of the page.
b. Place a 3” PVC coupling on the page and center it around the dot. Count the squares to the right and left and up and down, relative to the dot, to verify that the coupling is in the correct position—they should all be equal.
c. Remove the coupling. Then draw a lines connecting the outer dots through the center dot, as shown above.
2) Use the template to layout the drilling points.


a. Place the coupling on the template and center it as it was before.
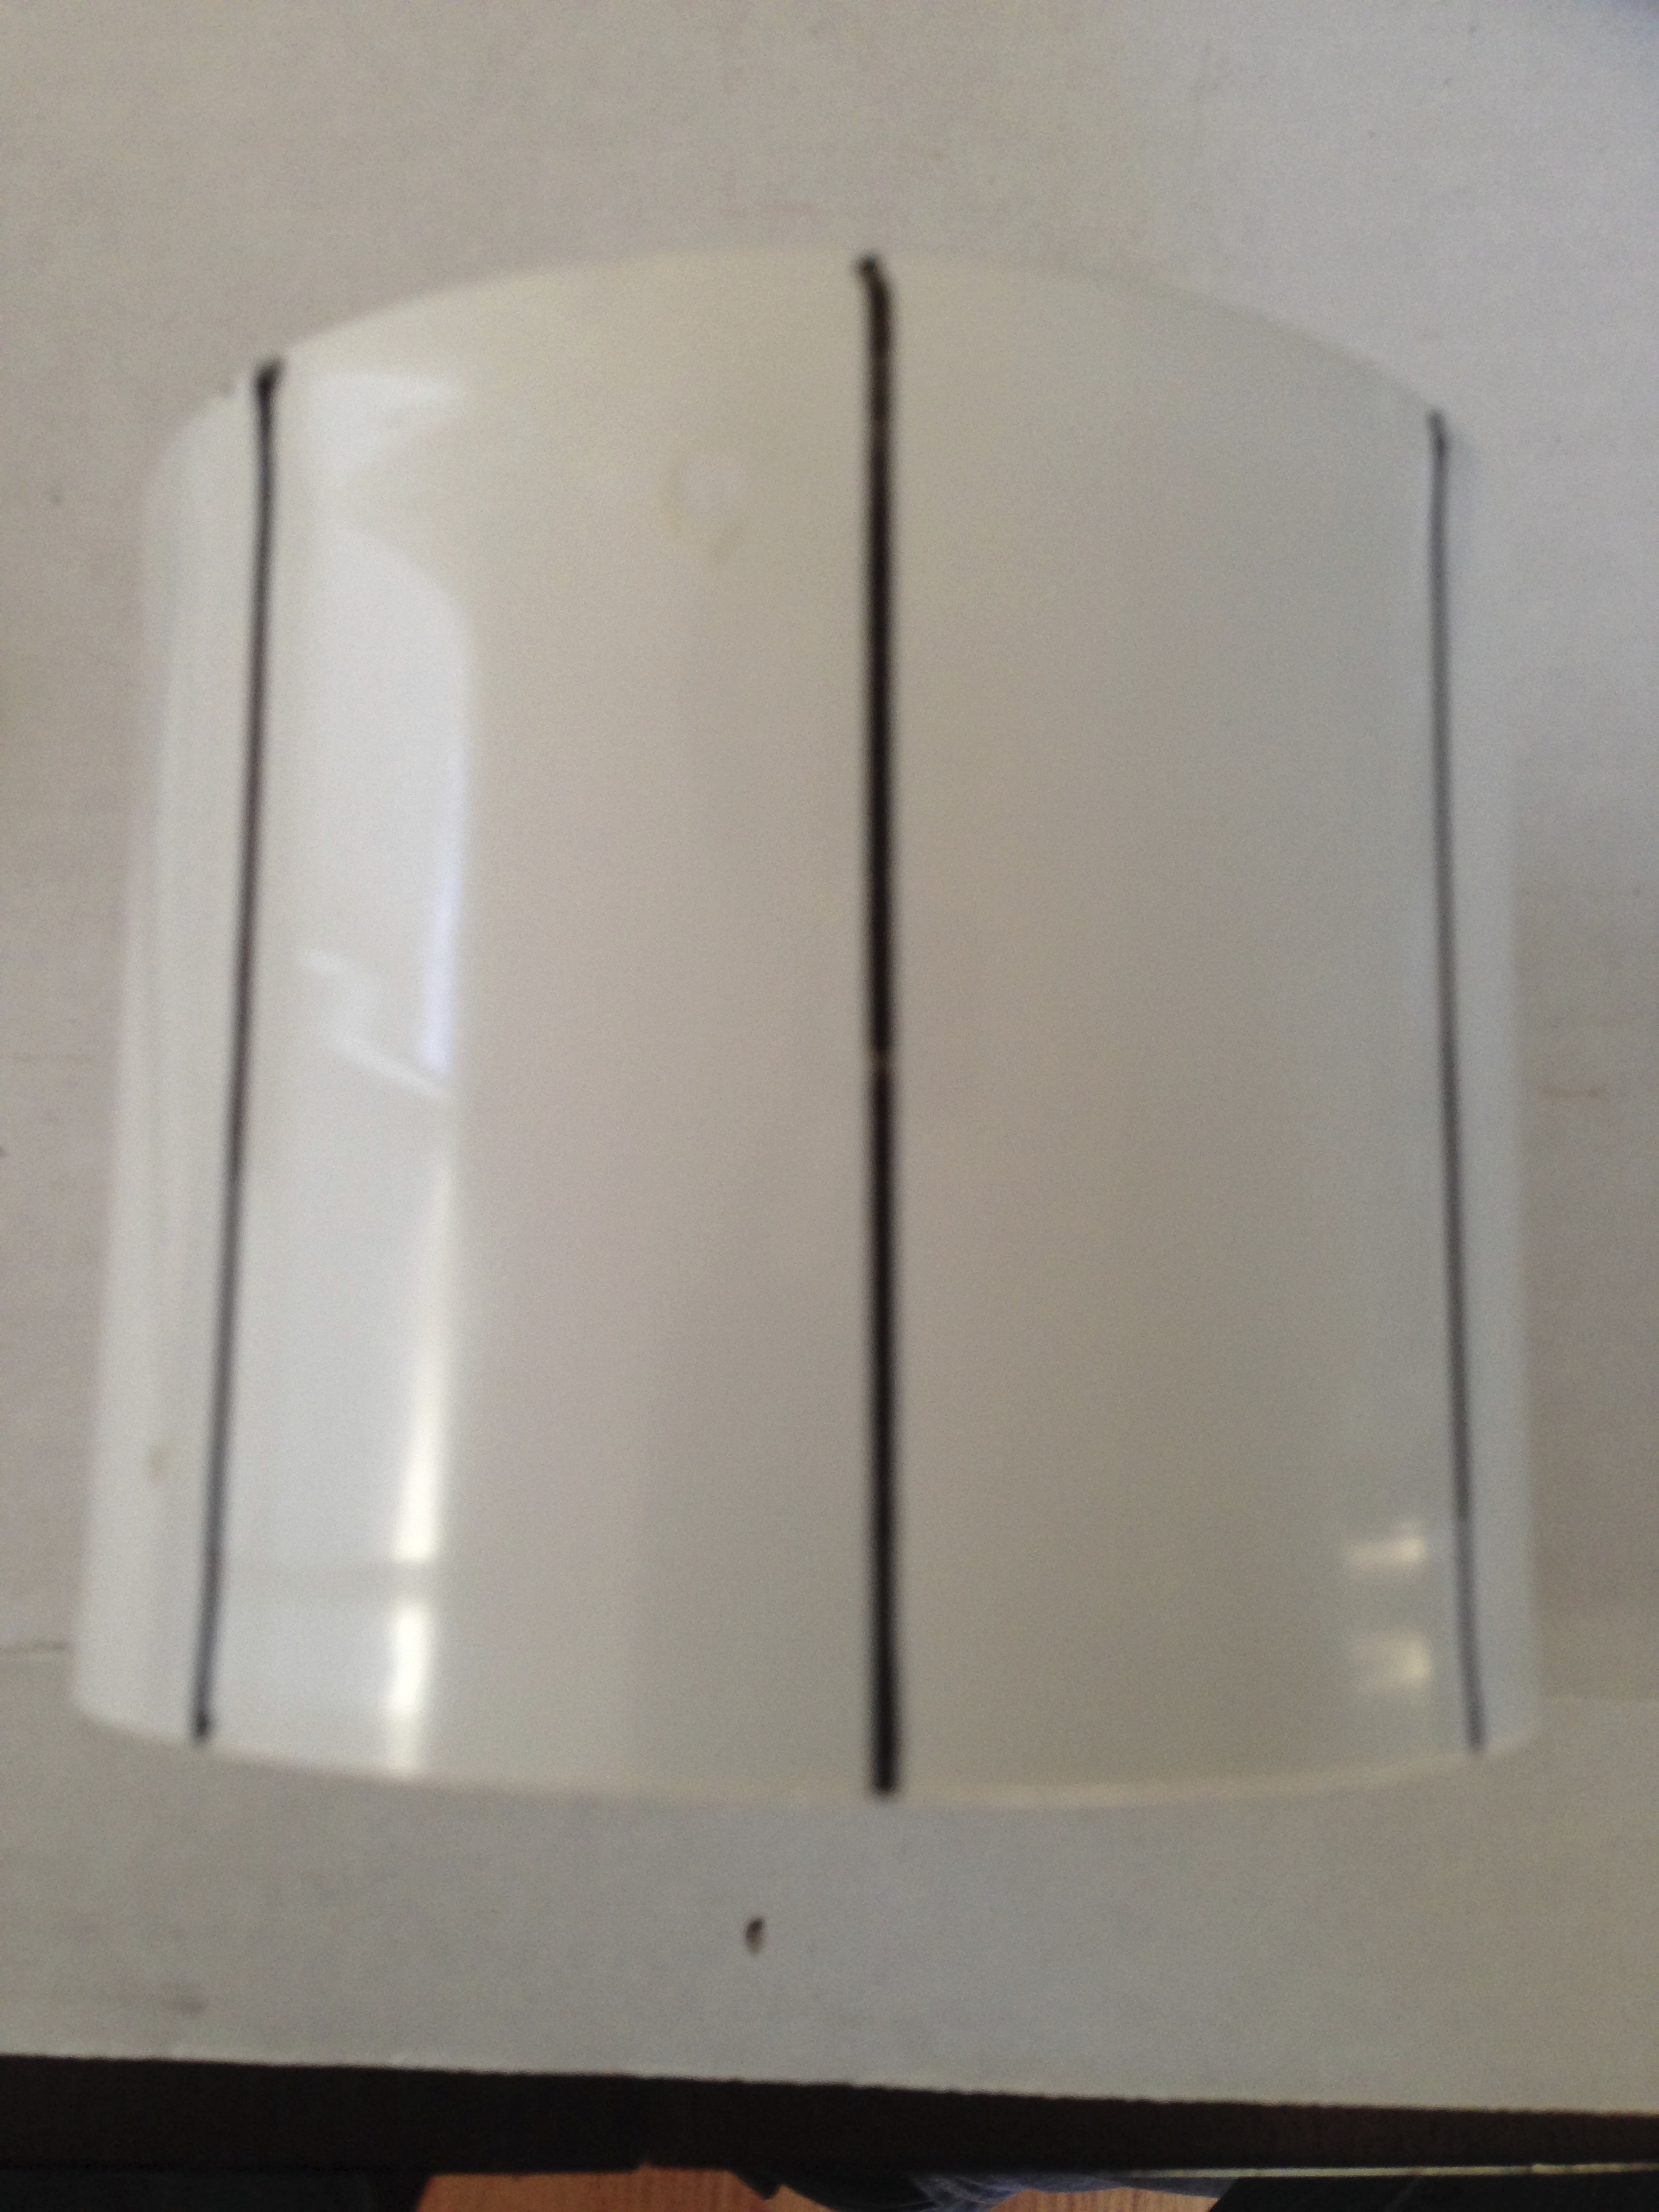
b. Note where the lines intersect the outer edge of the coupling. Using a DRY ERASE MARKER, (or other erasable pen) make a small mark at the bottom of the coupling in each place where the line intersects.
c. Butt the edge of the square against the top of the coupling. Confirm that the square is “square,” and then draw a straight line down the length of the coupling—over each of the eight marks. I have included images of two types squares—the speed square might be easier, but any square should work.


3) Drill the holes for the mirror hangers and mic clip bottom.


a. Find a drill bit that is slightly bigger than a #6 – 32 x 3/4” flat head machine screw.
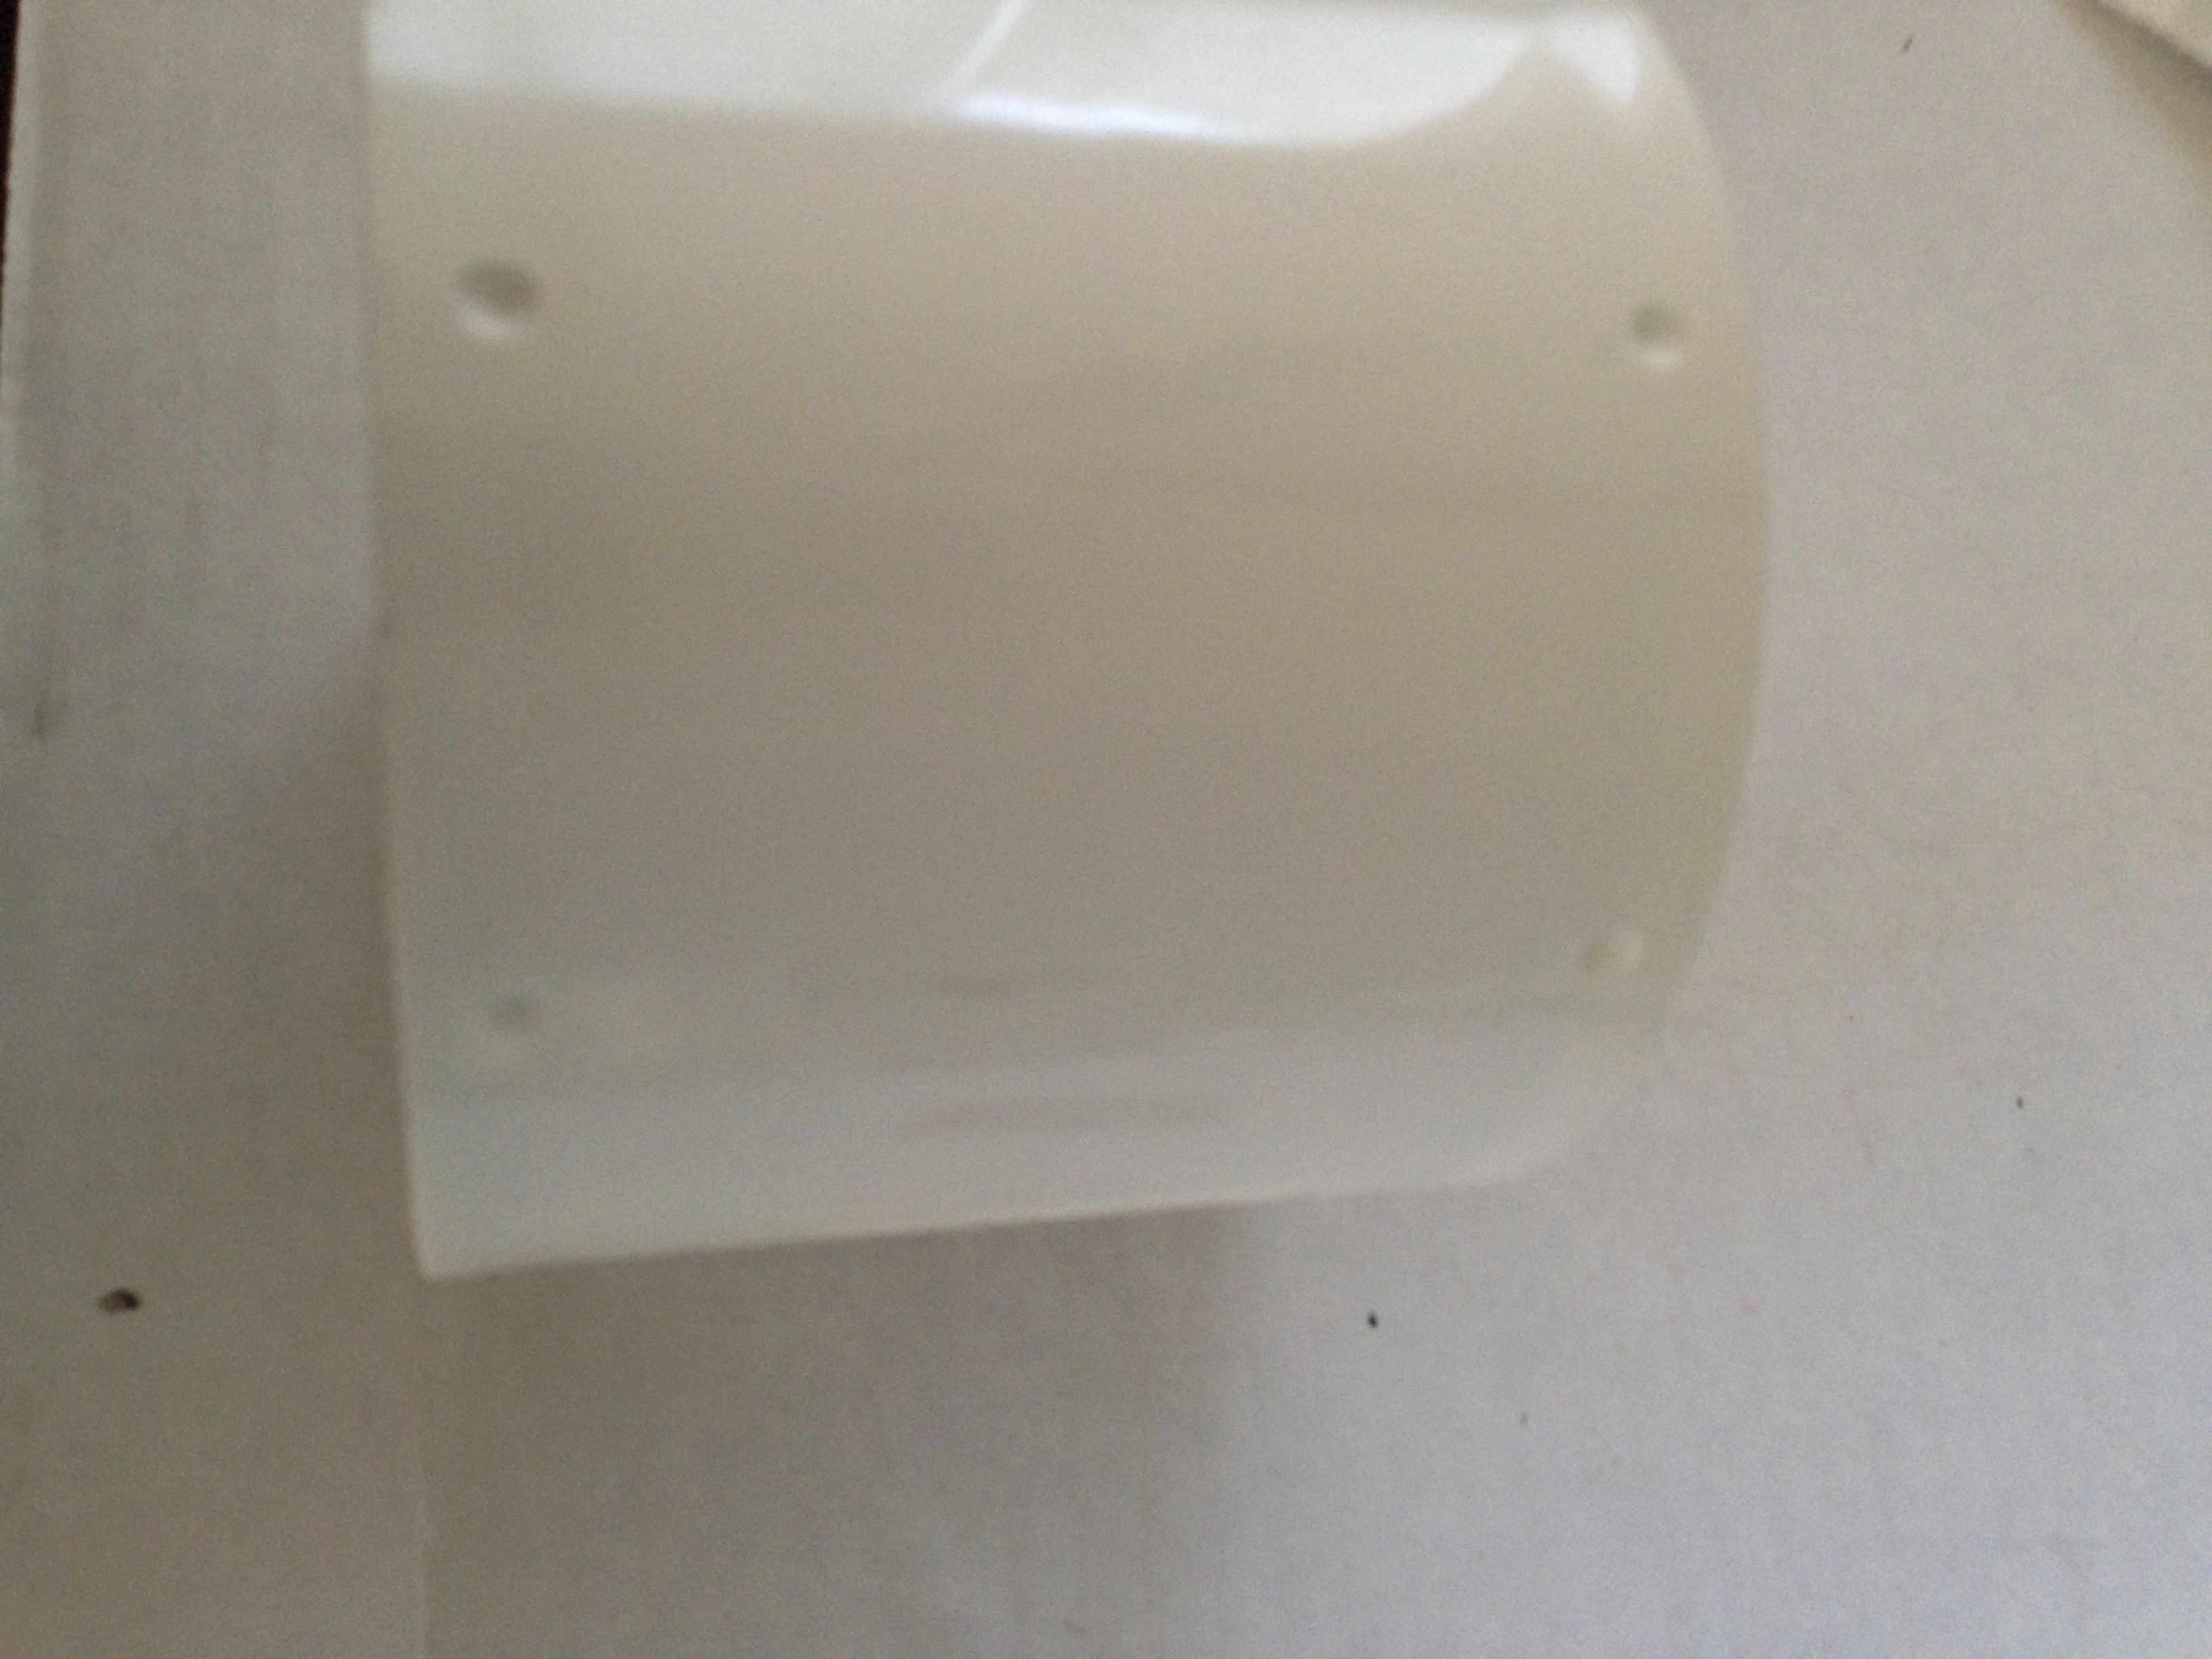
b. Place a 1/4” mirror hanger on one of the lines, flush with the edge of the coupling, with the open end of the mirror hanger facing inward. Put the drill bit in the hole on the mirror hanger and drill a small indention, to mark where the hole will be. Repeat this on both ends of each of the eight lines.
c. Clean the lines off of the coupling with baby wipes or soap and water.
d. Drill the holes, previously marked with indentions.
e. Find a drill bit that will make a hole to accommodate 5/16-18 x 1/2 hex screw.
f. Drill the hole. There will be a lip on the inside, center of the coupling. It is recommended that the hole be placed just after the lip; otherwise, some of the lip on either side of the hole will have to be carved away so that the hex screw sets correctly.
4) Paint the coupling (optional). It isn’t necessary to paint the coupling, but it is an opportunity to make final product look cool. Painting the coupling will add a few more hours to the original project completion estimate.
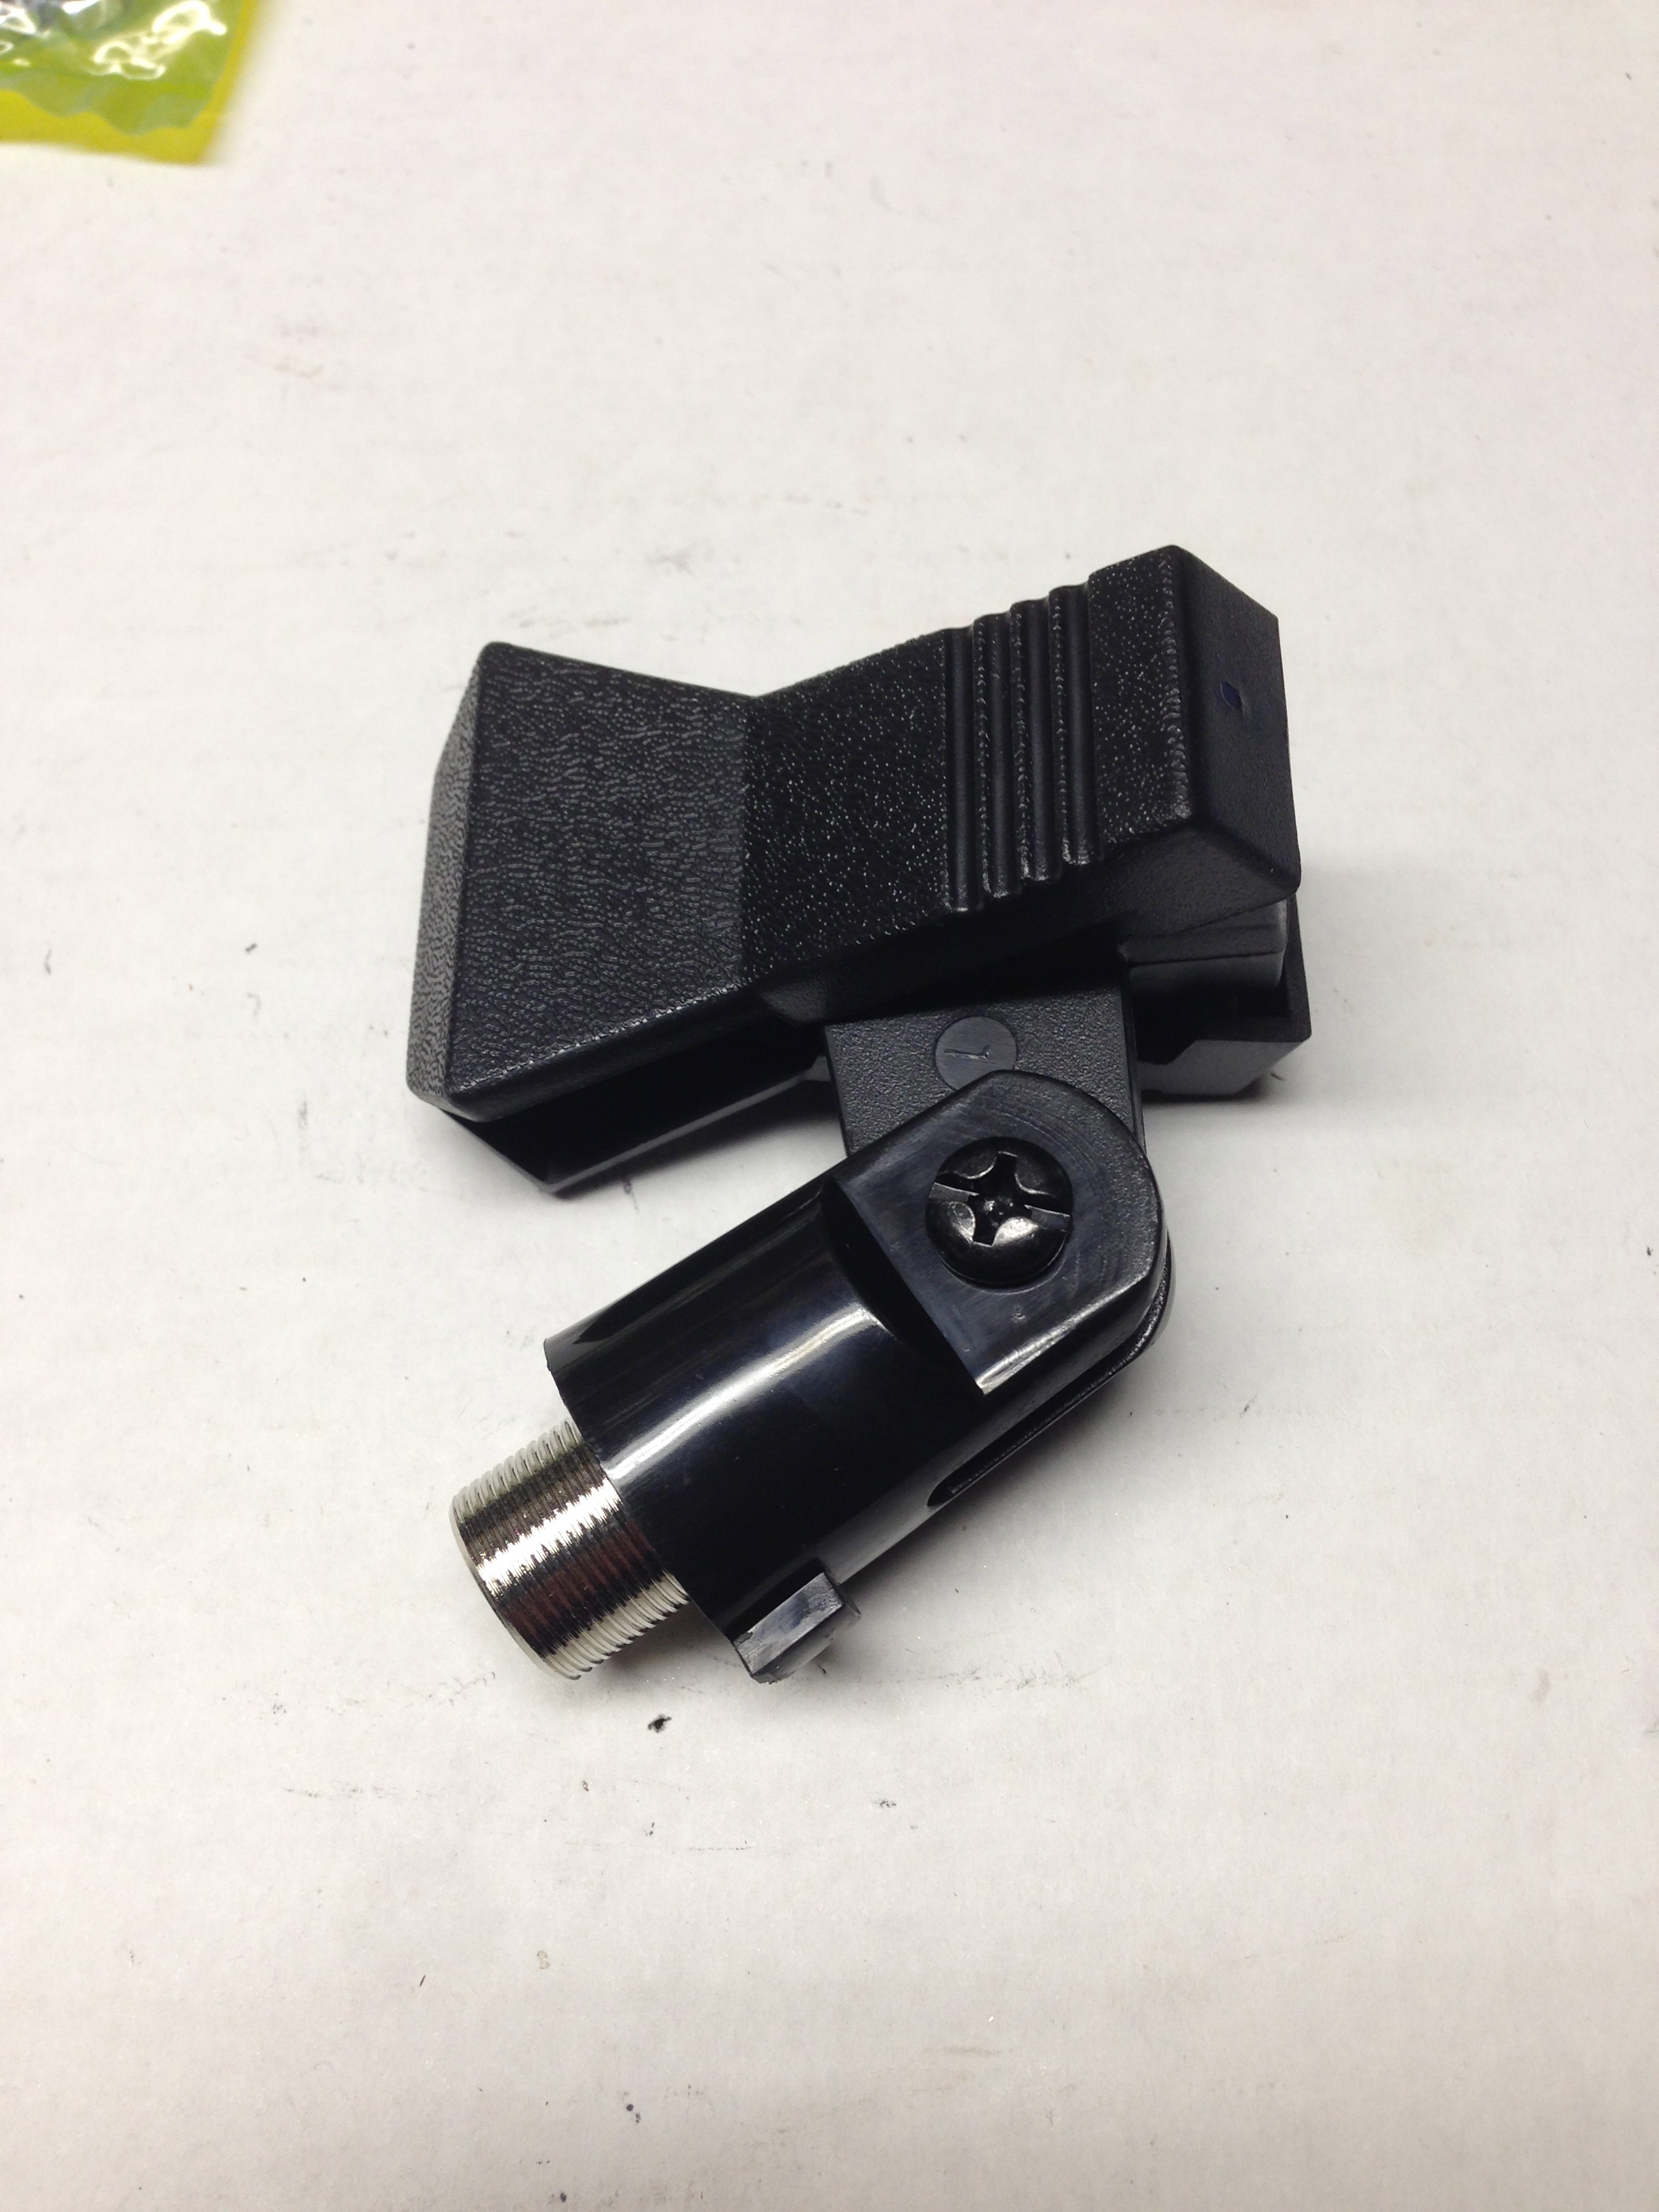
5) Take the mic clip apart. Unscrew the screw and remove the special nut. Keep the screw, nut, and bottom part—discard the upper clip.

6) Install the bottom of the mic clip.


a. Bore out the inside of the terminal. Clamp the terminal in a vise; it will be safer and easier to perform the necessary fabrications. Using a drill bit slightly smaller than the 5/16-18 x 1/2 hex screw, remove a small amount of material from the inner wall. This will make it easier to thread the inner wall of the terminal later; otherwise, the screw will bind toward the bottom and the terminal will bend before it is threaded completely.
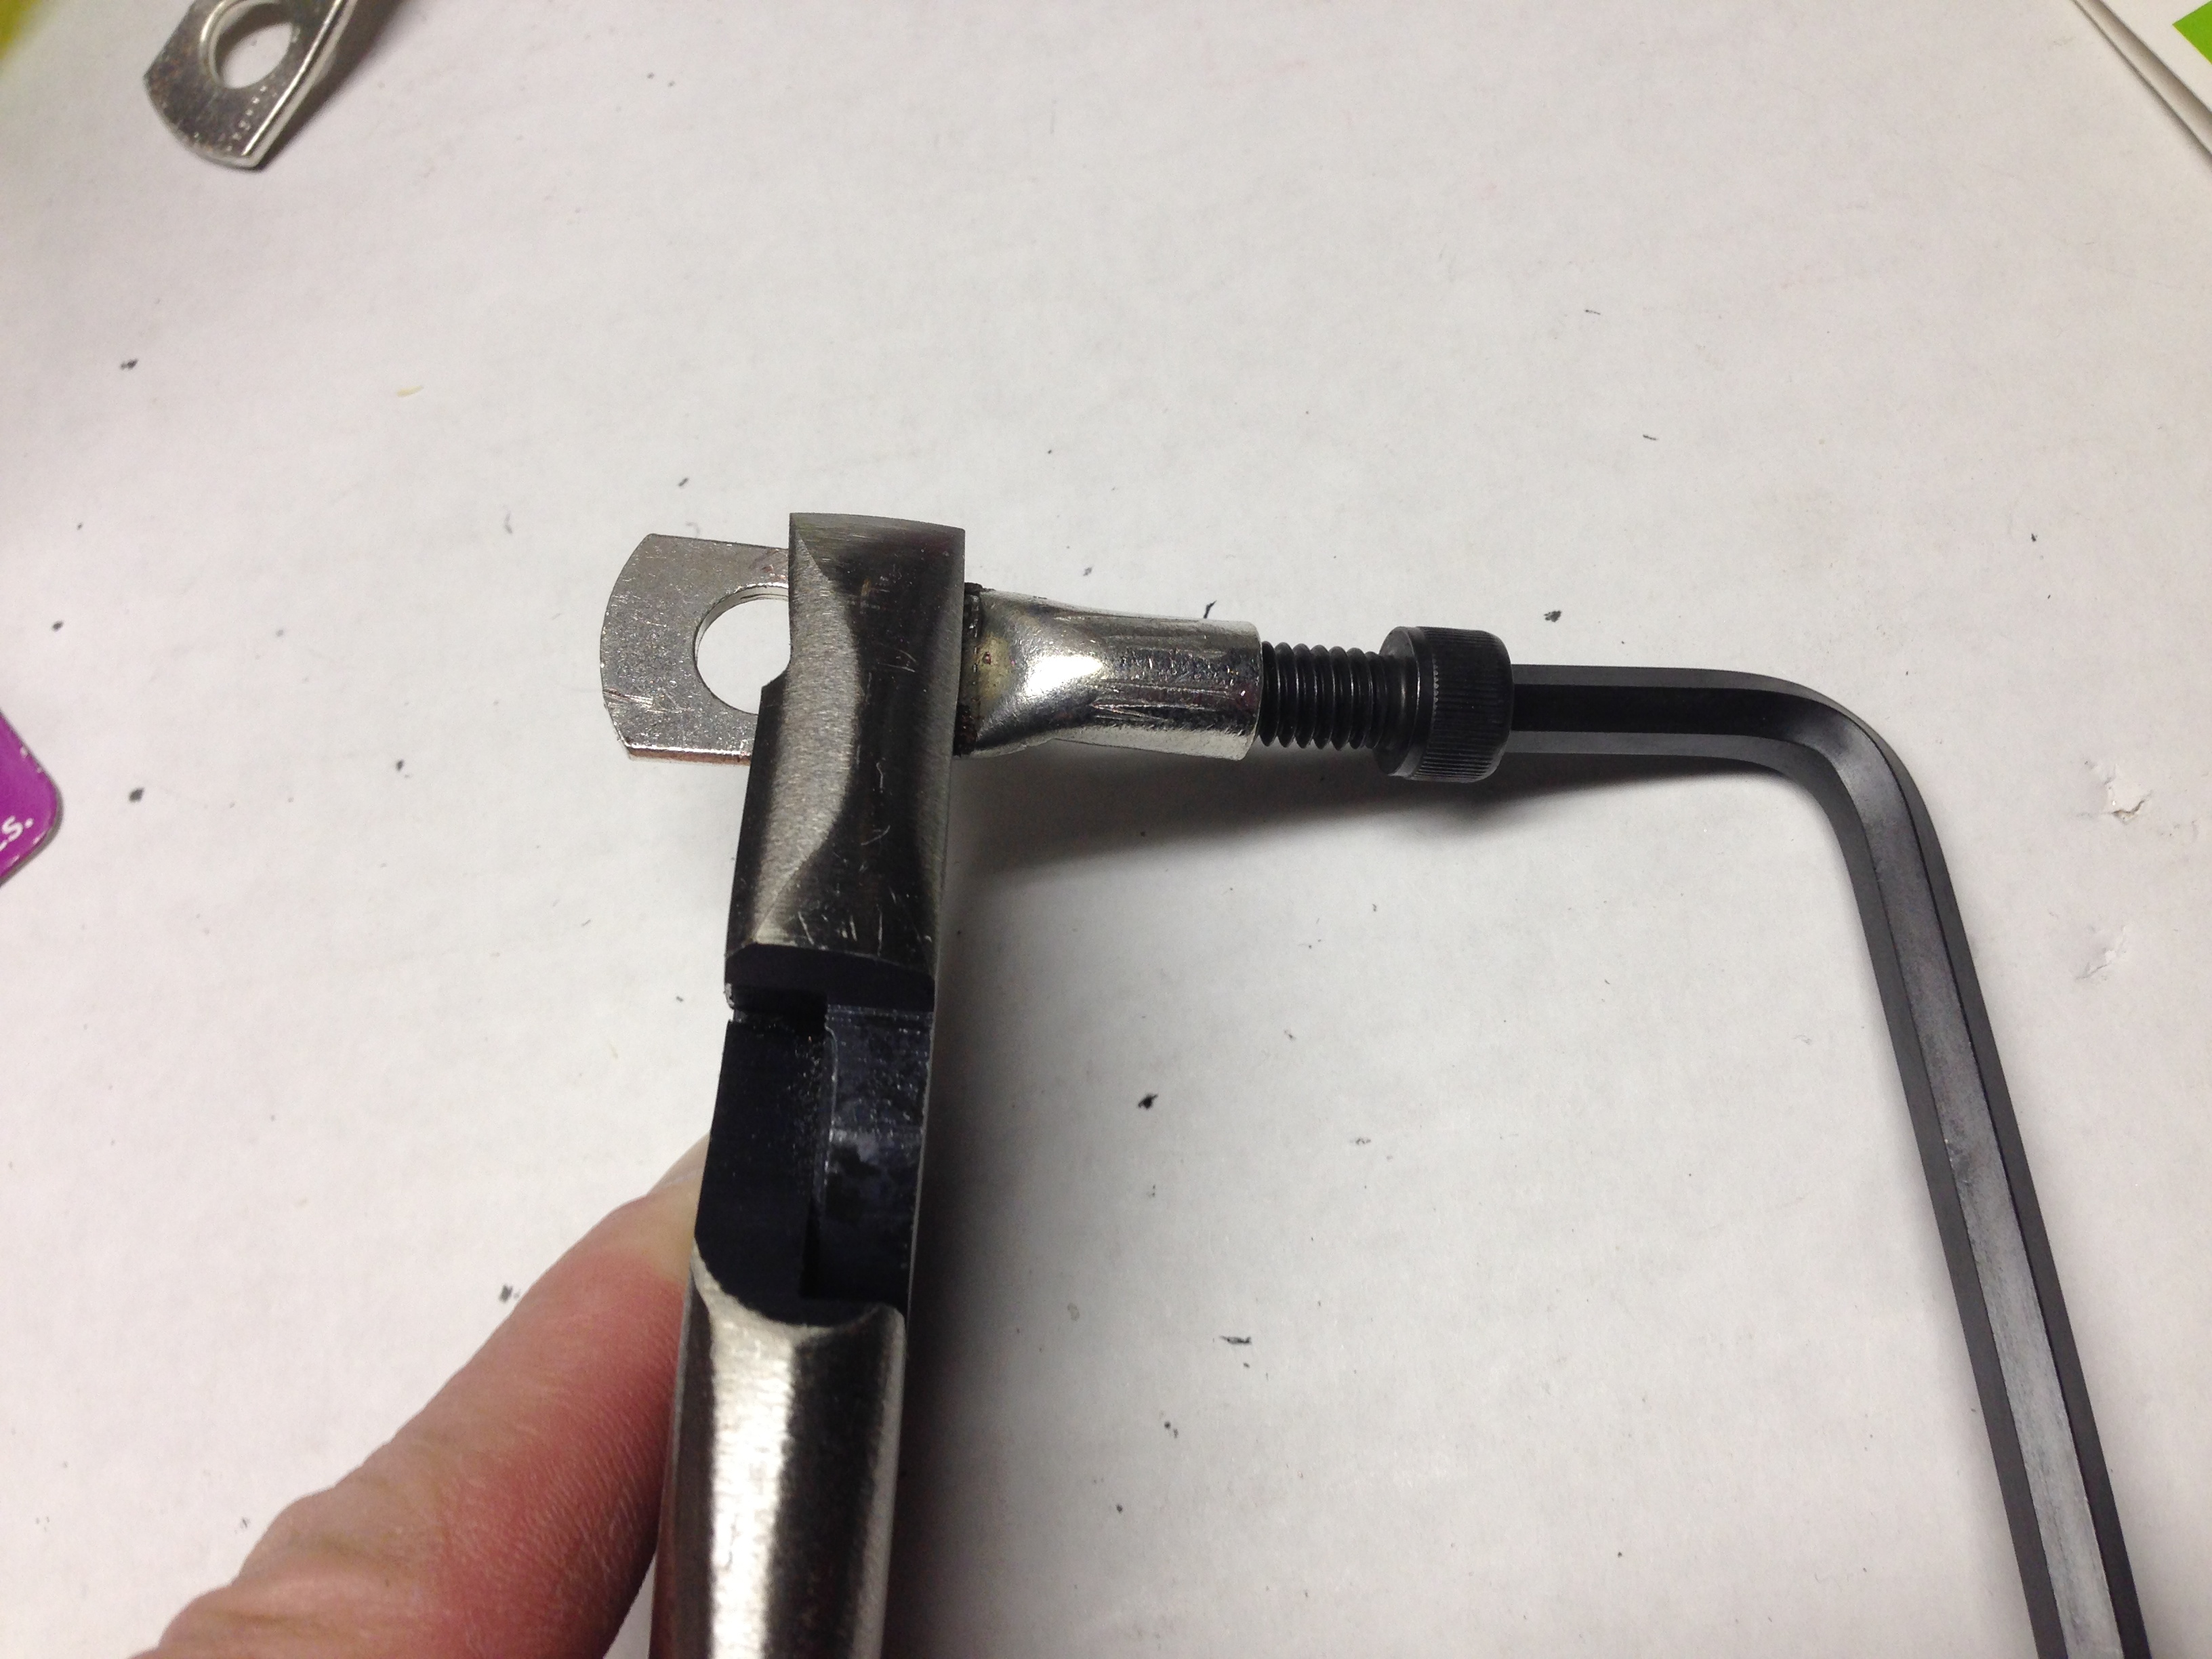
b. Thread the inside wall of the terminal. If the terminal is in a vise, place the screw at the open end of the terminal and screw it in using an allen wrench. If a vise is not available, you may also use a firm set of pliers and an allen wrench, as pictured above. There will be resistance, growing heavier as the screw threads deeper—turn the screw until there is a little under a 1/4” space between the terminal and the screw’s head or the terminal begins to bend.
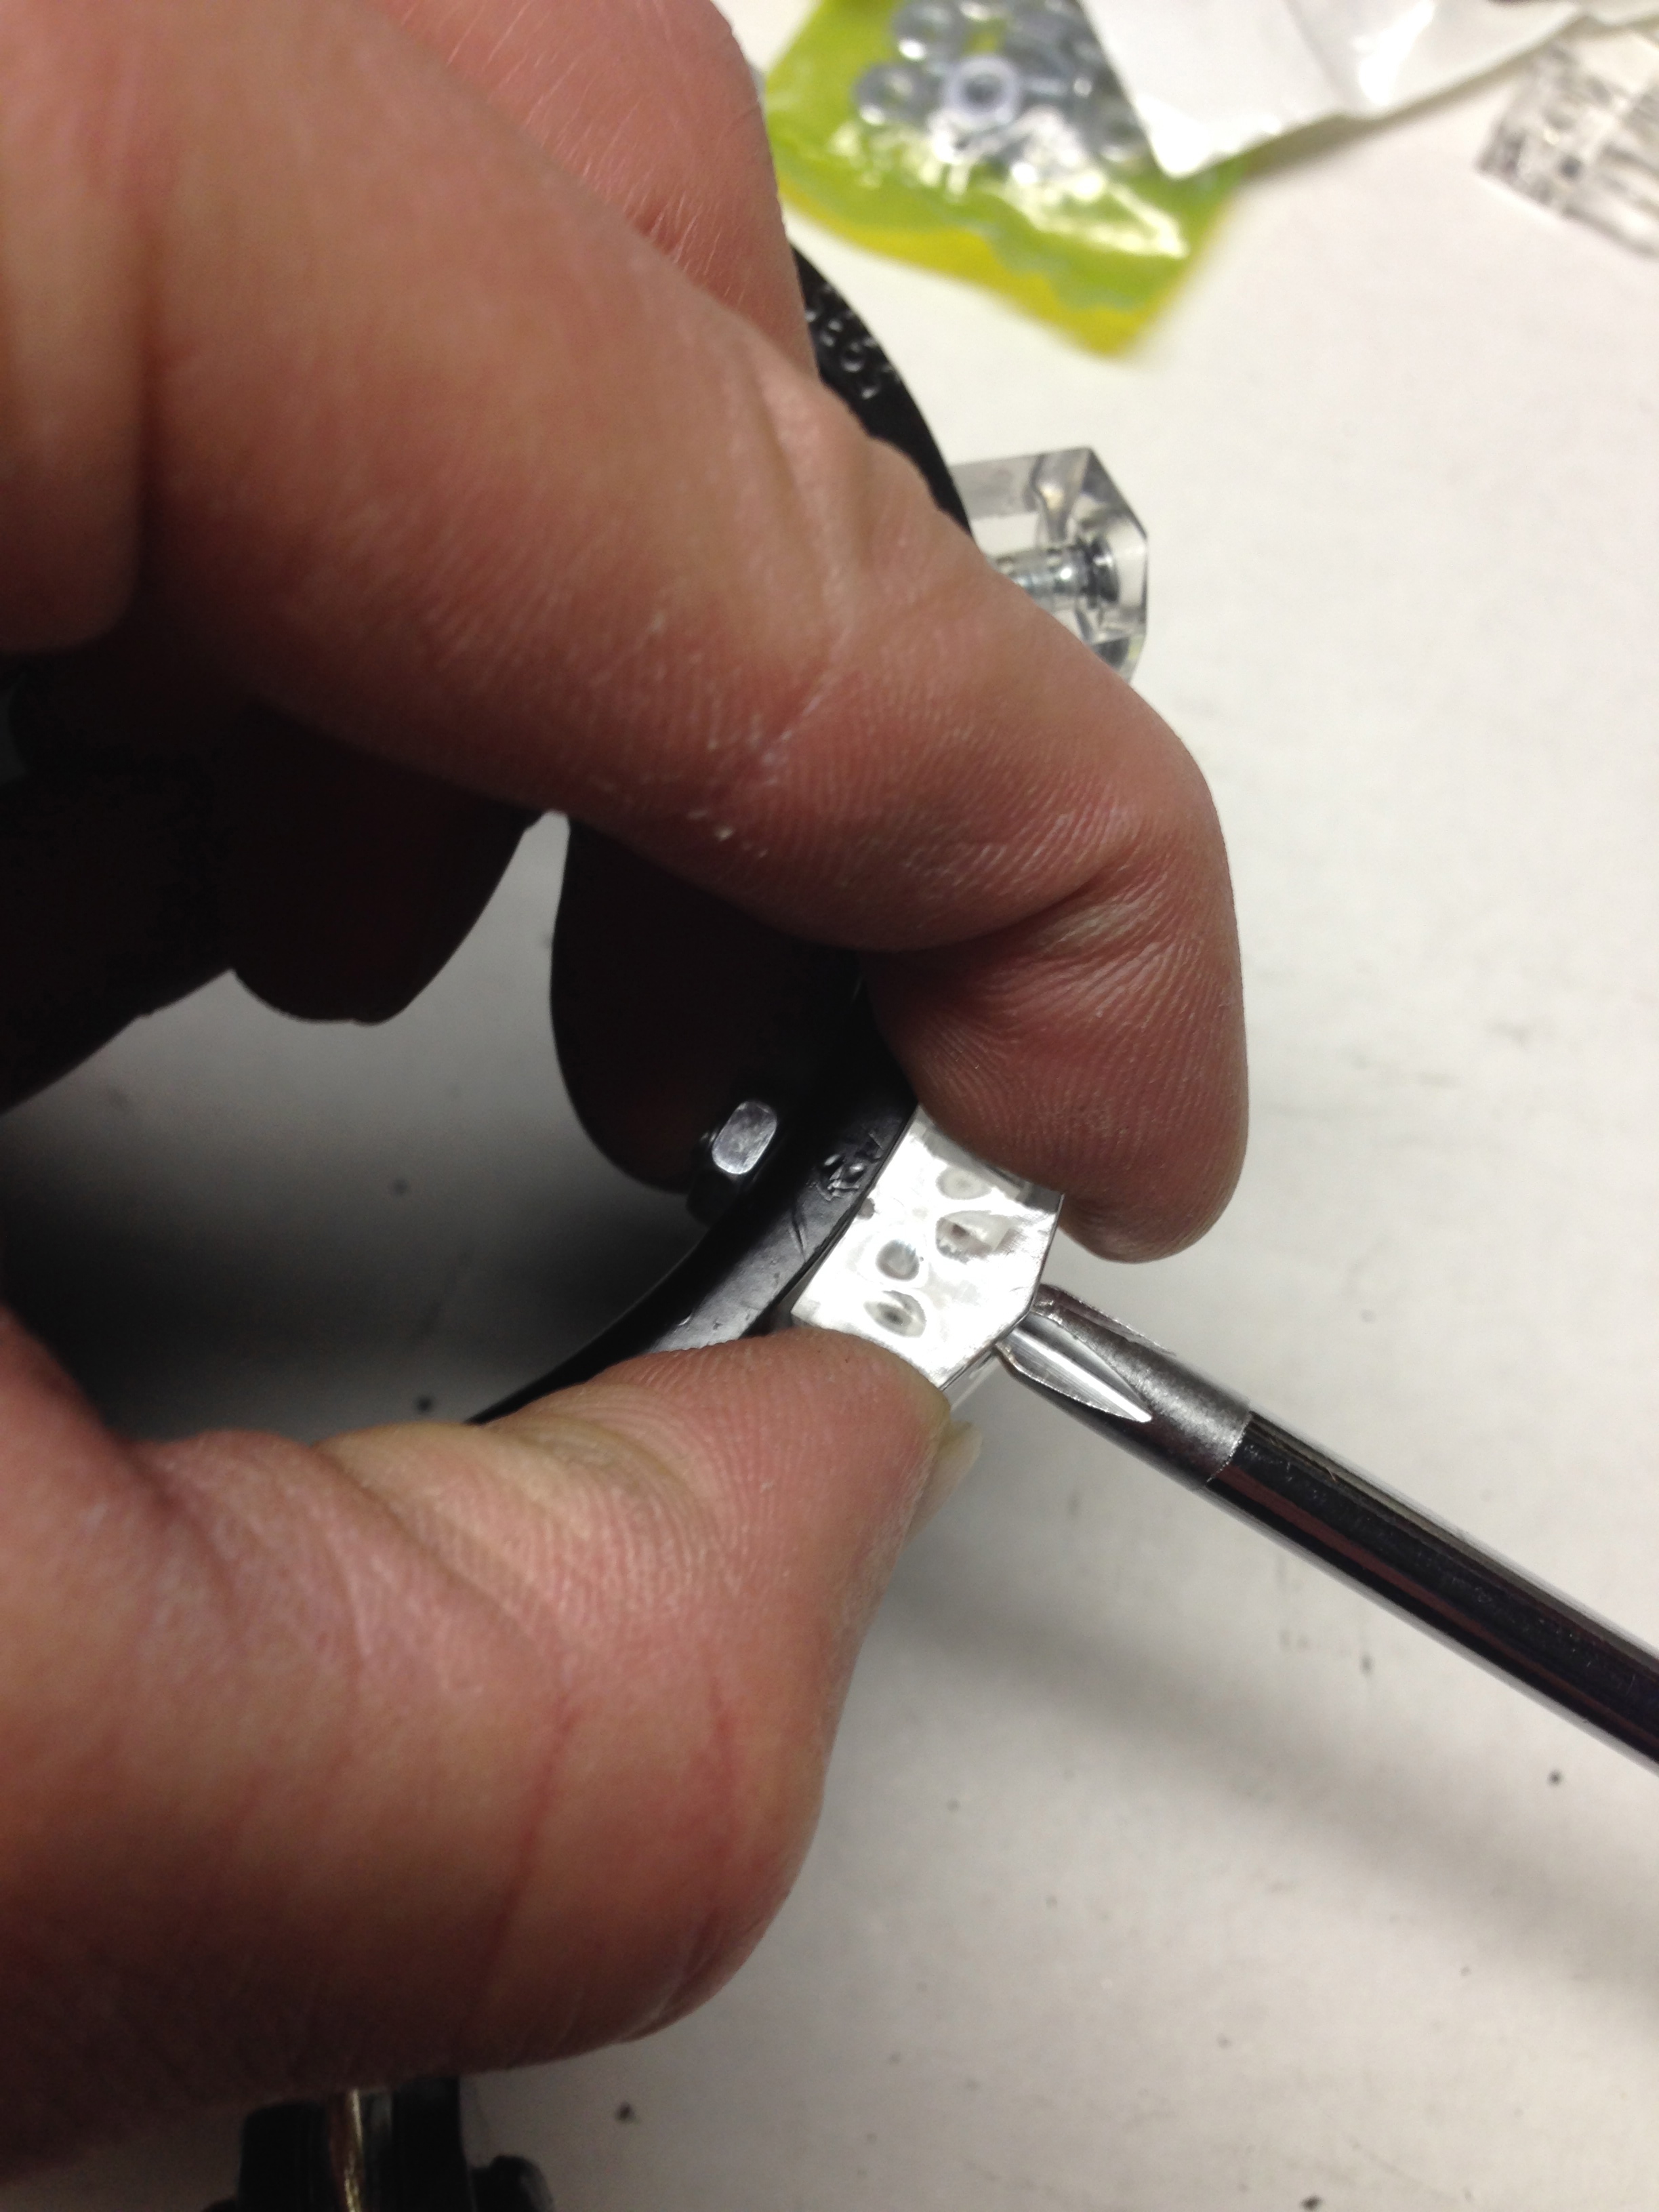
c. Unscrew the screw and remove it—the inside wall of the terminal should look like the picture above.
d. From the inside of the coupling, push the hex screw through the hole and thread the terminal onto the screw. Hold the terminal firmly with a pair of pliers, while turning the screw with an allen wrench. Tighten, with the terminal oriented as shown in the picture.
e. Slip the bottom of the mic clip onto the terminal and add one or two washes, depending upon what is needed to fill the space. replace the screw and special nut and tighten until the mic clip is resistant, yet movable.
7) Install the mirror hangers.

a. Place a mirror hanger over a hole on the coupling, with the open end facing inward.
b. Push a #6 – 32 x 3/4” flat head machine screw through the top of the mirror hanger and fasten with a nut on the bottom.
c. Repeat on both sides of the coupling for all of the remaining holes.
8) Install the hair ties.


a. Slip a hair tie into the open part of one of the mirror hangers and stretch it across the face of the coupling toward the mirror hanger opposite. For instance, left to right, top to bottom and both diagonals.
b. Repeat until both sides are complete.
Appendix:
| Parts List | ||||
| Part # | Qty | Description | Vendor | Price Ea |
| 23283 | 1 | Charlotte Pipe 3-in Dia PVC Coupling Fitting | Lowes | $1.37 |
| 57968 | 2pk | #6 – 32 x 3/4” Flat Head Machine Screw (12pk) | Lowes | $1.24 |
| 136013 | 1 | 5/16-18 x 1/2 Hex Screw | Lowes | $1.15 |
| 54952 | 1 | Rust-Oleum Black Satin Spray Paint | Lowes | $3.76 |
| 63306 | 2 | 1/4” Steel Washers | Lowes | $0.09 |
| – | 1pk | 4 Gauge Heavy Duty Terminal Ring (2pk) | Lowes | $ |
| 1004 | 2pk | 1/4” Mirror Hangers (8pk) | Walmart | $1.47 |
| 17278-W | 1pk | Scunci Hair Ties (30pk) | Walmart | $3.87 |
| 107300188 | 1 | Musician’s Gear Heavy Duty Basic Mic Clip | Guitar Center | $1.95 |
| Tool List | ||
| Part Number | Description | Vendor |
| —— | Drill | —— |
| —— | Drill Bit Set | —— |
| —— | Bench Vise | —— |
| —— | Speed Square / Carpenter’s Square | —— |
| —— | Allen Wrench (5/16) | —— |
| —— | Channel Lock Type Pliers (Large) | —— |
| —— | Phillips Screw Driver | —— |
| —— | Graphing Paper (4 line per inch (16 squares per sq. in.)) | —— |
| —— | Dry Erase Marker with fine point | —— |
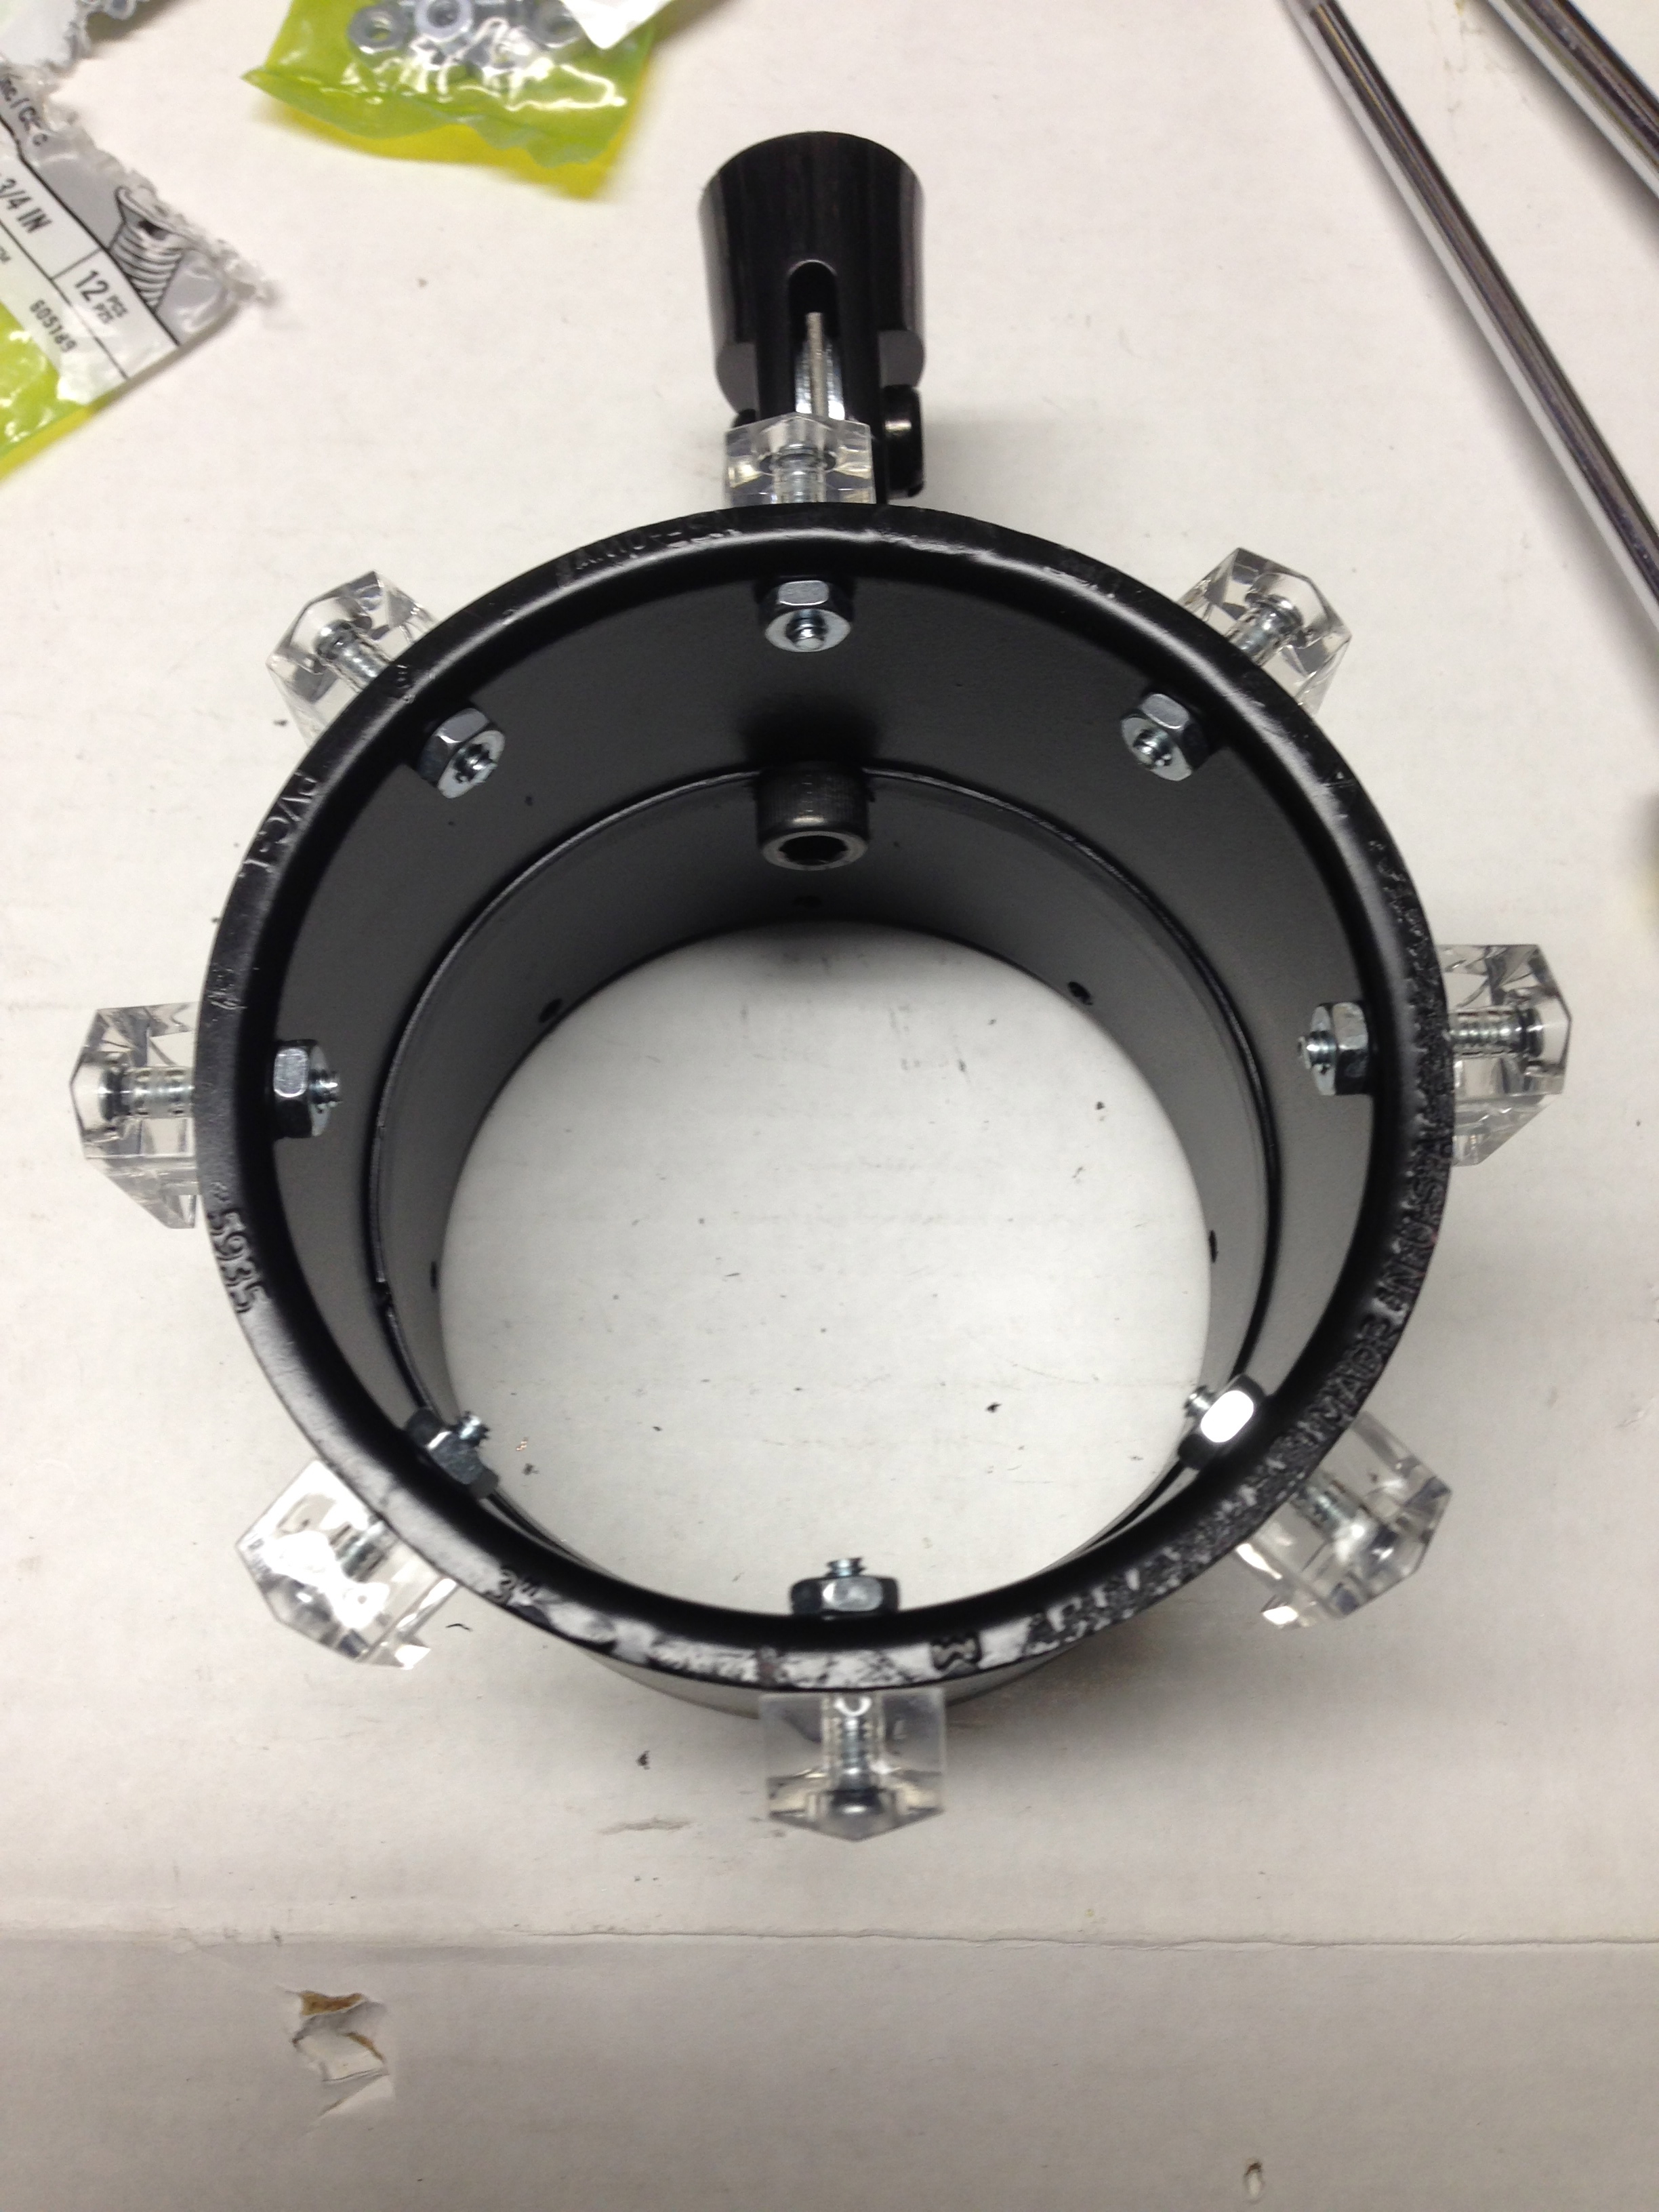
For your amusement:
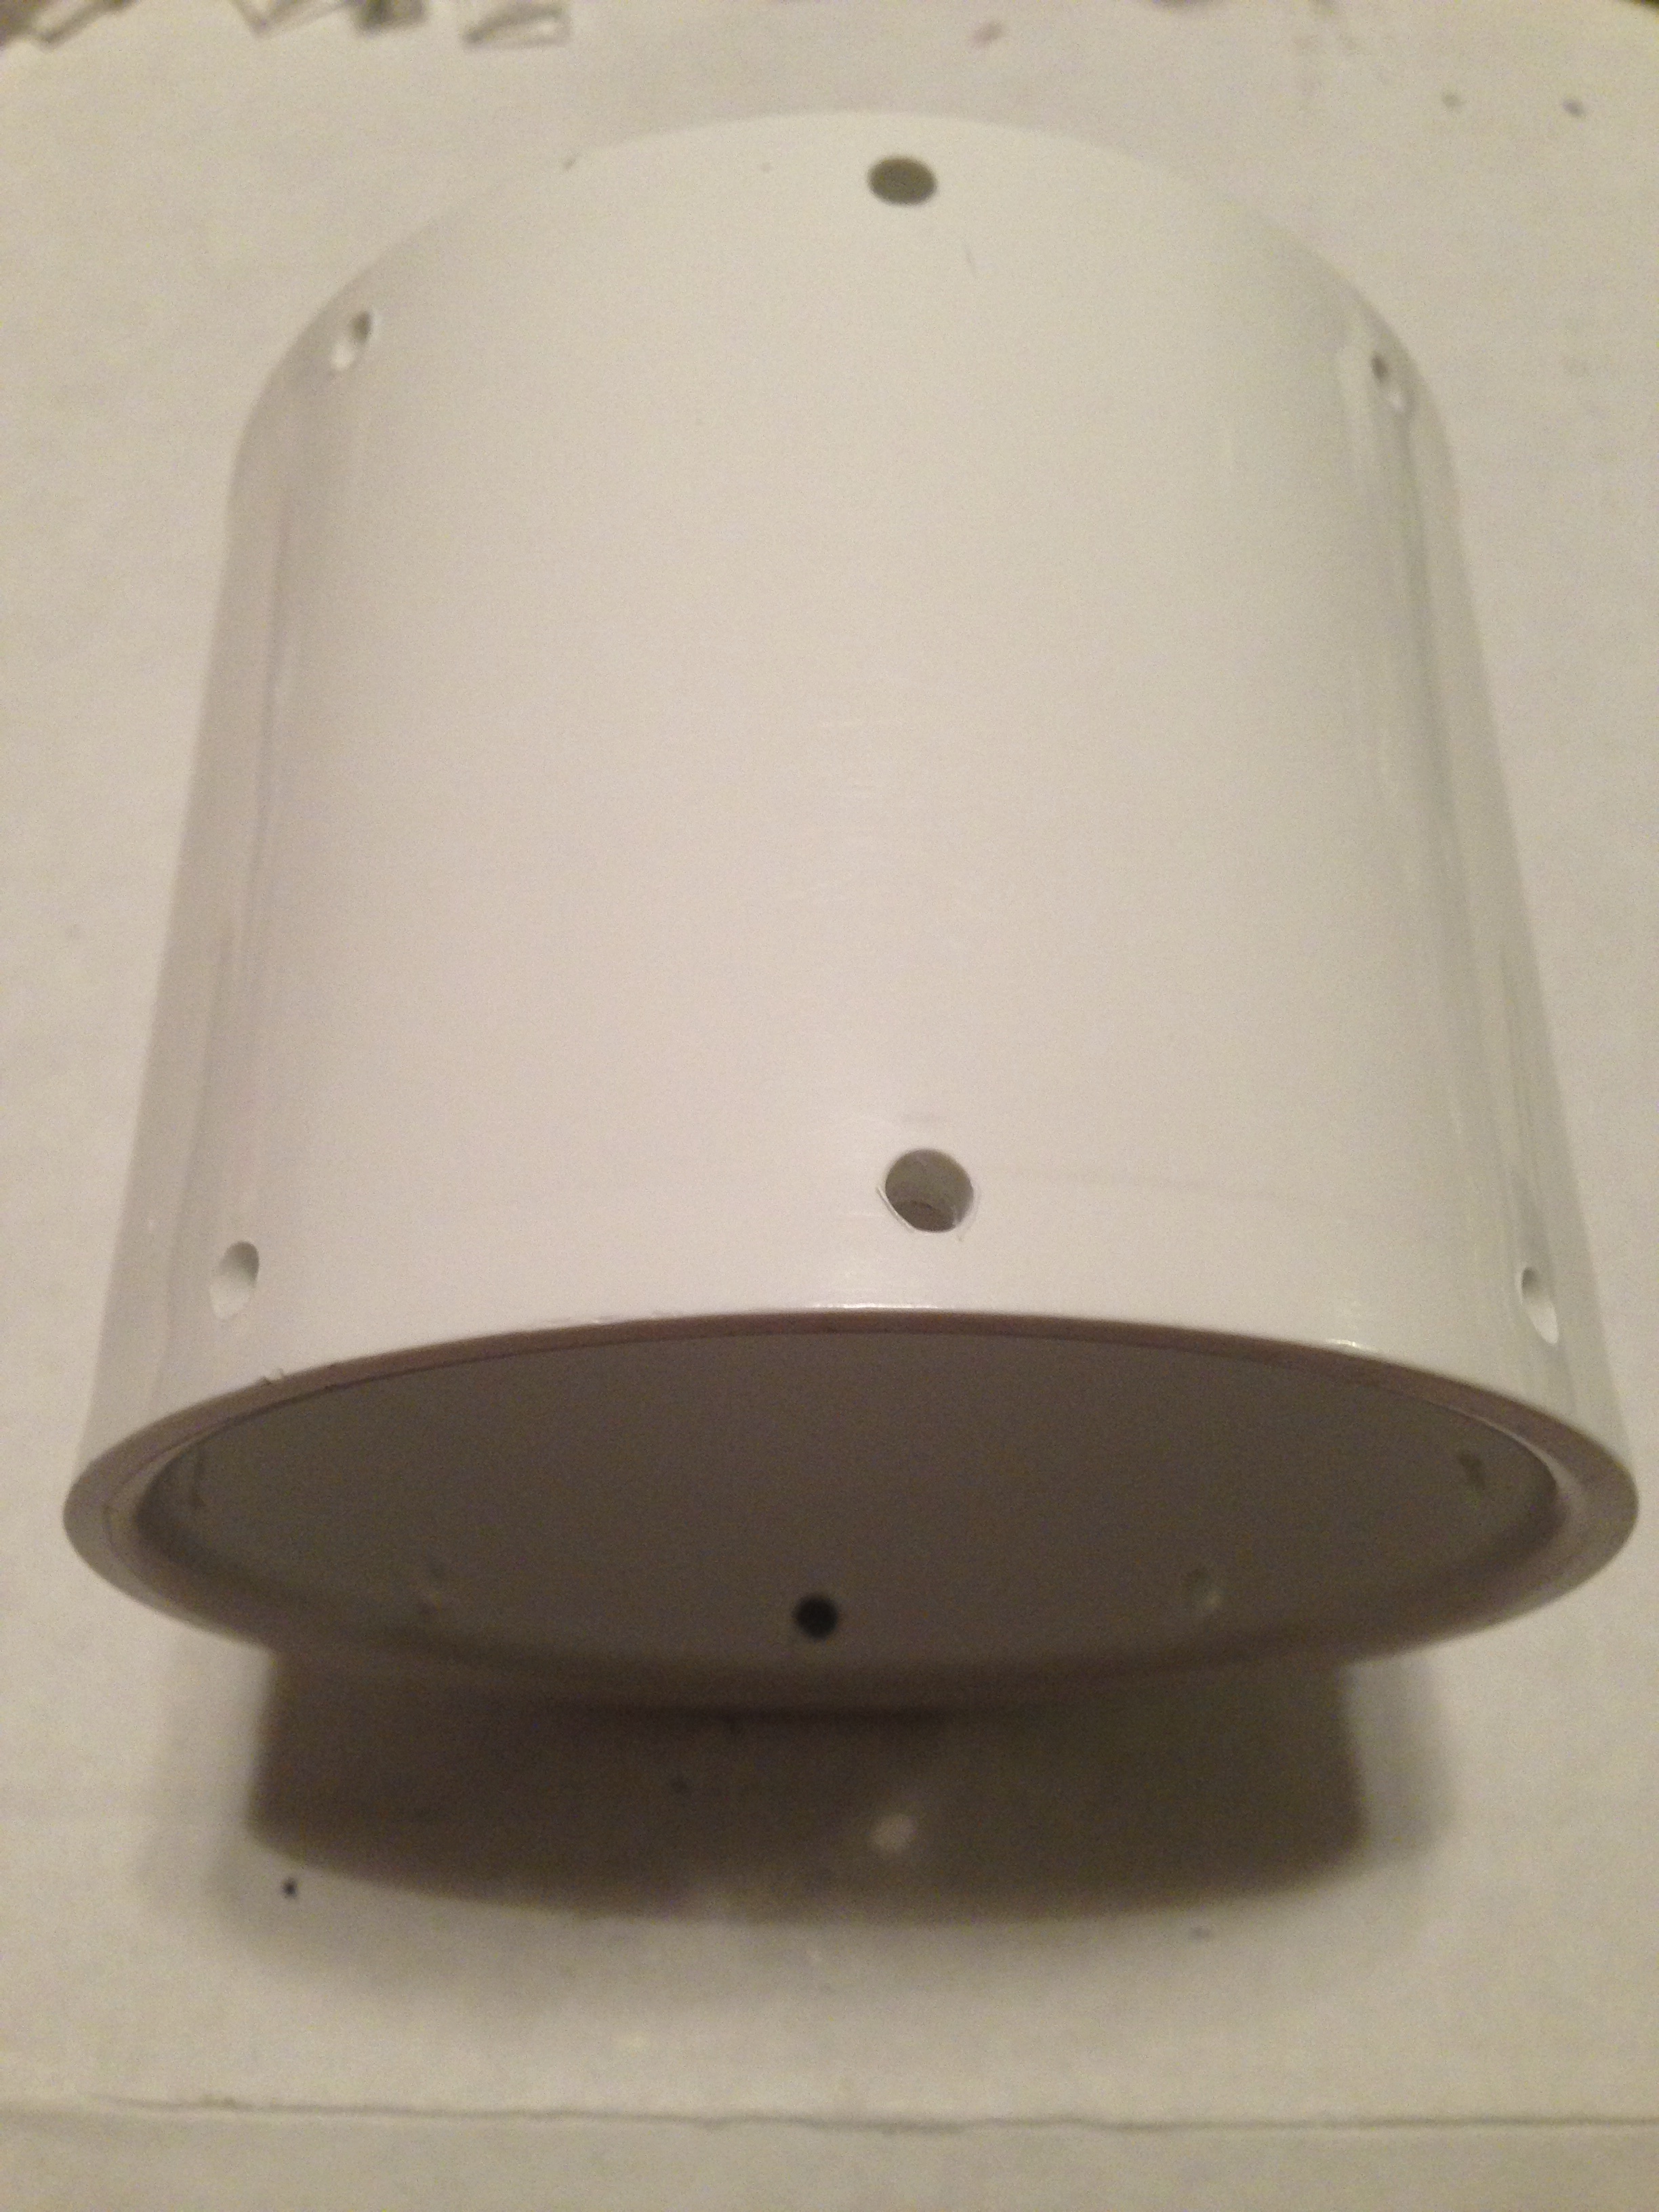
Here are some bonus pictures of the original PVC shock mount.


Thanks,
![]()

Pingback: November Project: PVC Mic Shock Mount | Junk Shop Audio
Hi admin, do you monetize your site ? There is easy way to earn decent money every day, just search on youtube
: How to earn $25/hour selling articles
LikeLike
No, I haven’t set up my site with AdSense yet. Thanks for the lead; I’ll check out the YouTube video.
LikeLike