


I was building a six-string steel slide guitar and trying to keep it as simple and inexpensive as possible. I had already handmade/repurposed the saddle, bridge, nut, and tuners and mounted them on a 2×4 base, I just needed a quick and dirty pickup. There were numerous resources for building pickups, but most of them necessitated hand-winding and potting, which seemed labor intensive and difficult. Then I ran across an online Guitar World article, http://www.guitarworld.com/cigar-box-make-guitar-pickup-less-five-minutes-under-2 , that claimed a pickup could be made from the coil in a common 9V power adapter. Brilliant—it couldn’t be easier to make this pickup and the results are outstanding.
If you are a three or four-string cigar box guitar maker and simply want an alternative sound to accompany a piezo pickup or a higher output pickup, one coil should be sufficient; however, if you want to cover six strings you will likely require two coils to evenly distribute the sound. Additionally, two coils can be wired to produce stereo sound, meaning that the bass strings, six through four, can be allocated to the coil wired to the left side and the high strings, three through one, can be allocated to the coil wired to the right side, thus creating side to side movement through the stereo field as the strings are strummed. It’s an awesome effect, especially through headphones.
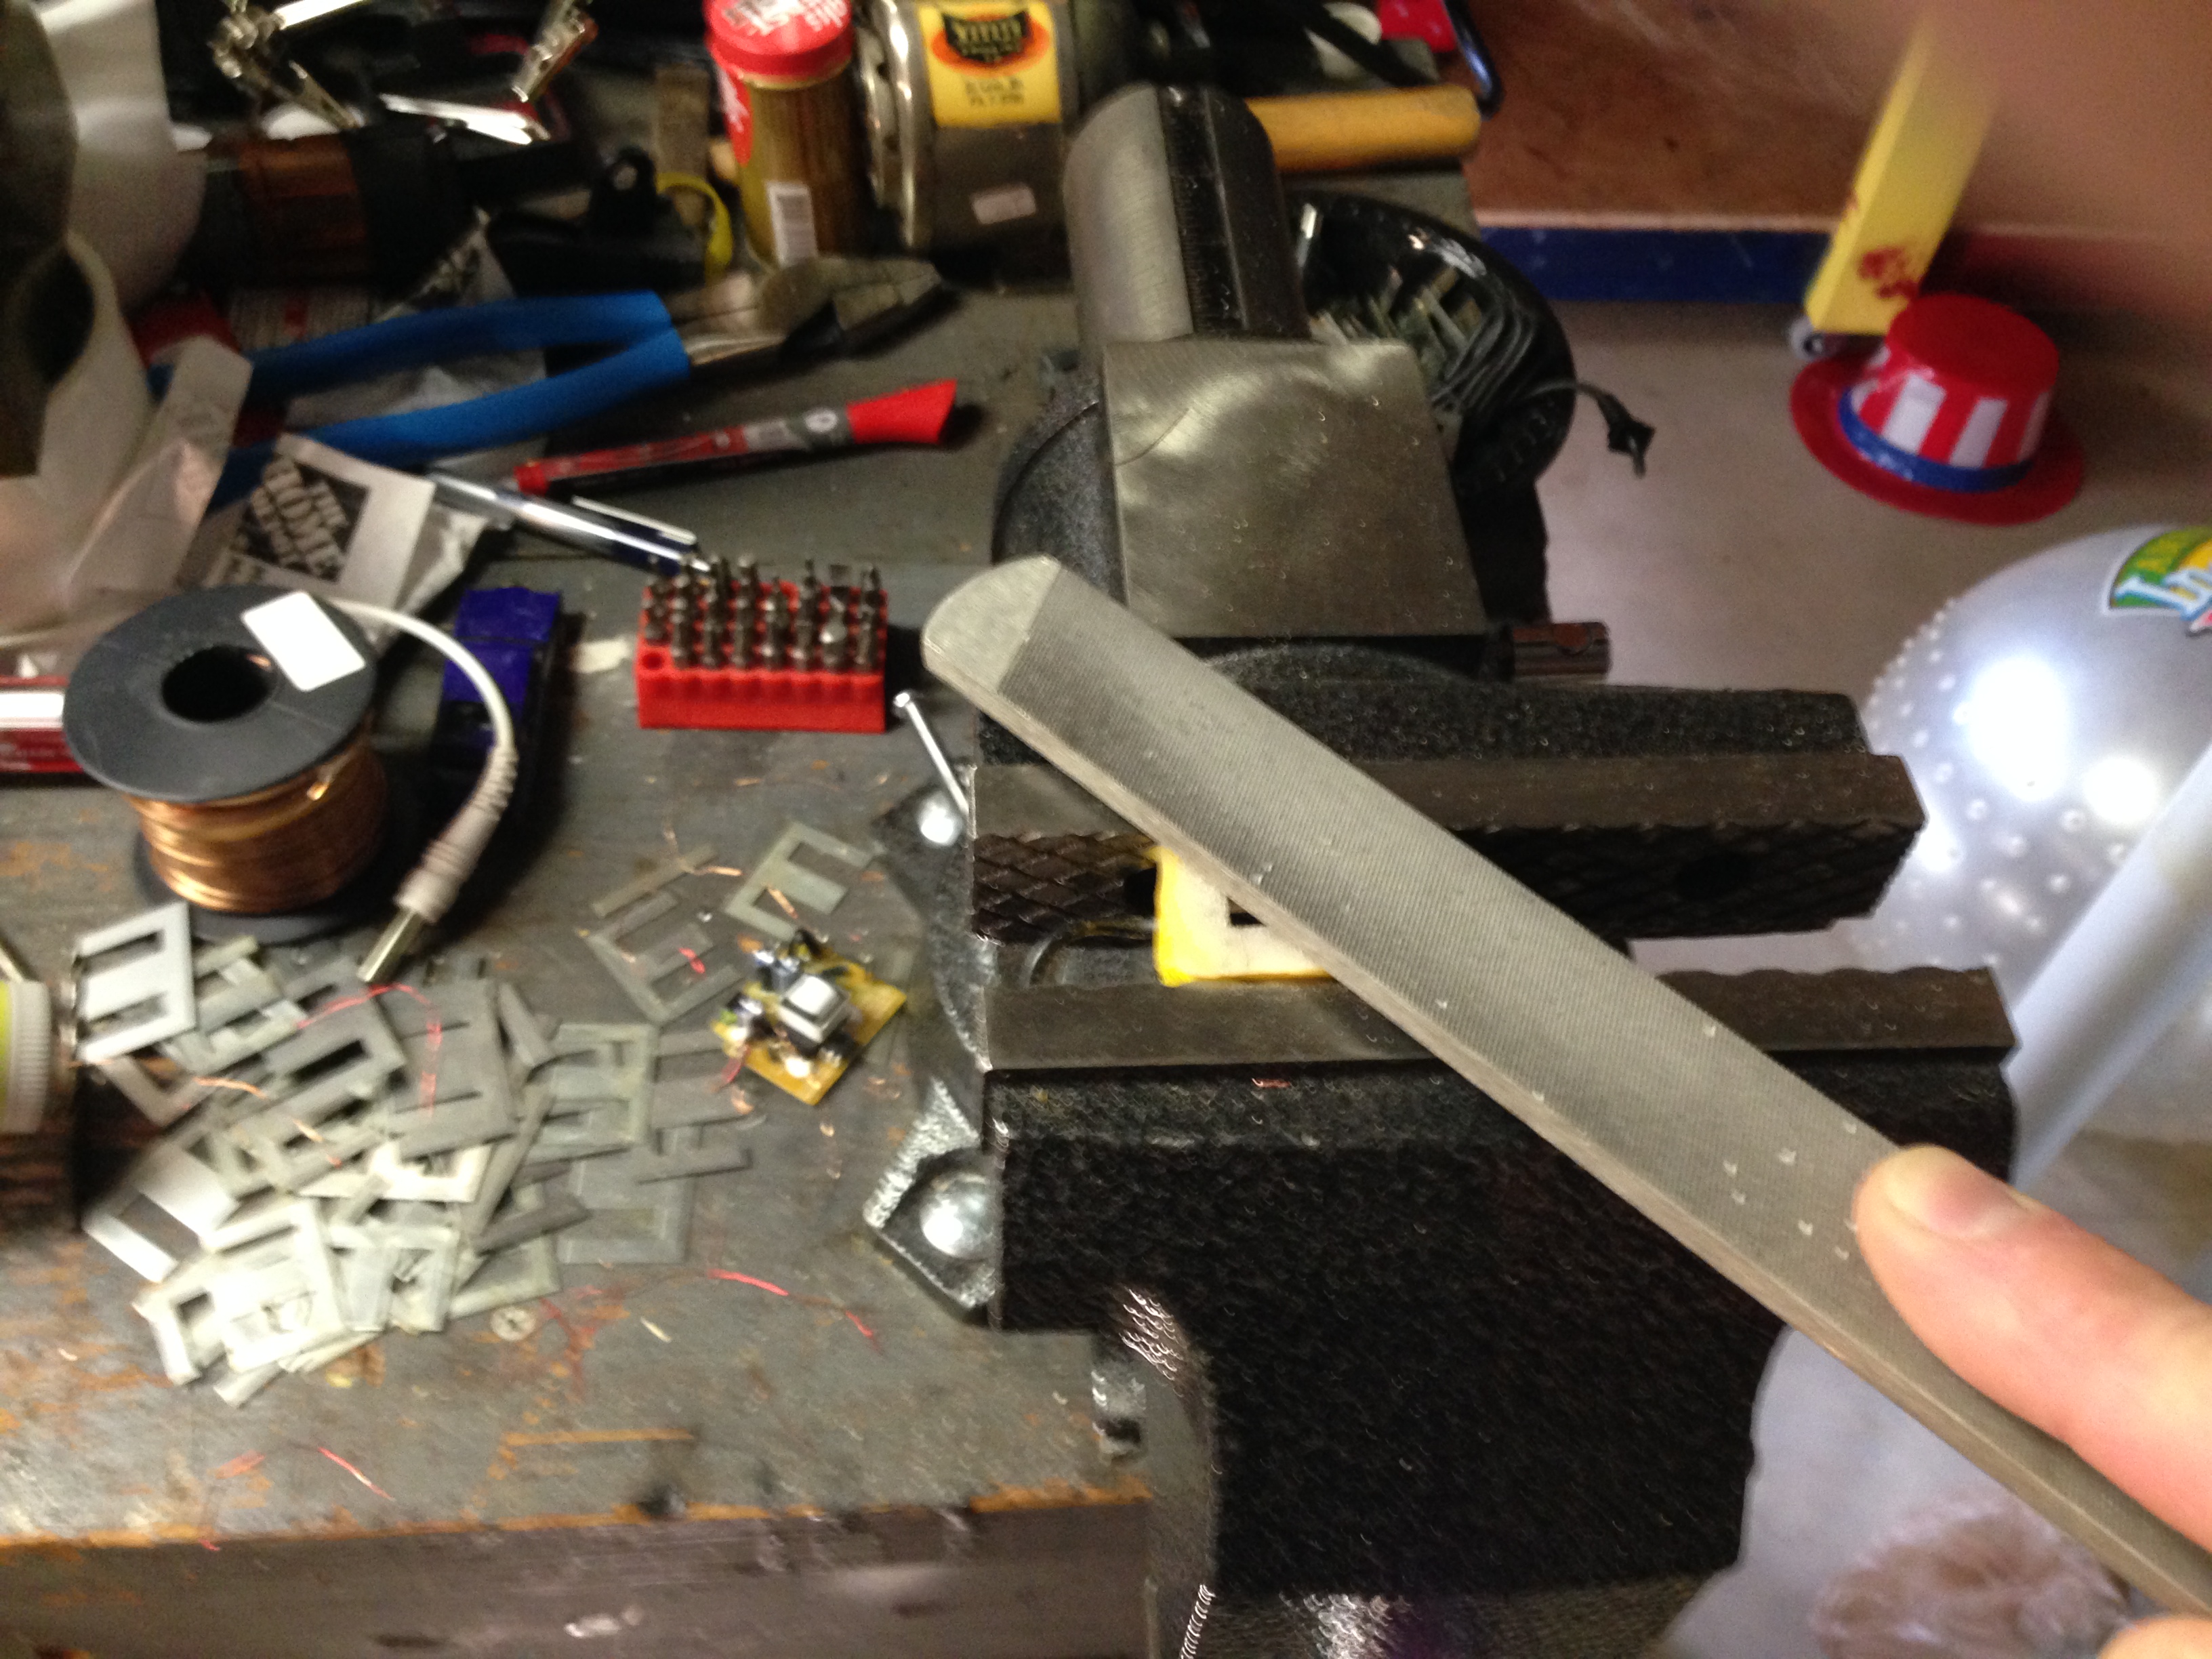
This project requires mid-level fabrication/crafting skills and elementary electrical knowledge. We will build the equivalent of a single coil pickup using one or two 9V adapter coils and a few items found at most hardware stores. If you already have the 9V adapter(s), it will cost you around $12; if you do not, the final cost will depend upon the cost of the 9V adapter(s)—if you do not have adaptors to spare, they can be found at thrift stores for a buck or two. Do not use adapters specific to electronics that you want to use later; the adapter will be completely unusable once the coil has been extracted. I would strongly suggest the use of a bench vise for much of this project; it will make it easier to remove the plates from the coil and safer when sawing off the bottom coil.
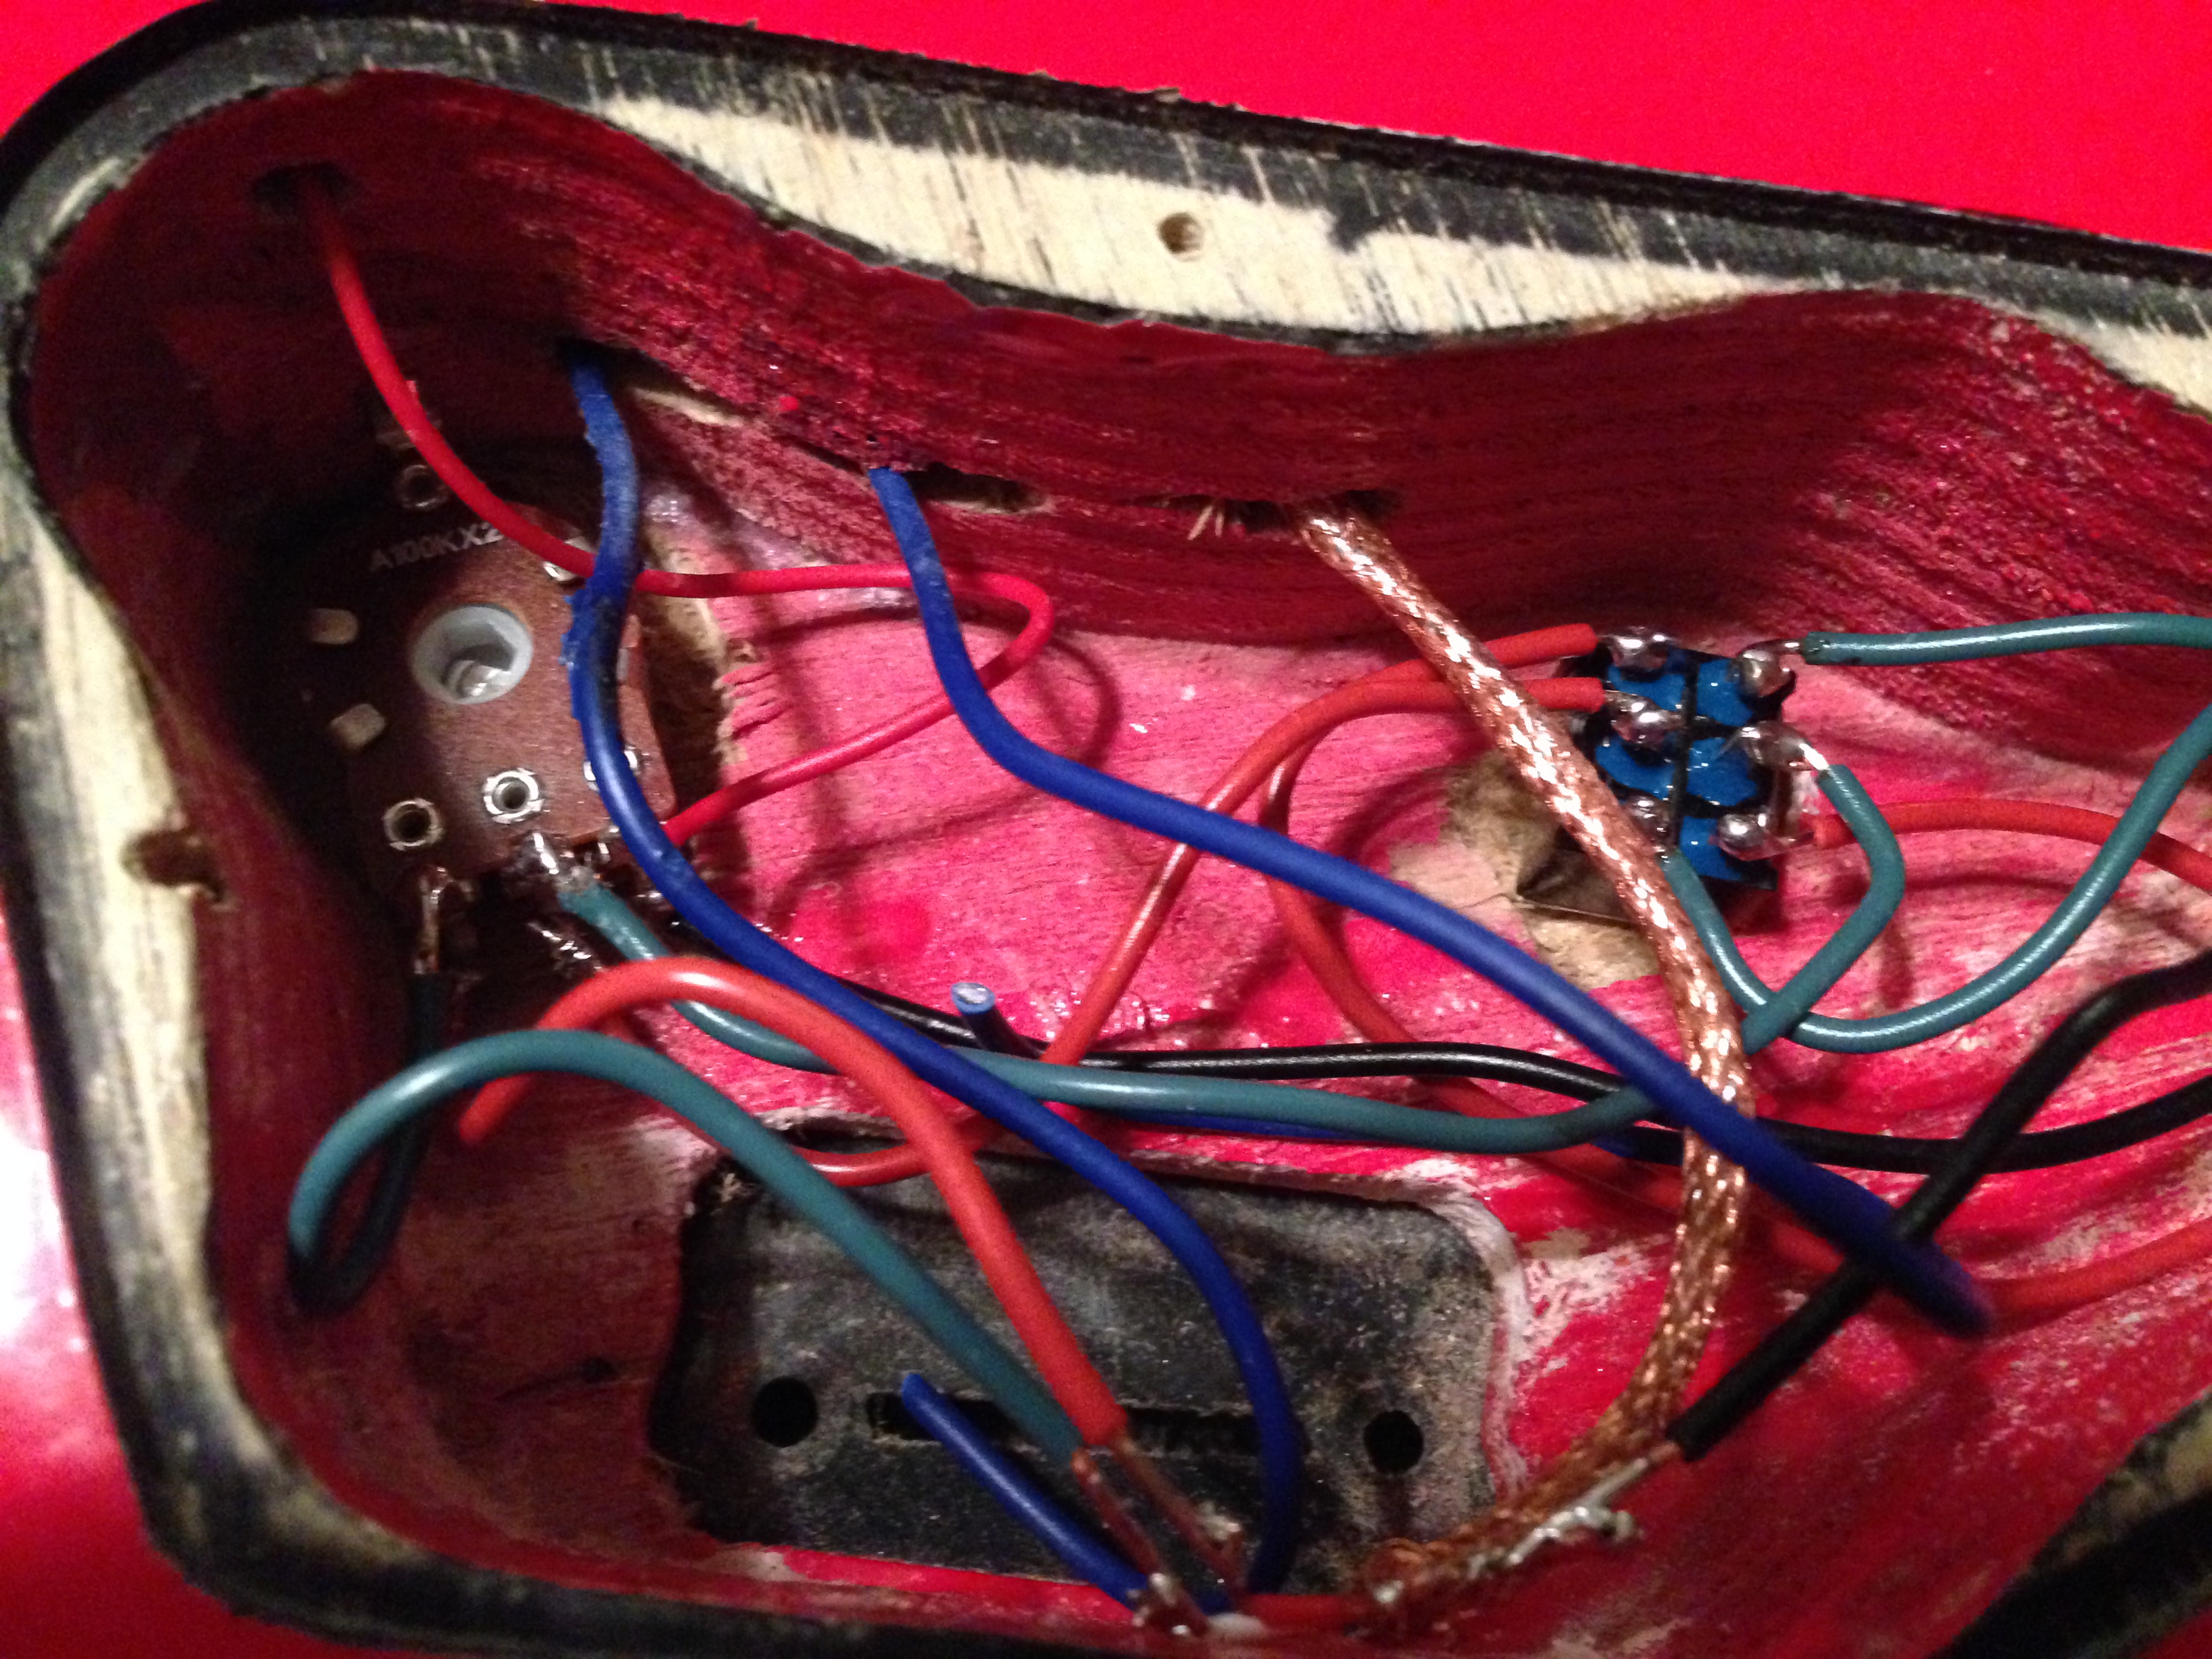
Please read through the instructions before beginning, if you are prepared and have everything on the list set up, you should be able to complete this project in a few hours—see the part/suggested tool list at the bottom of the page. Click on any image to zoom in for a closer look.
This video is a little over four minutes, but hang in there and check out Bennet’s cover of the Regular Show’s song, Aw, Snap!
INSTRUCTIONS:
1) Break open the 9V adapter.
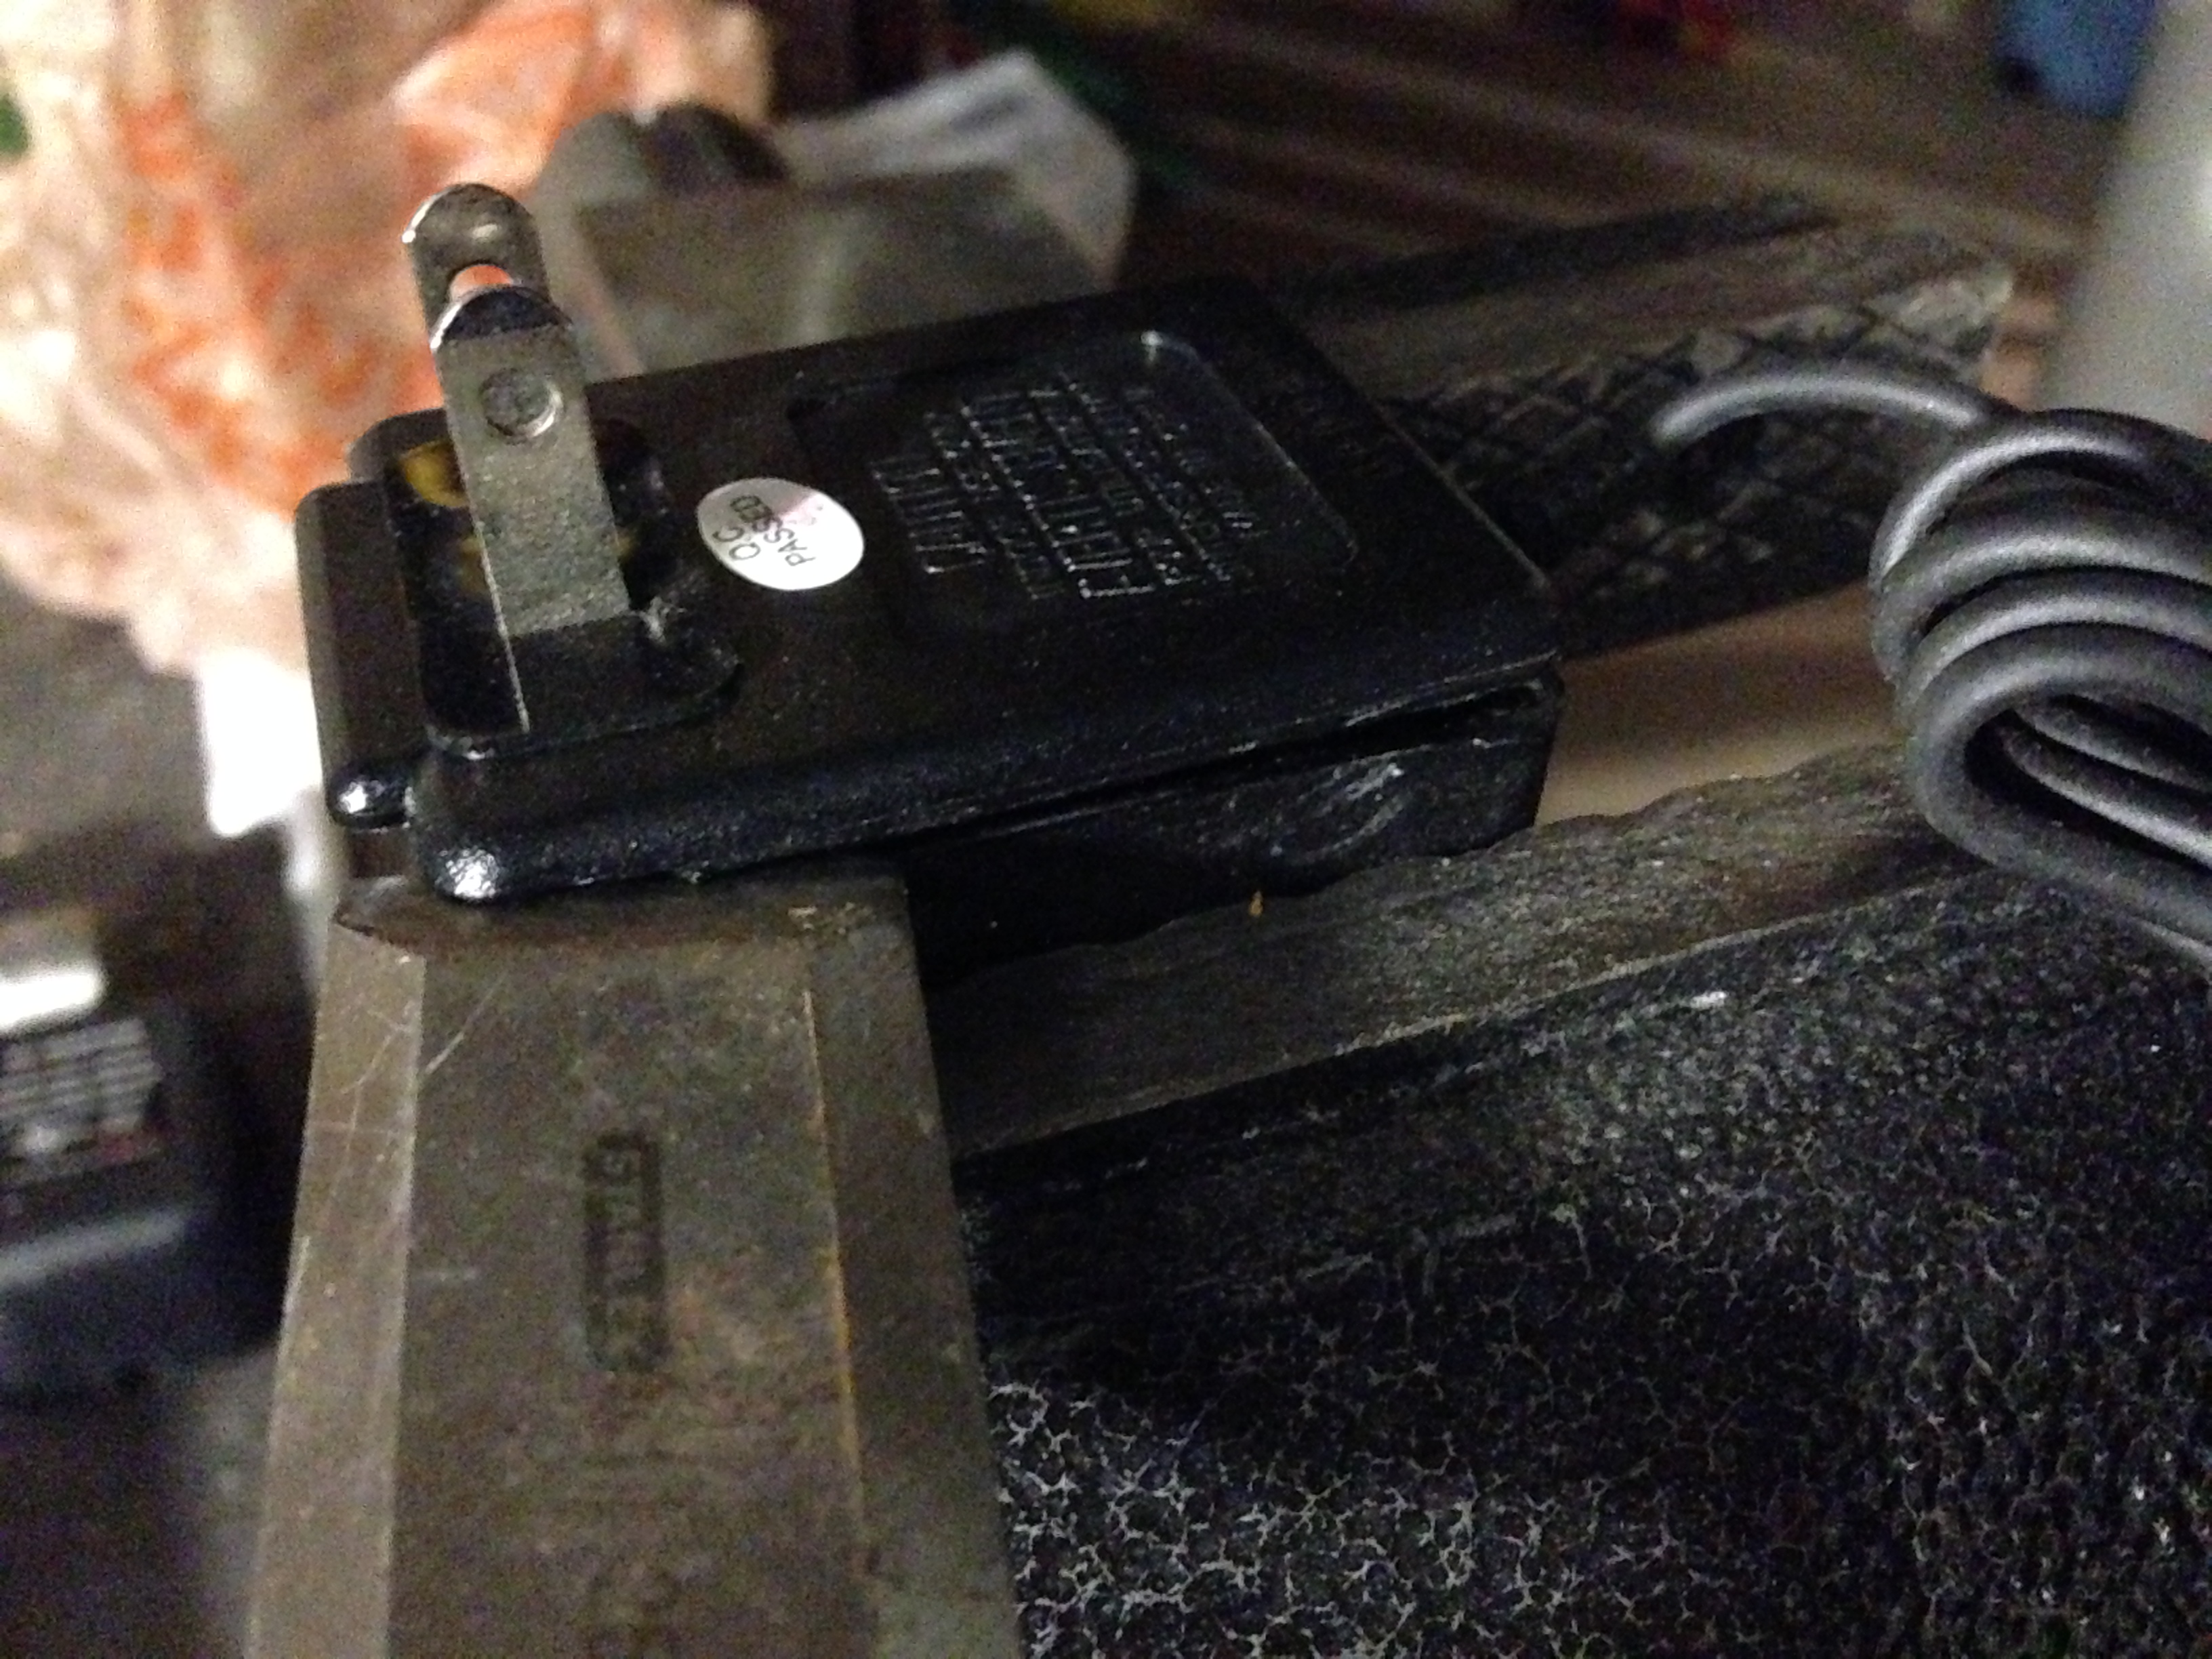
a. Clamp the adapter firmly in a bench vise with the blades facing upward.
b. Find the seam in the casing. Place the chisel’s blade on the seam in the corner of the casing and hit the back of the chisel’s handle with a hammer until the corner breaks open.
c. Slide the chisel’s edge into the broken seam and tap the chisel’s handle, extending the break down one of the sides. Continue to break the seam in this fashion until the casing separates completely.
d. Pull the top portion of the casing off along with the components inside.
e. Loosen the vise and discard the remaining casing shell.
2) Cut the excess circuitry away from the coil.
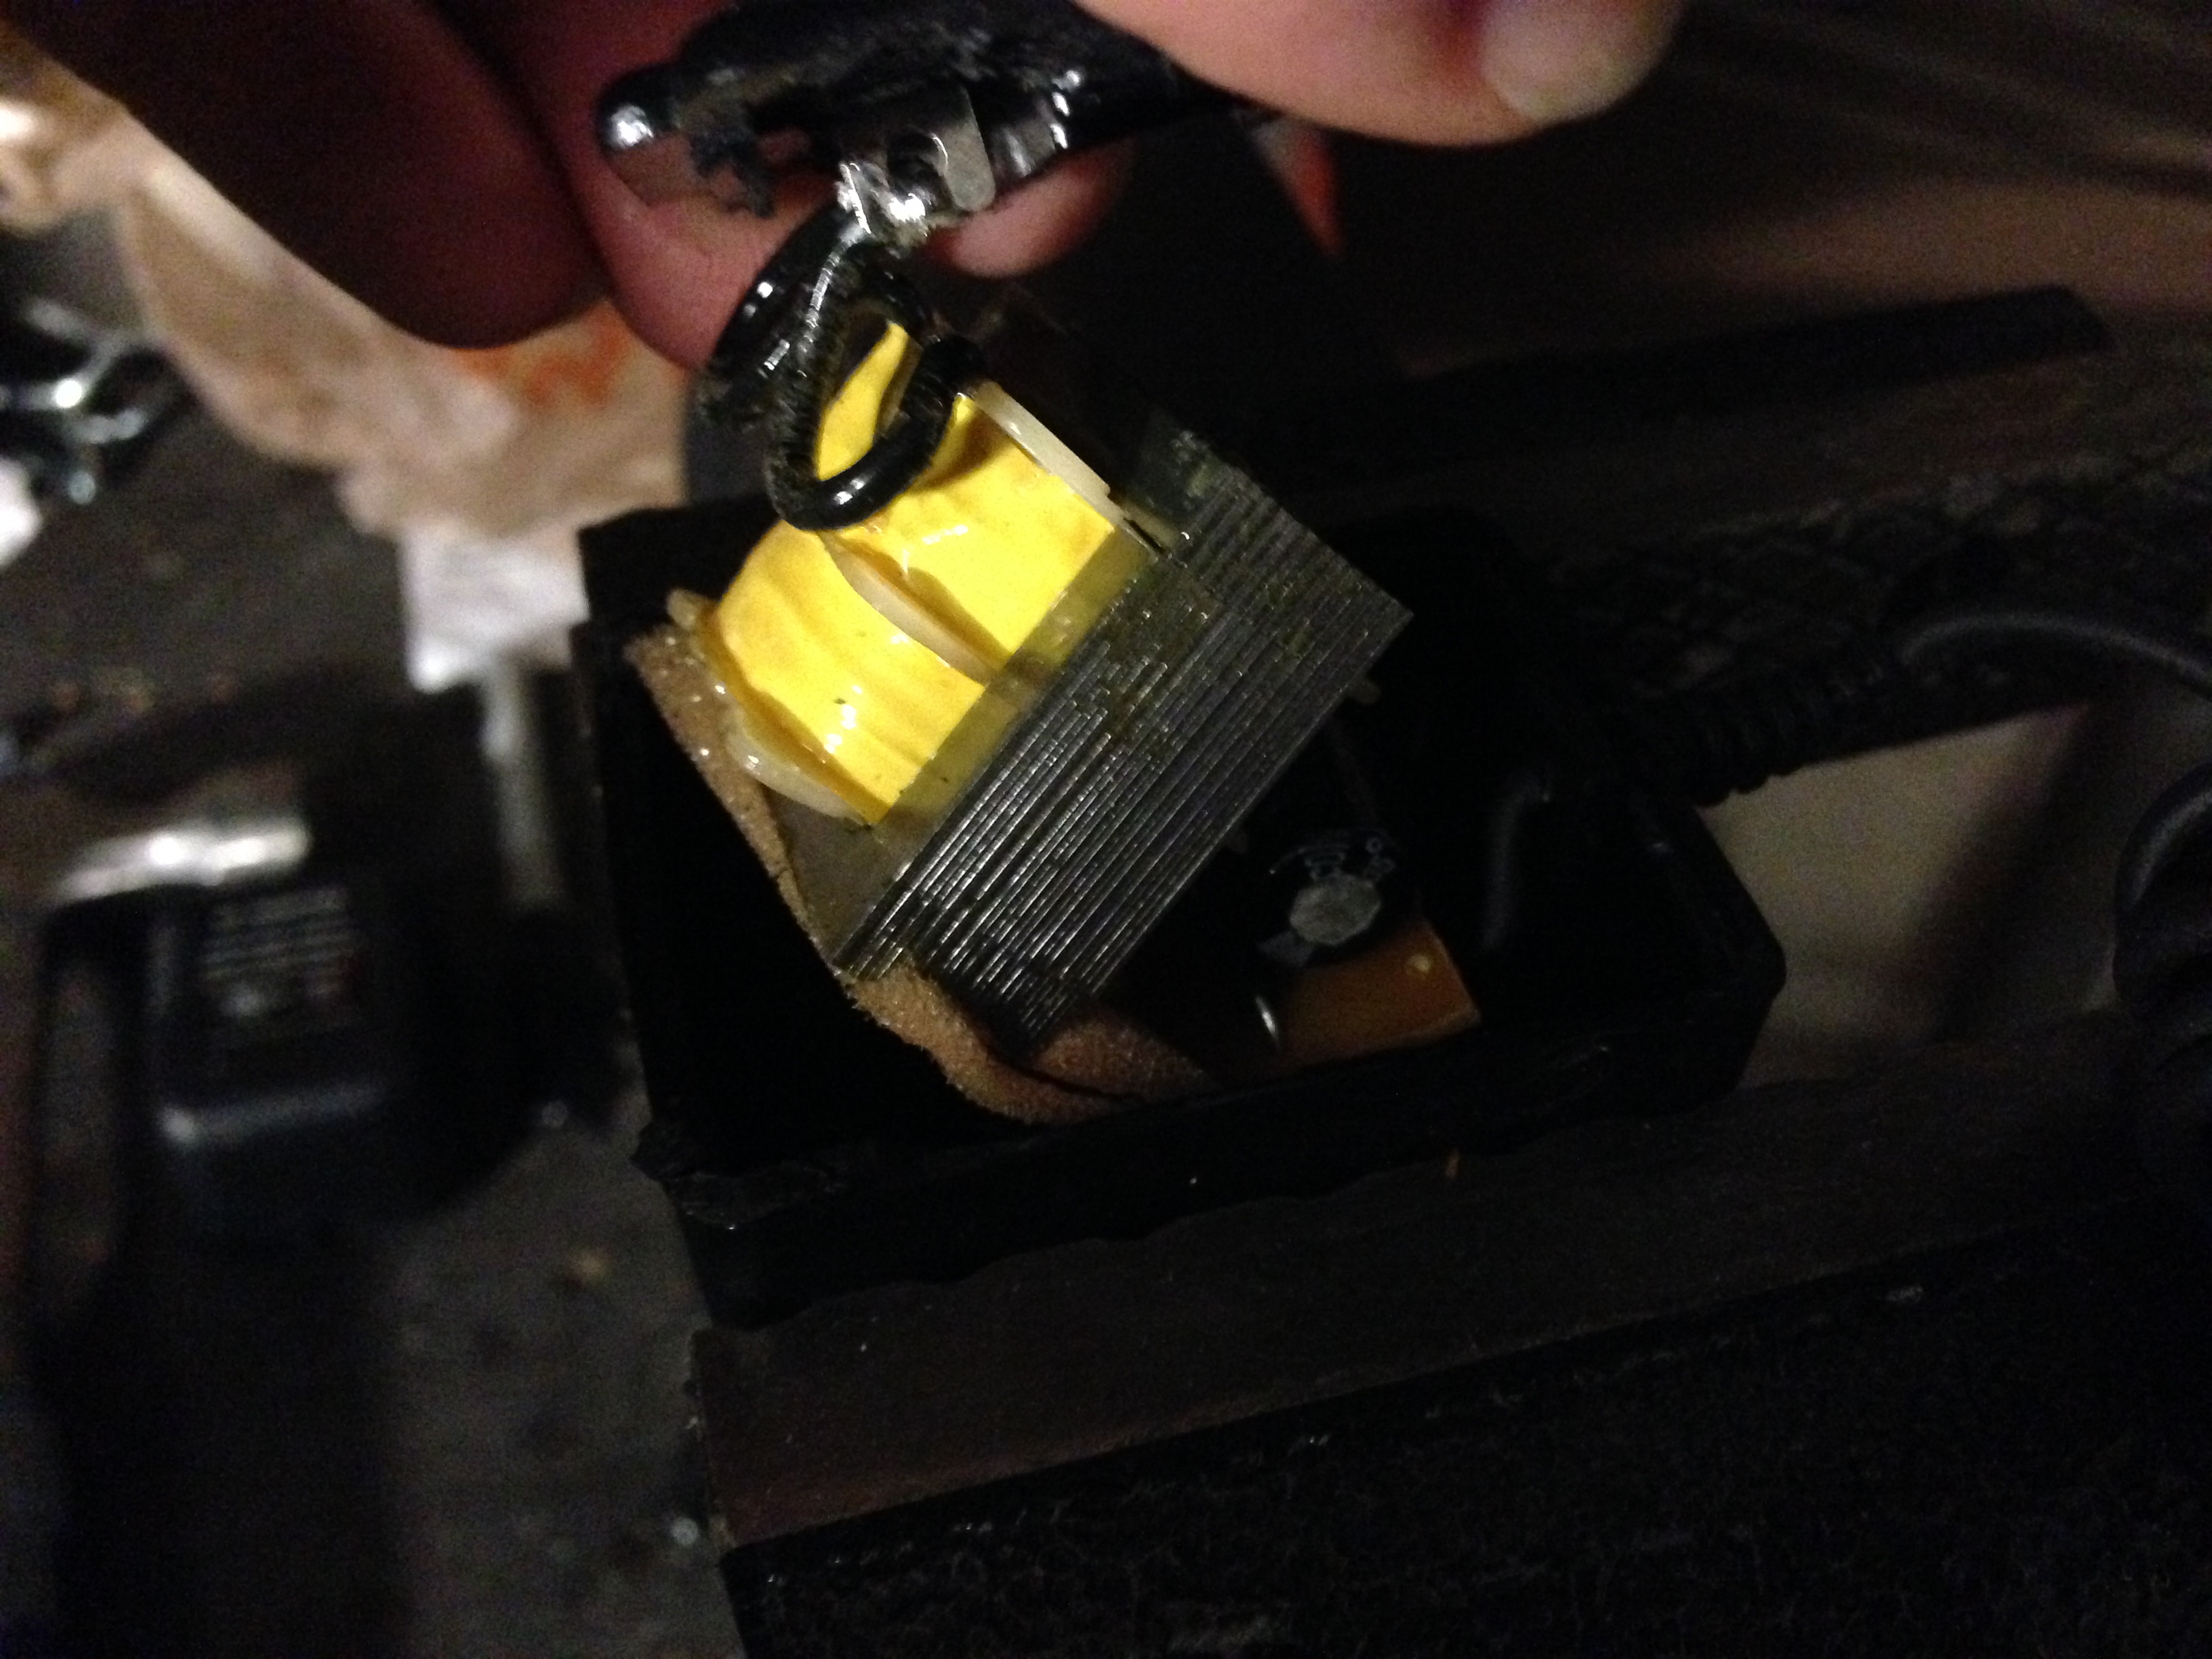
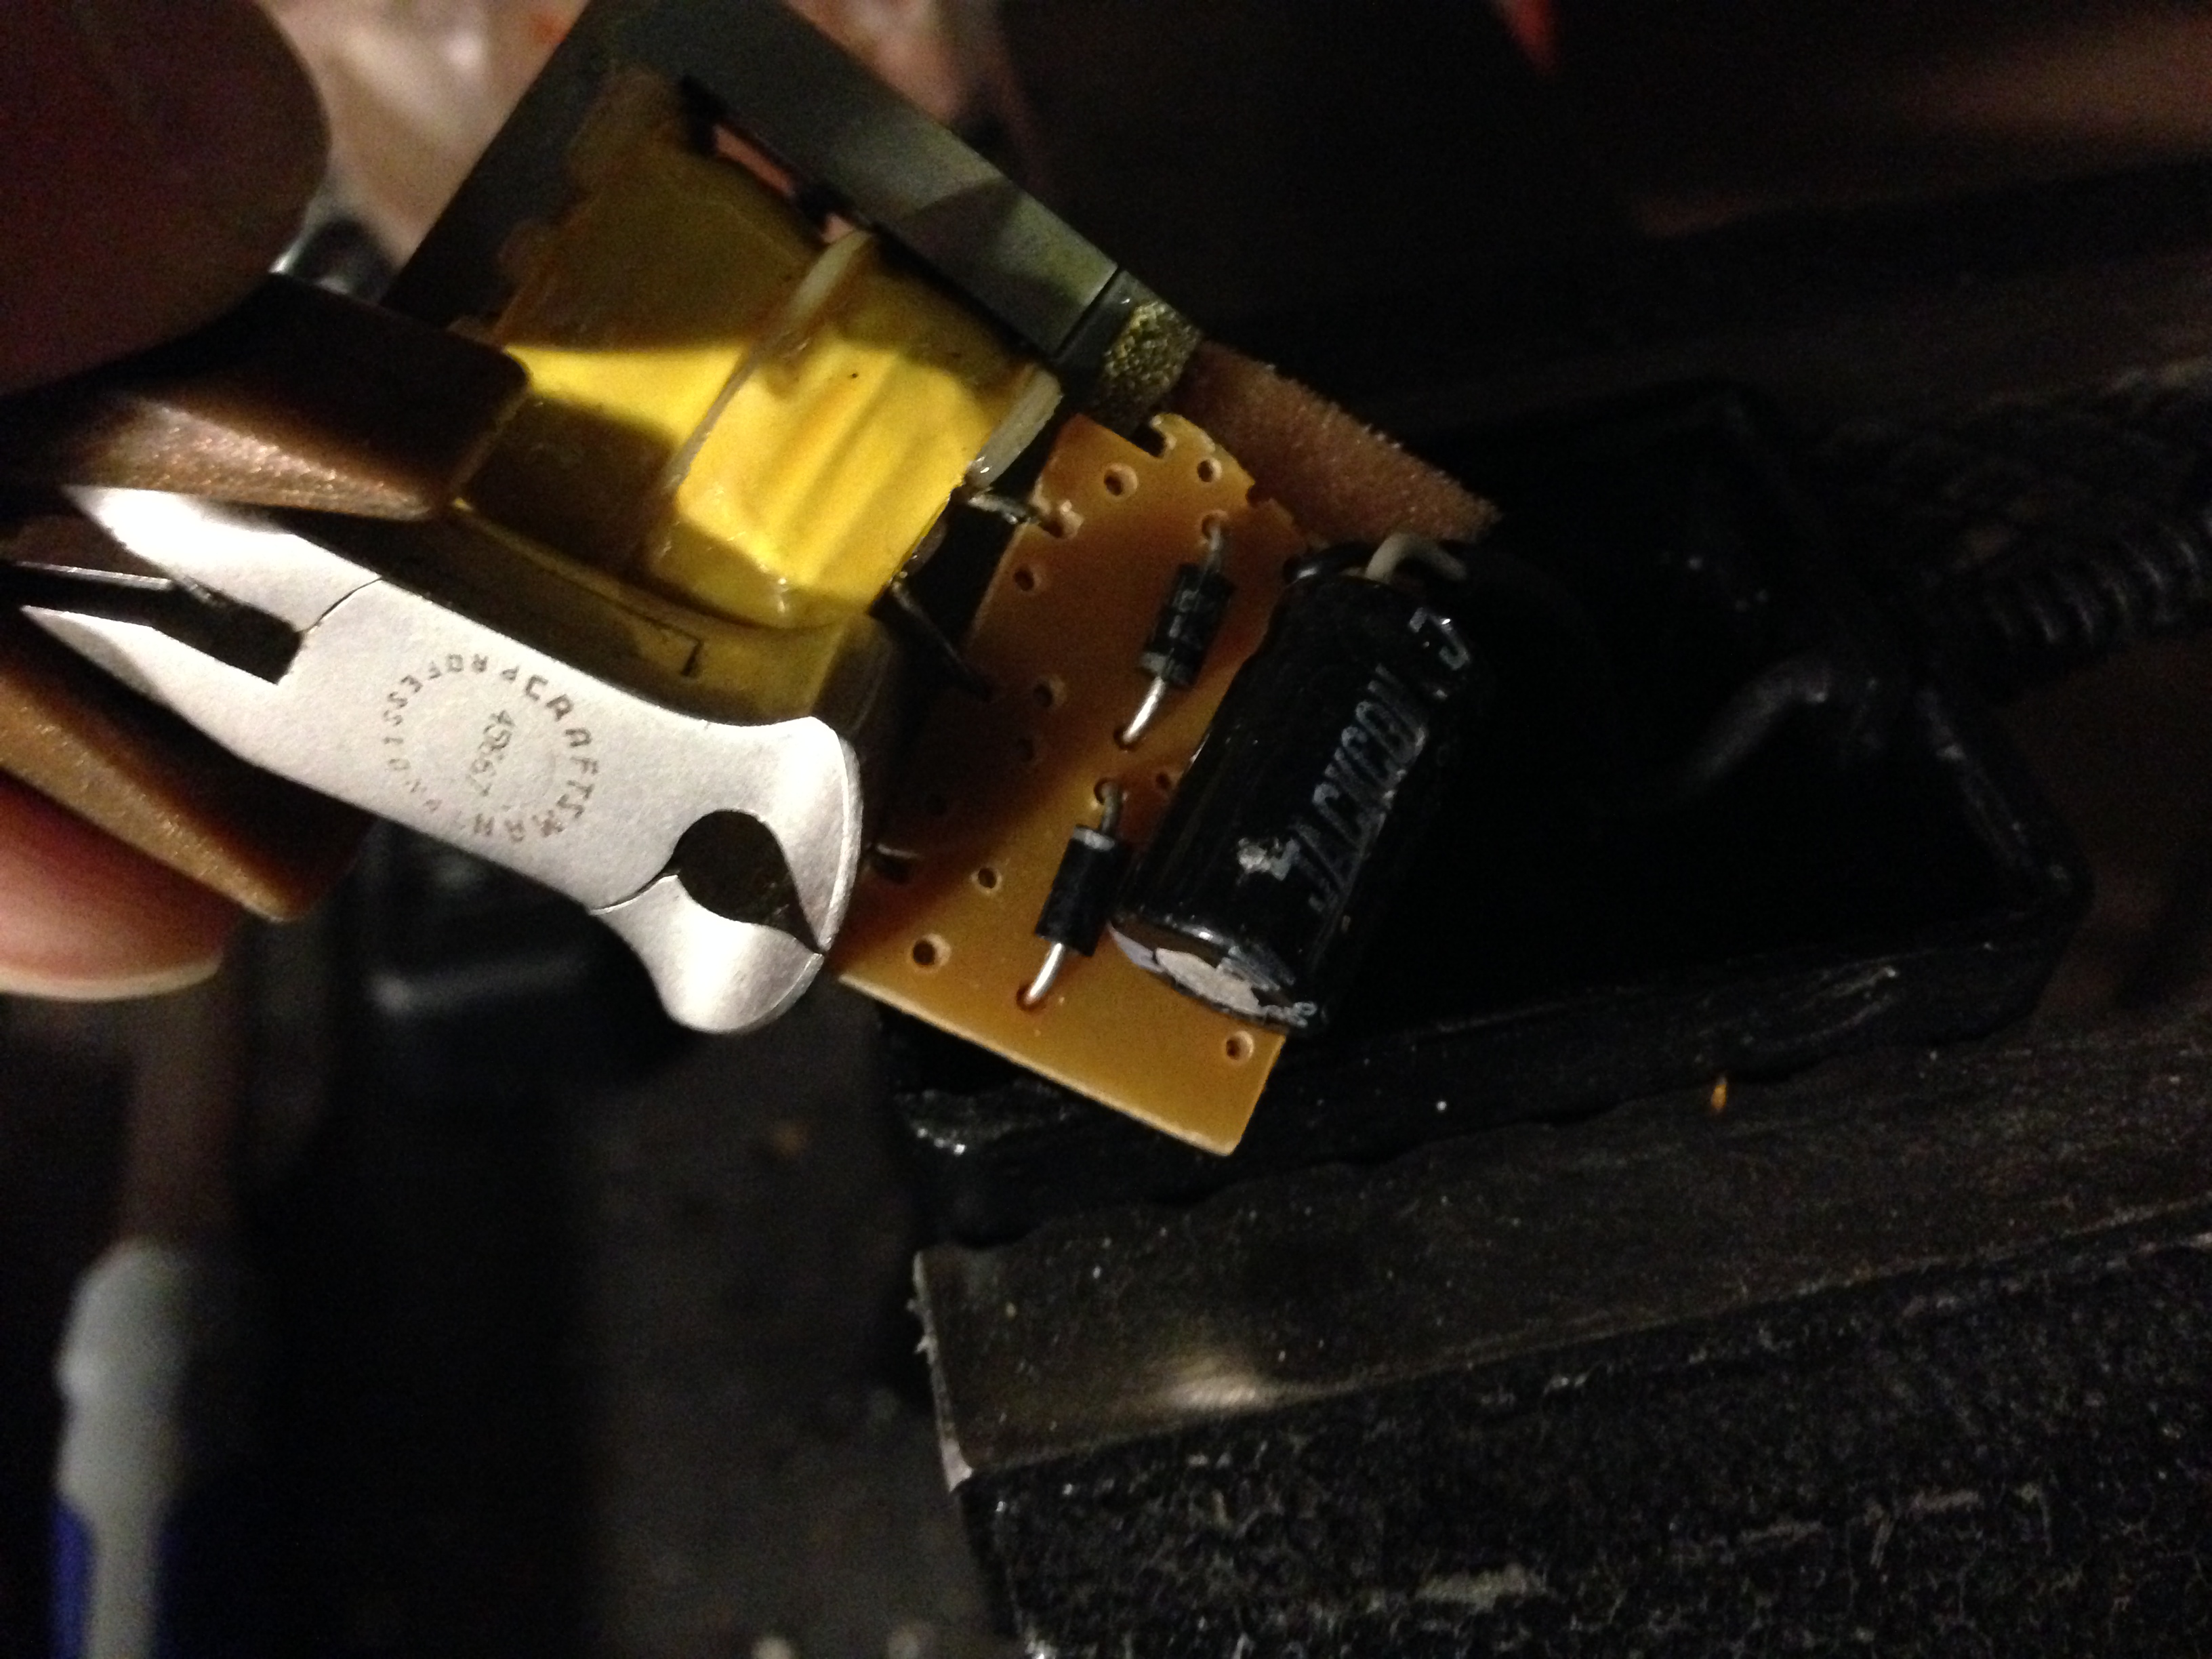
a. Use wire cutters to cut the circuit board away from the bottom of the coil and discard it.
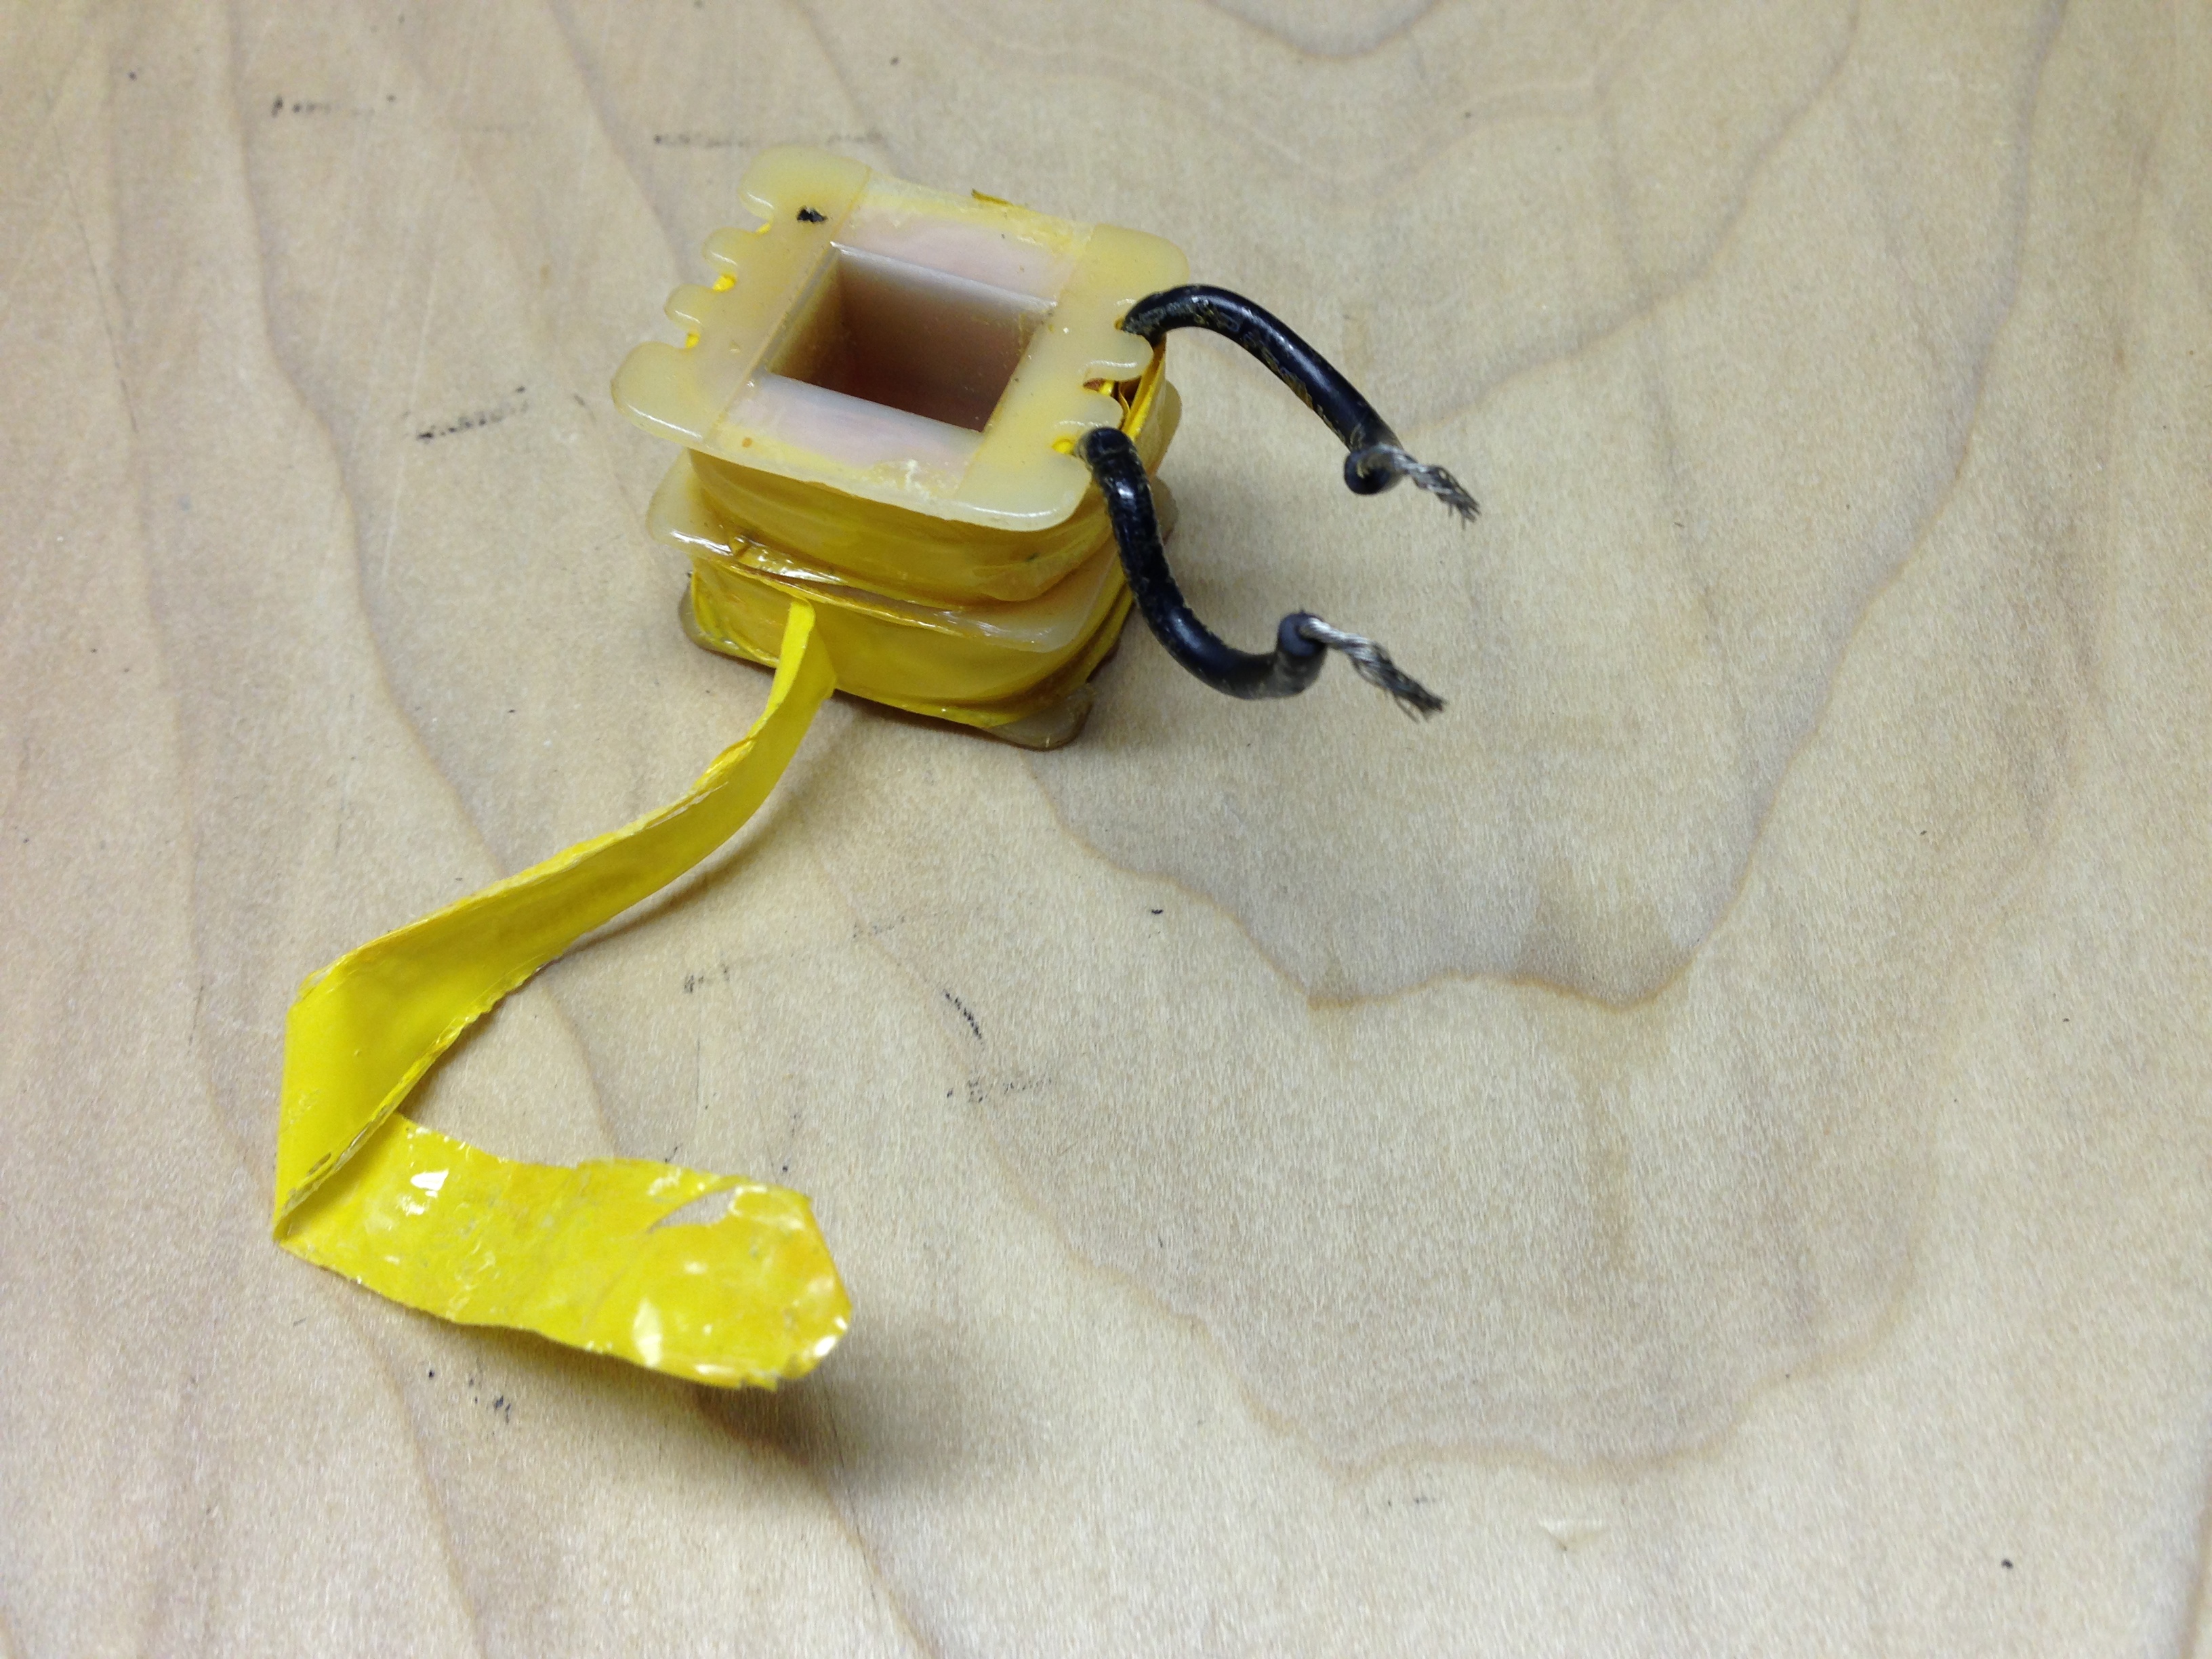
b. Cut the prongs away from the top two wires, keeping the wires as long as possible. Discard everything but the coil.
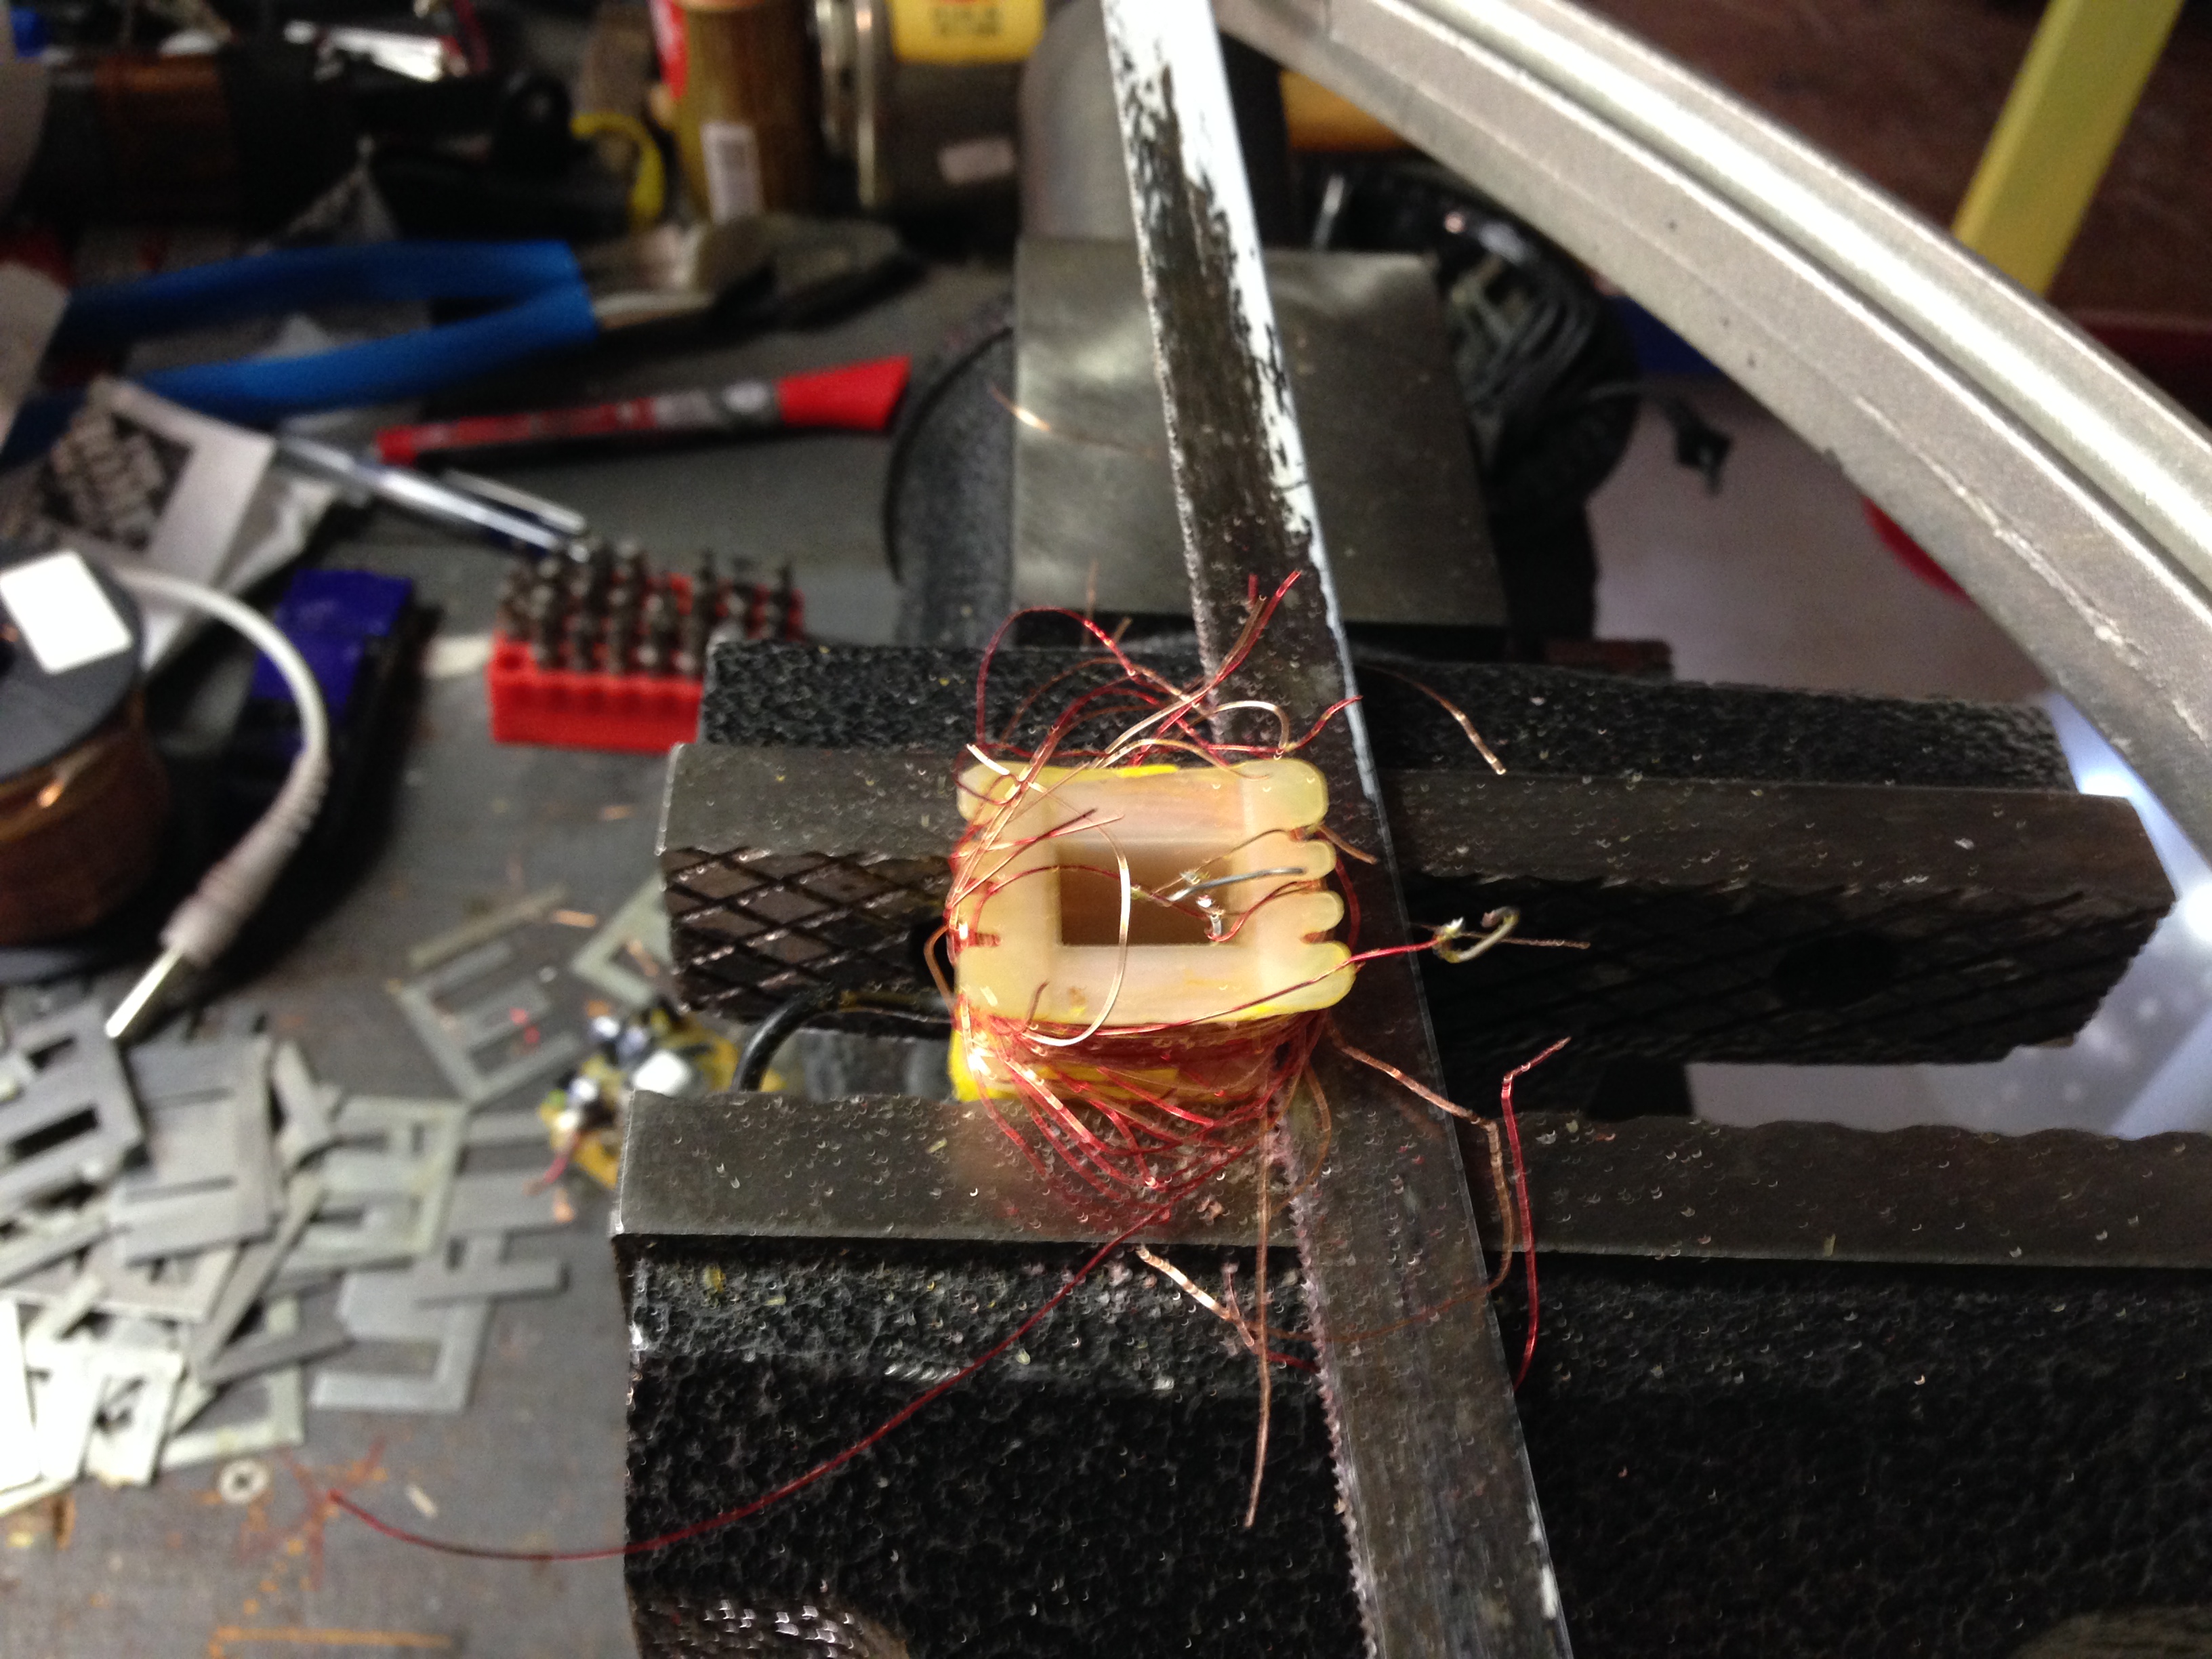
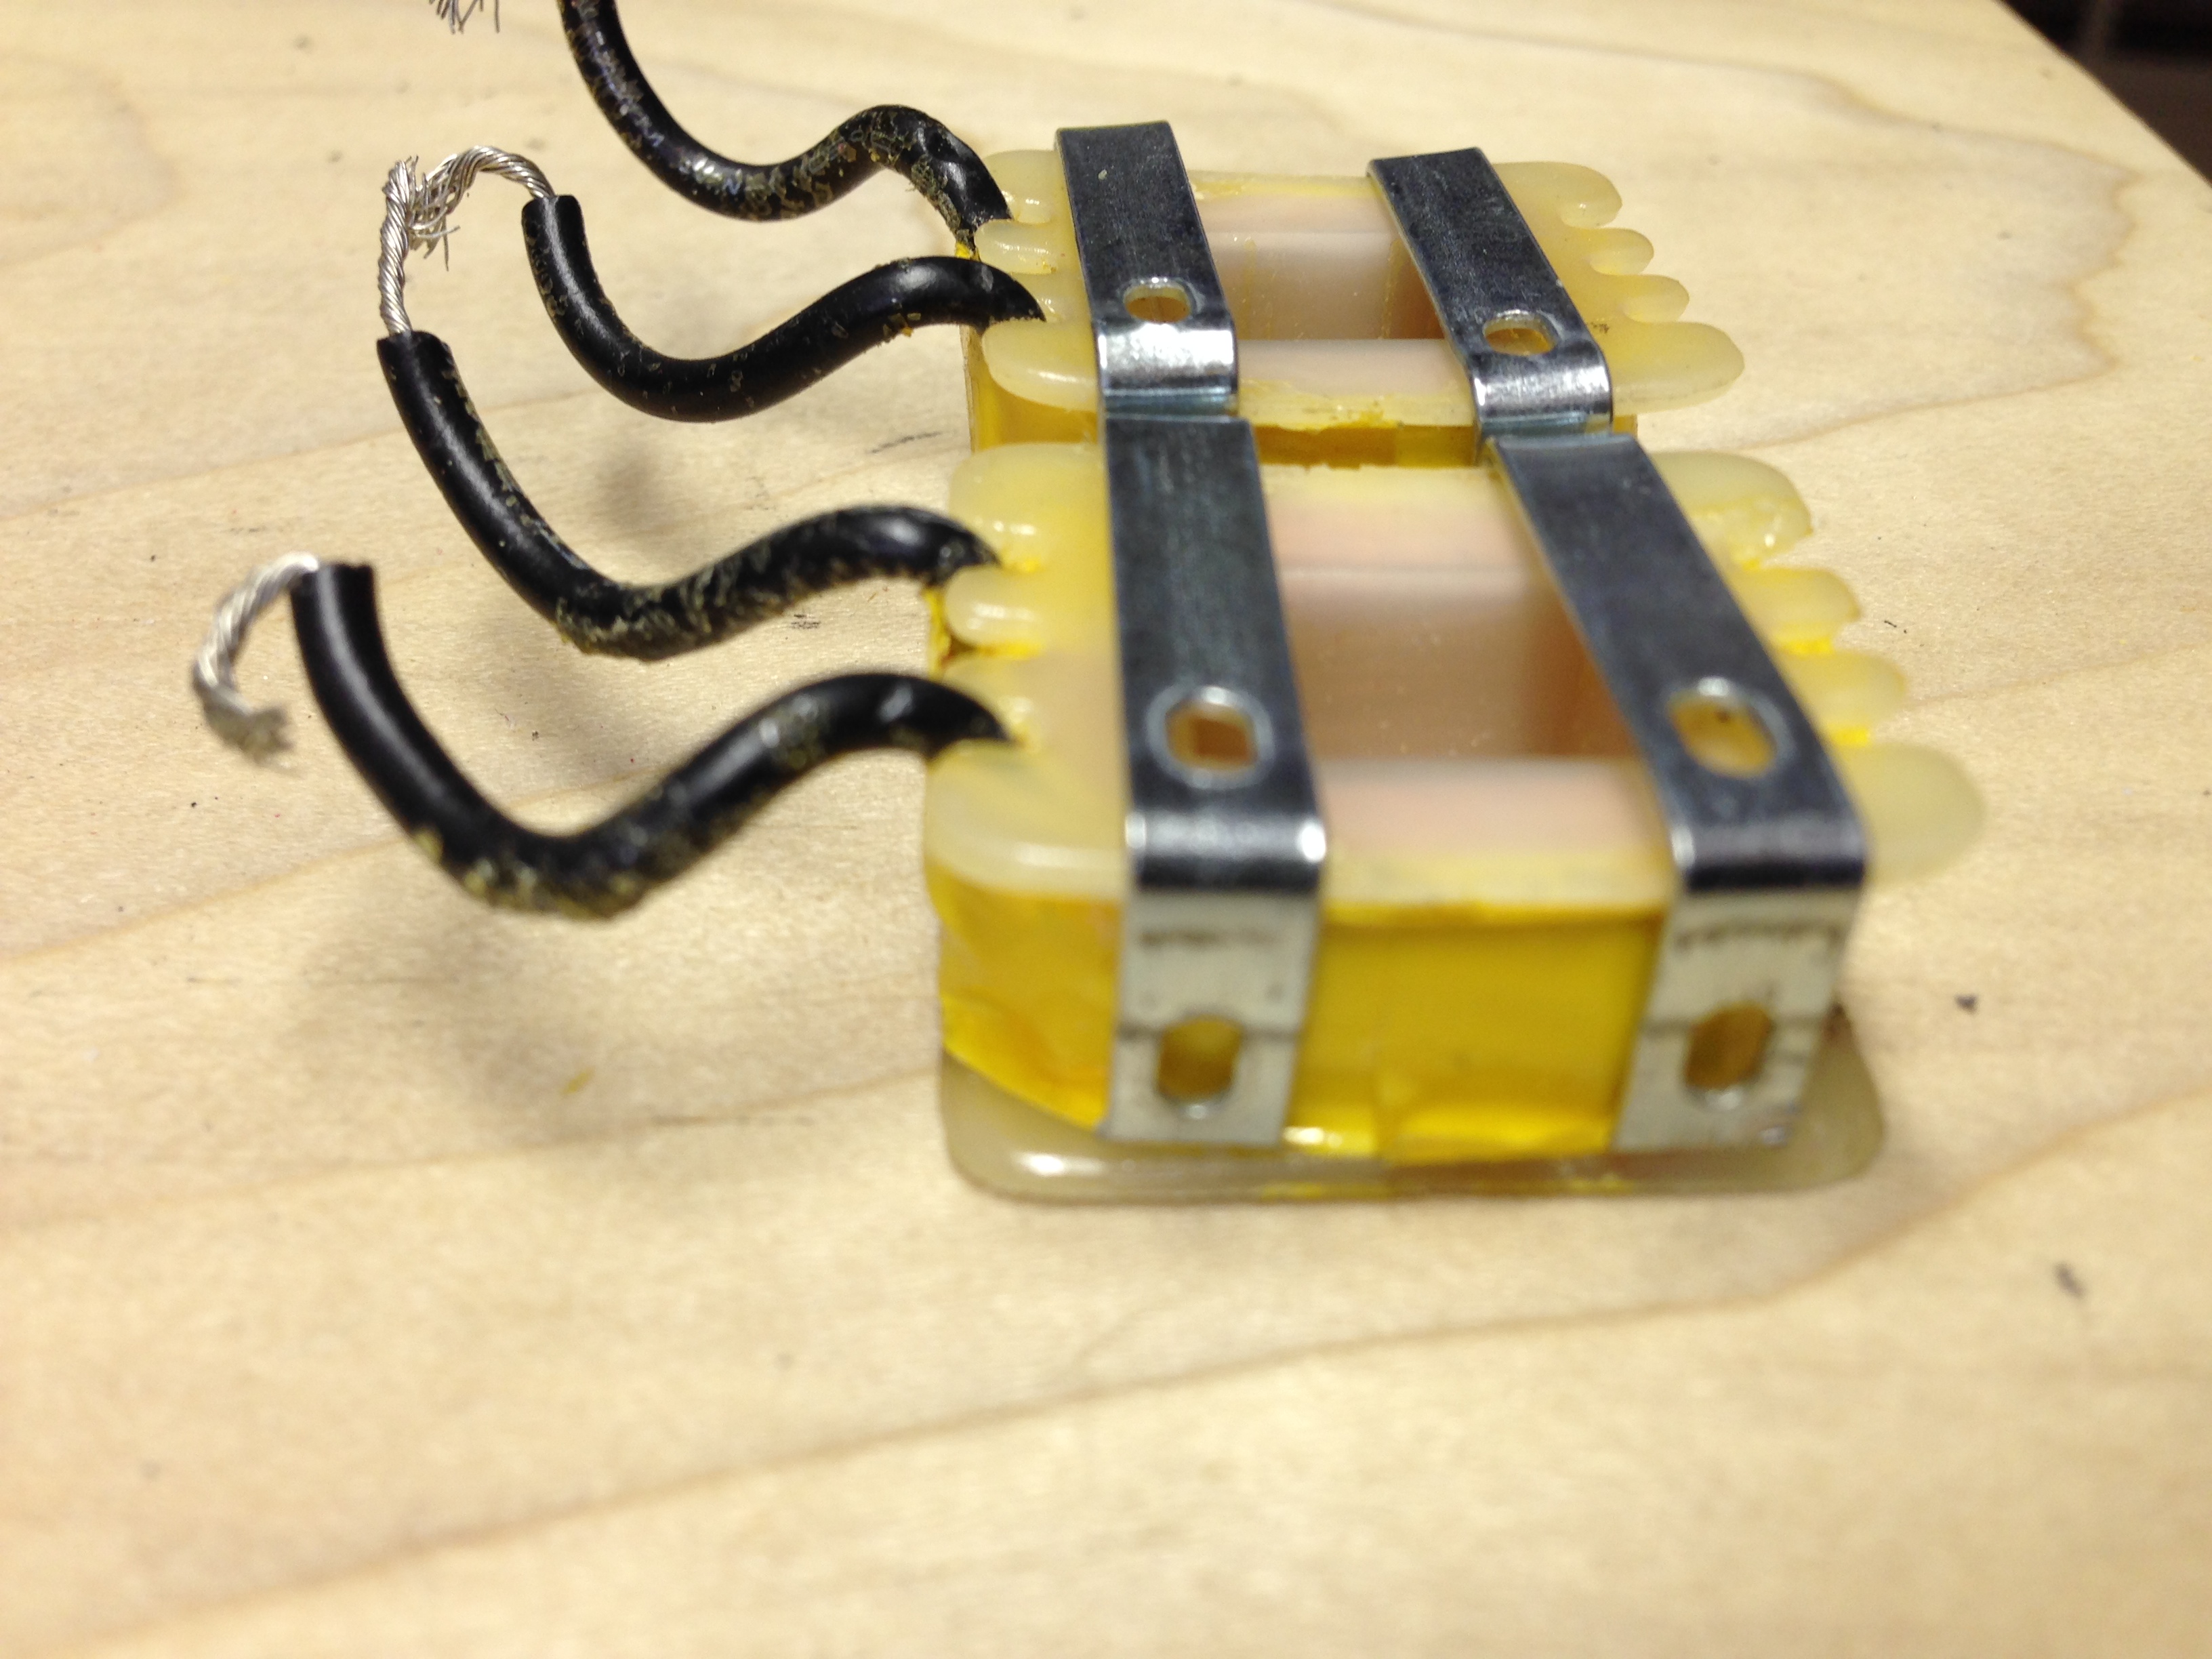
3) Remove the plates from the coil.
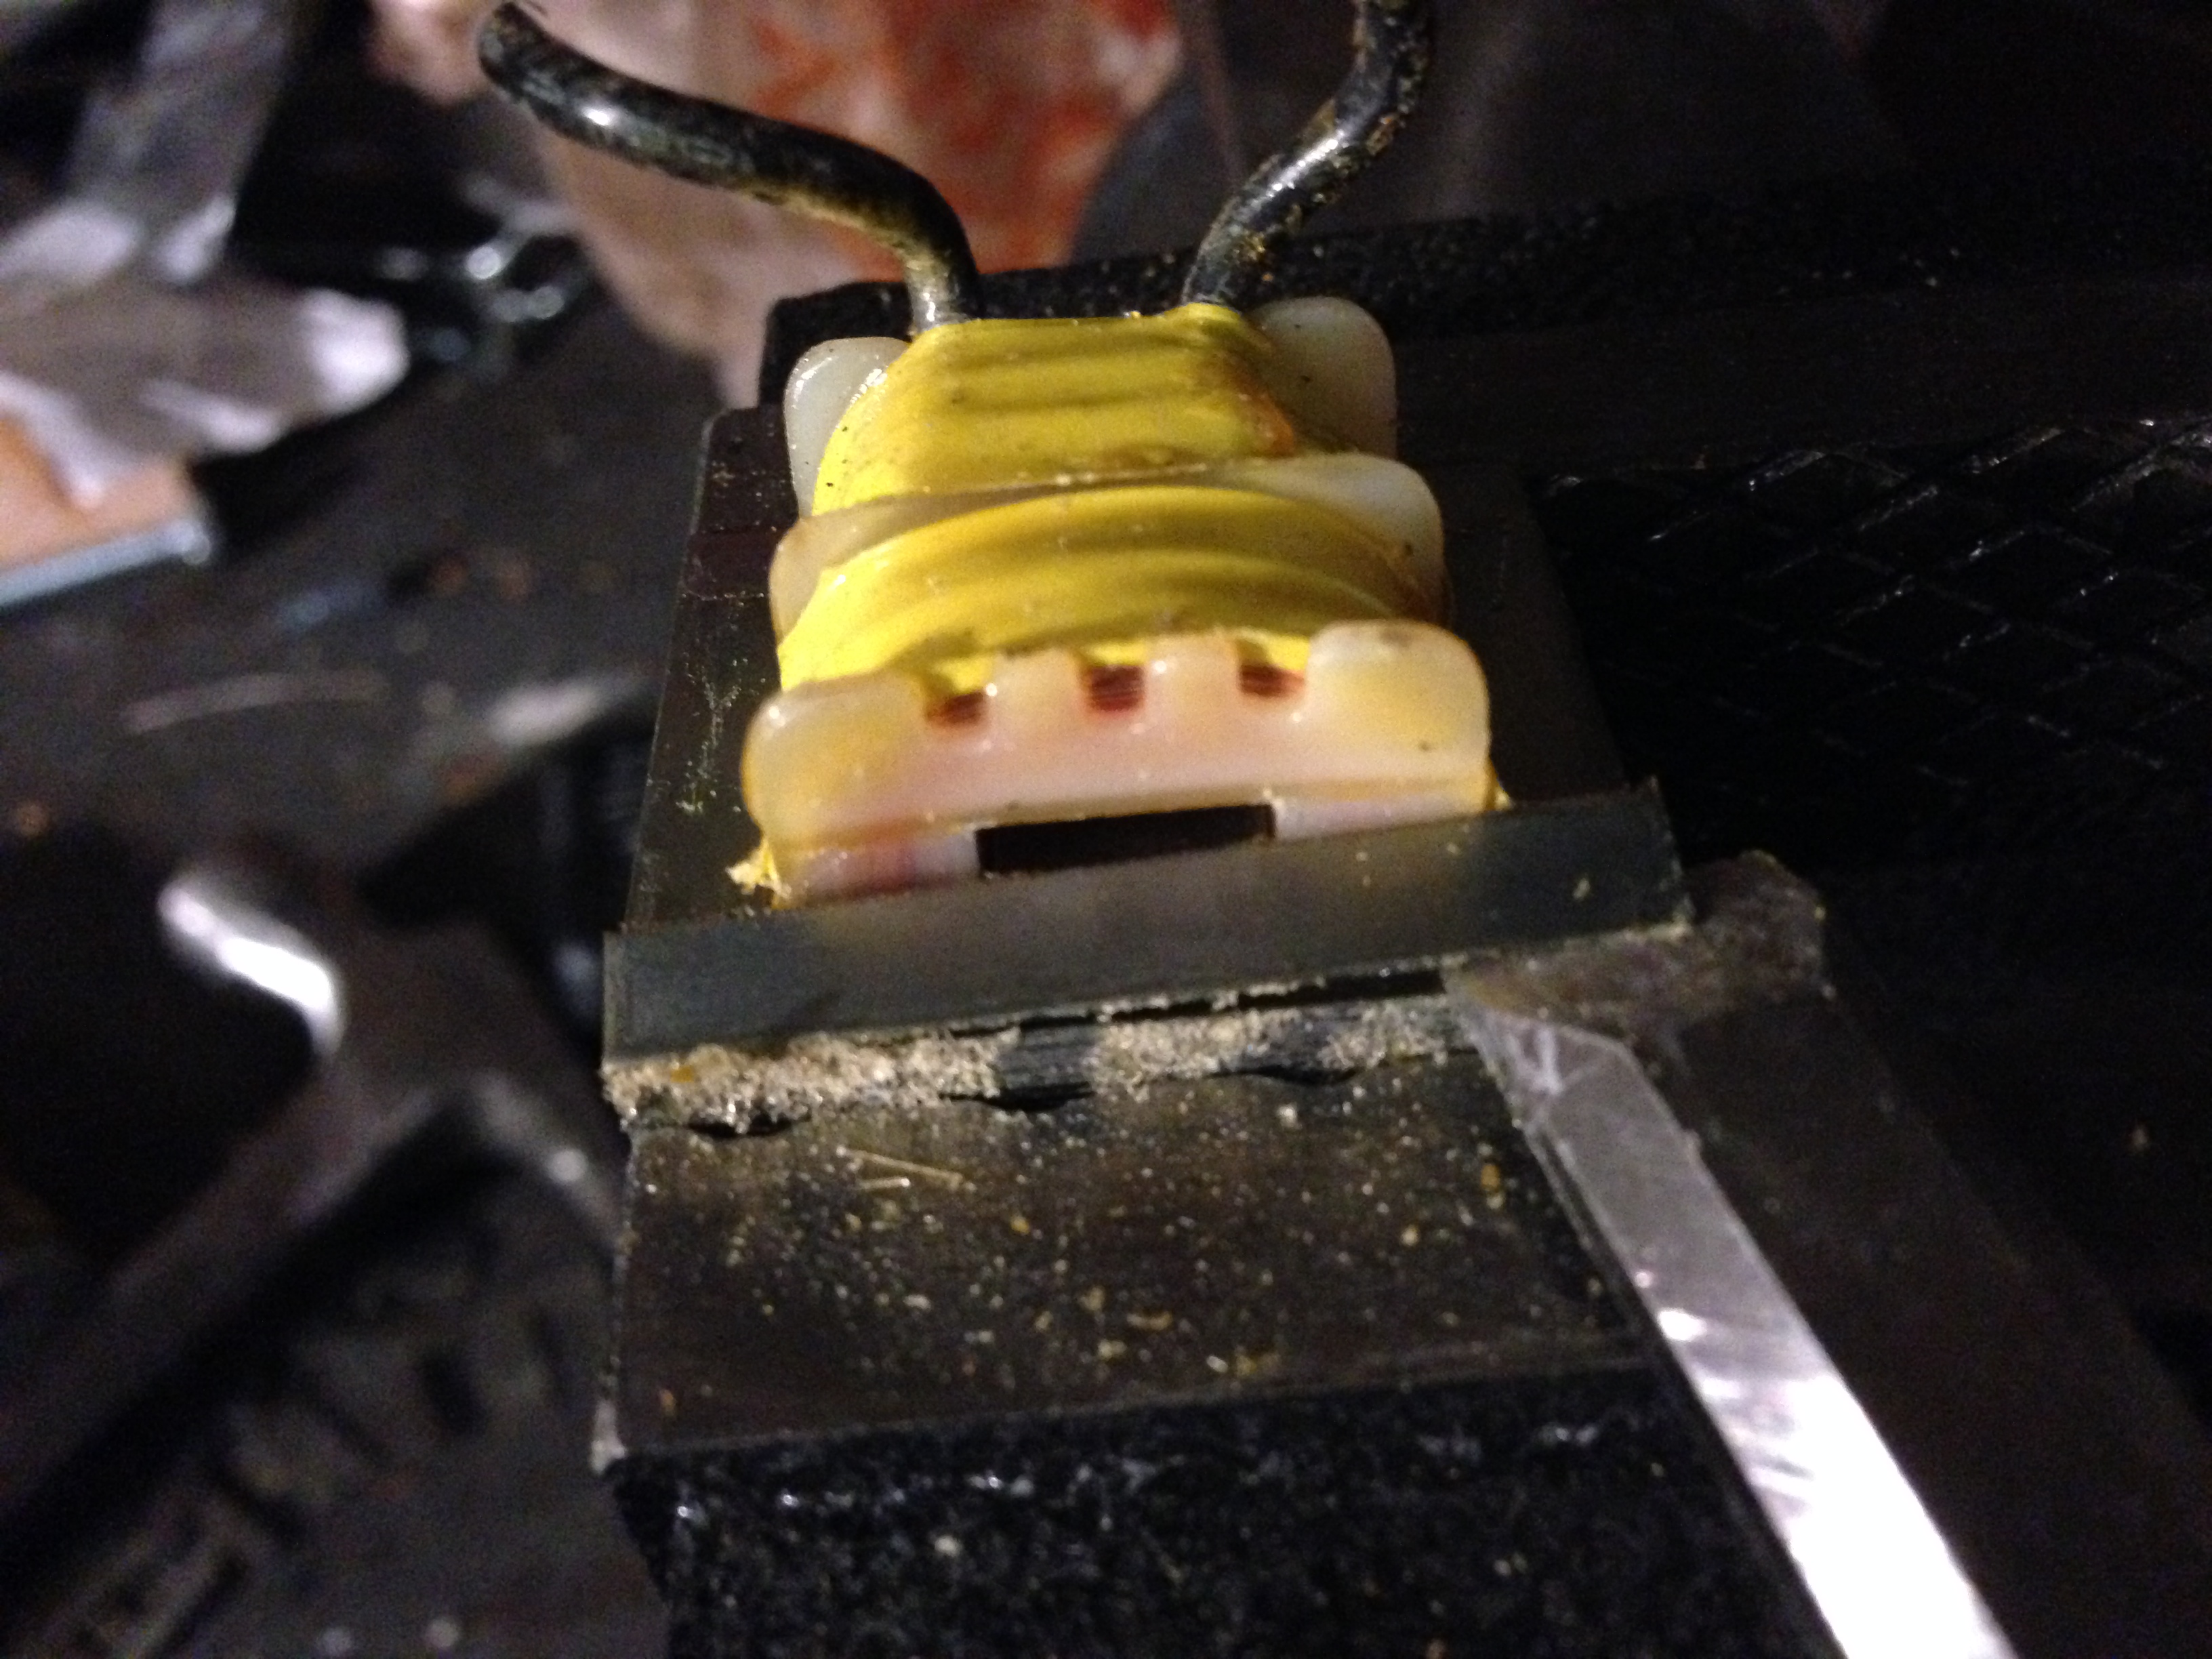

a. Clamp the coil firmly in a bench vise, as seen in the picture above, with the plates horizontal.
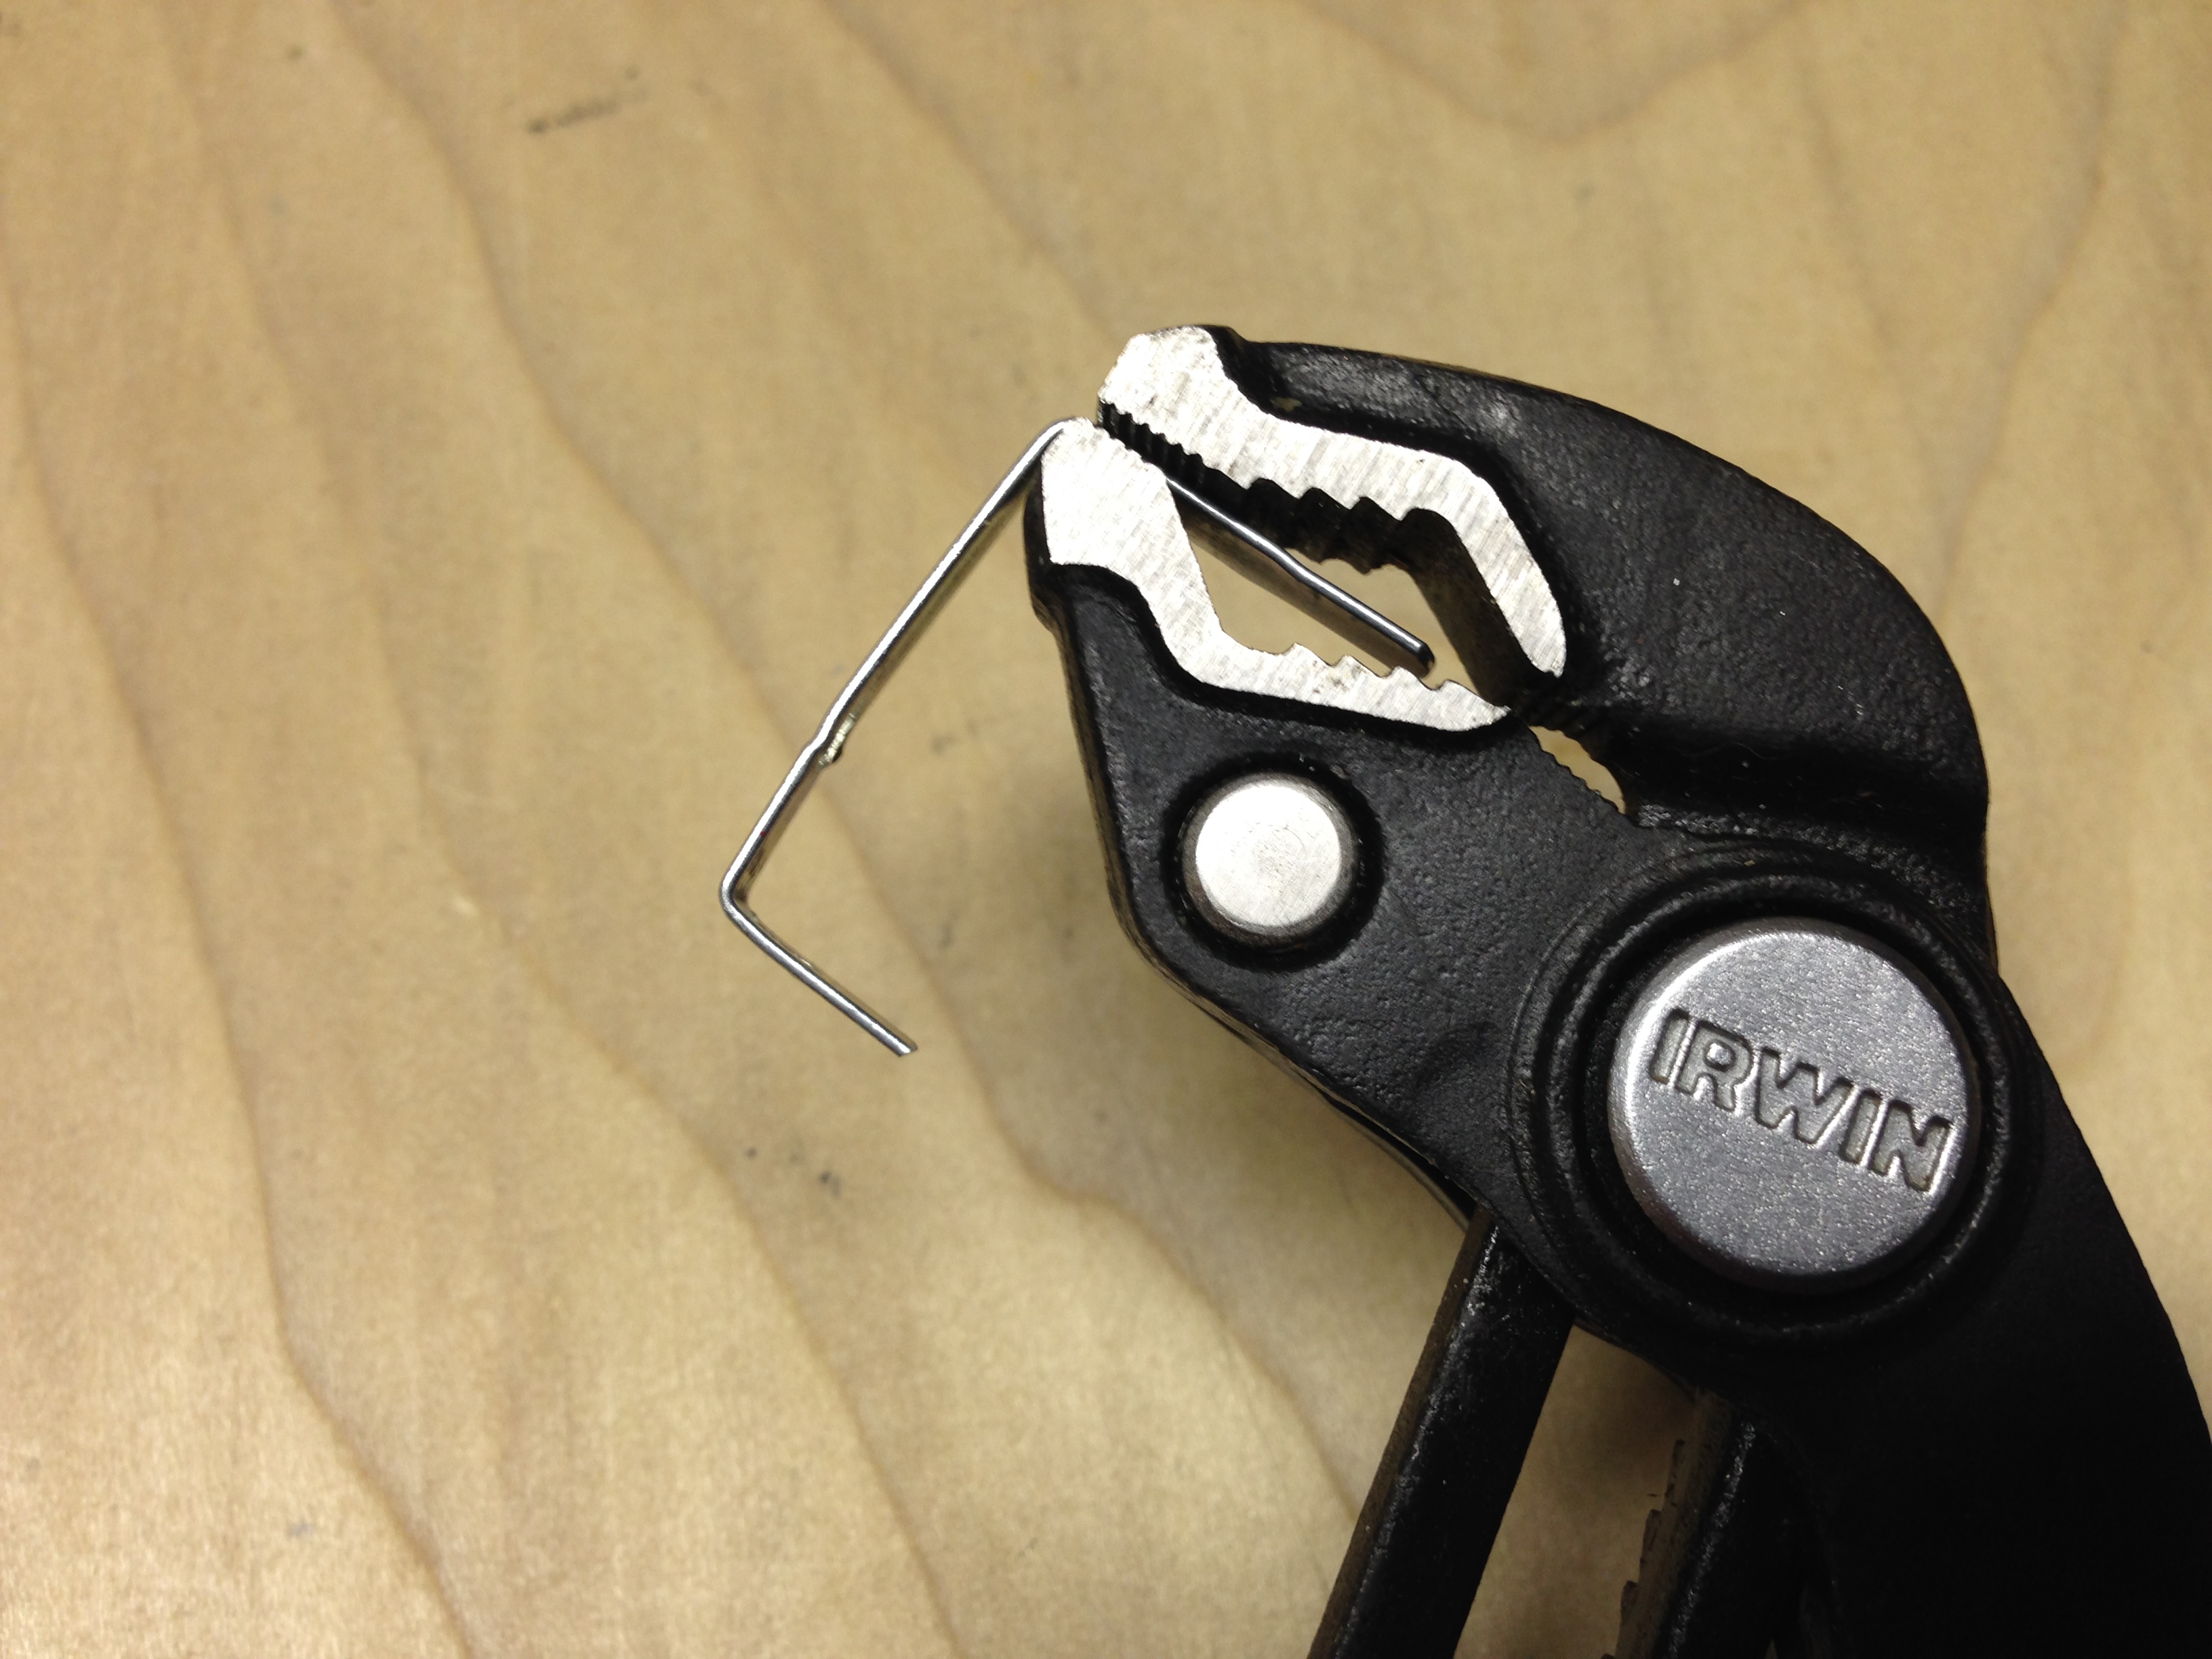
b. The plates are stacked, alternating from side to side, and are shaped like an “M”. Locate the outer legs of the “M”; using a chisel and hammer, tap the chisel under each of the legs.
c. Turn the chisel vertically and tap each leg until the plate begins to break free. The legs on the top plate will likely bend before the plate comes completely out, so use a pair of pliers to pull it free. The plates are sharp; don’t use your fingers.
d. There will be a thin, rectangular plate, pop it up with the chisel and hammer to reveal the legs on the next plate.
e. Repeat the process of removing and “M” plate and then rectangular plate, from side to side, until all of the plates have been removed. You will have to reposition the coil as the plates get lower and will likely have to get creative on the last four.
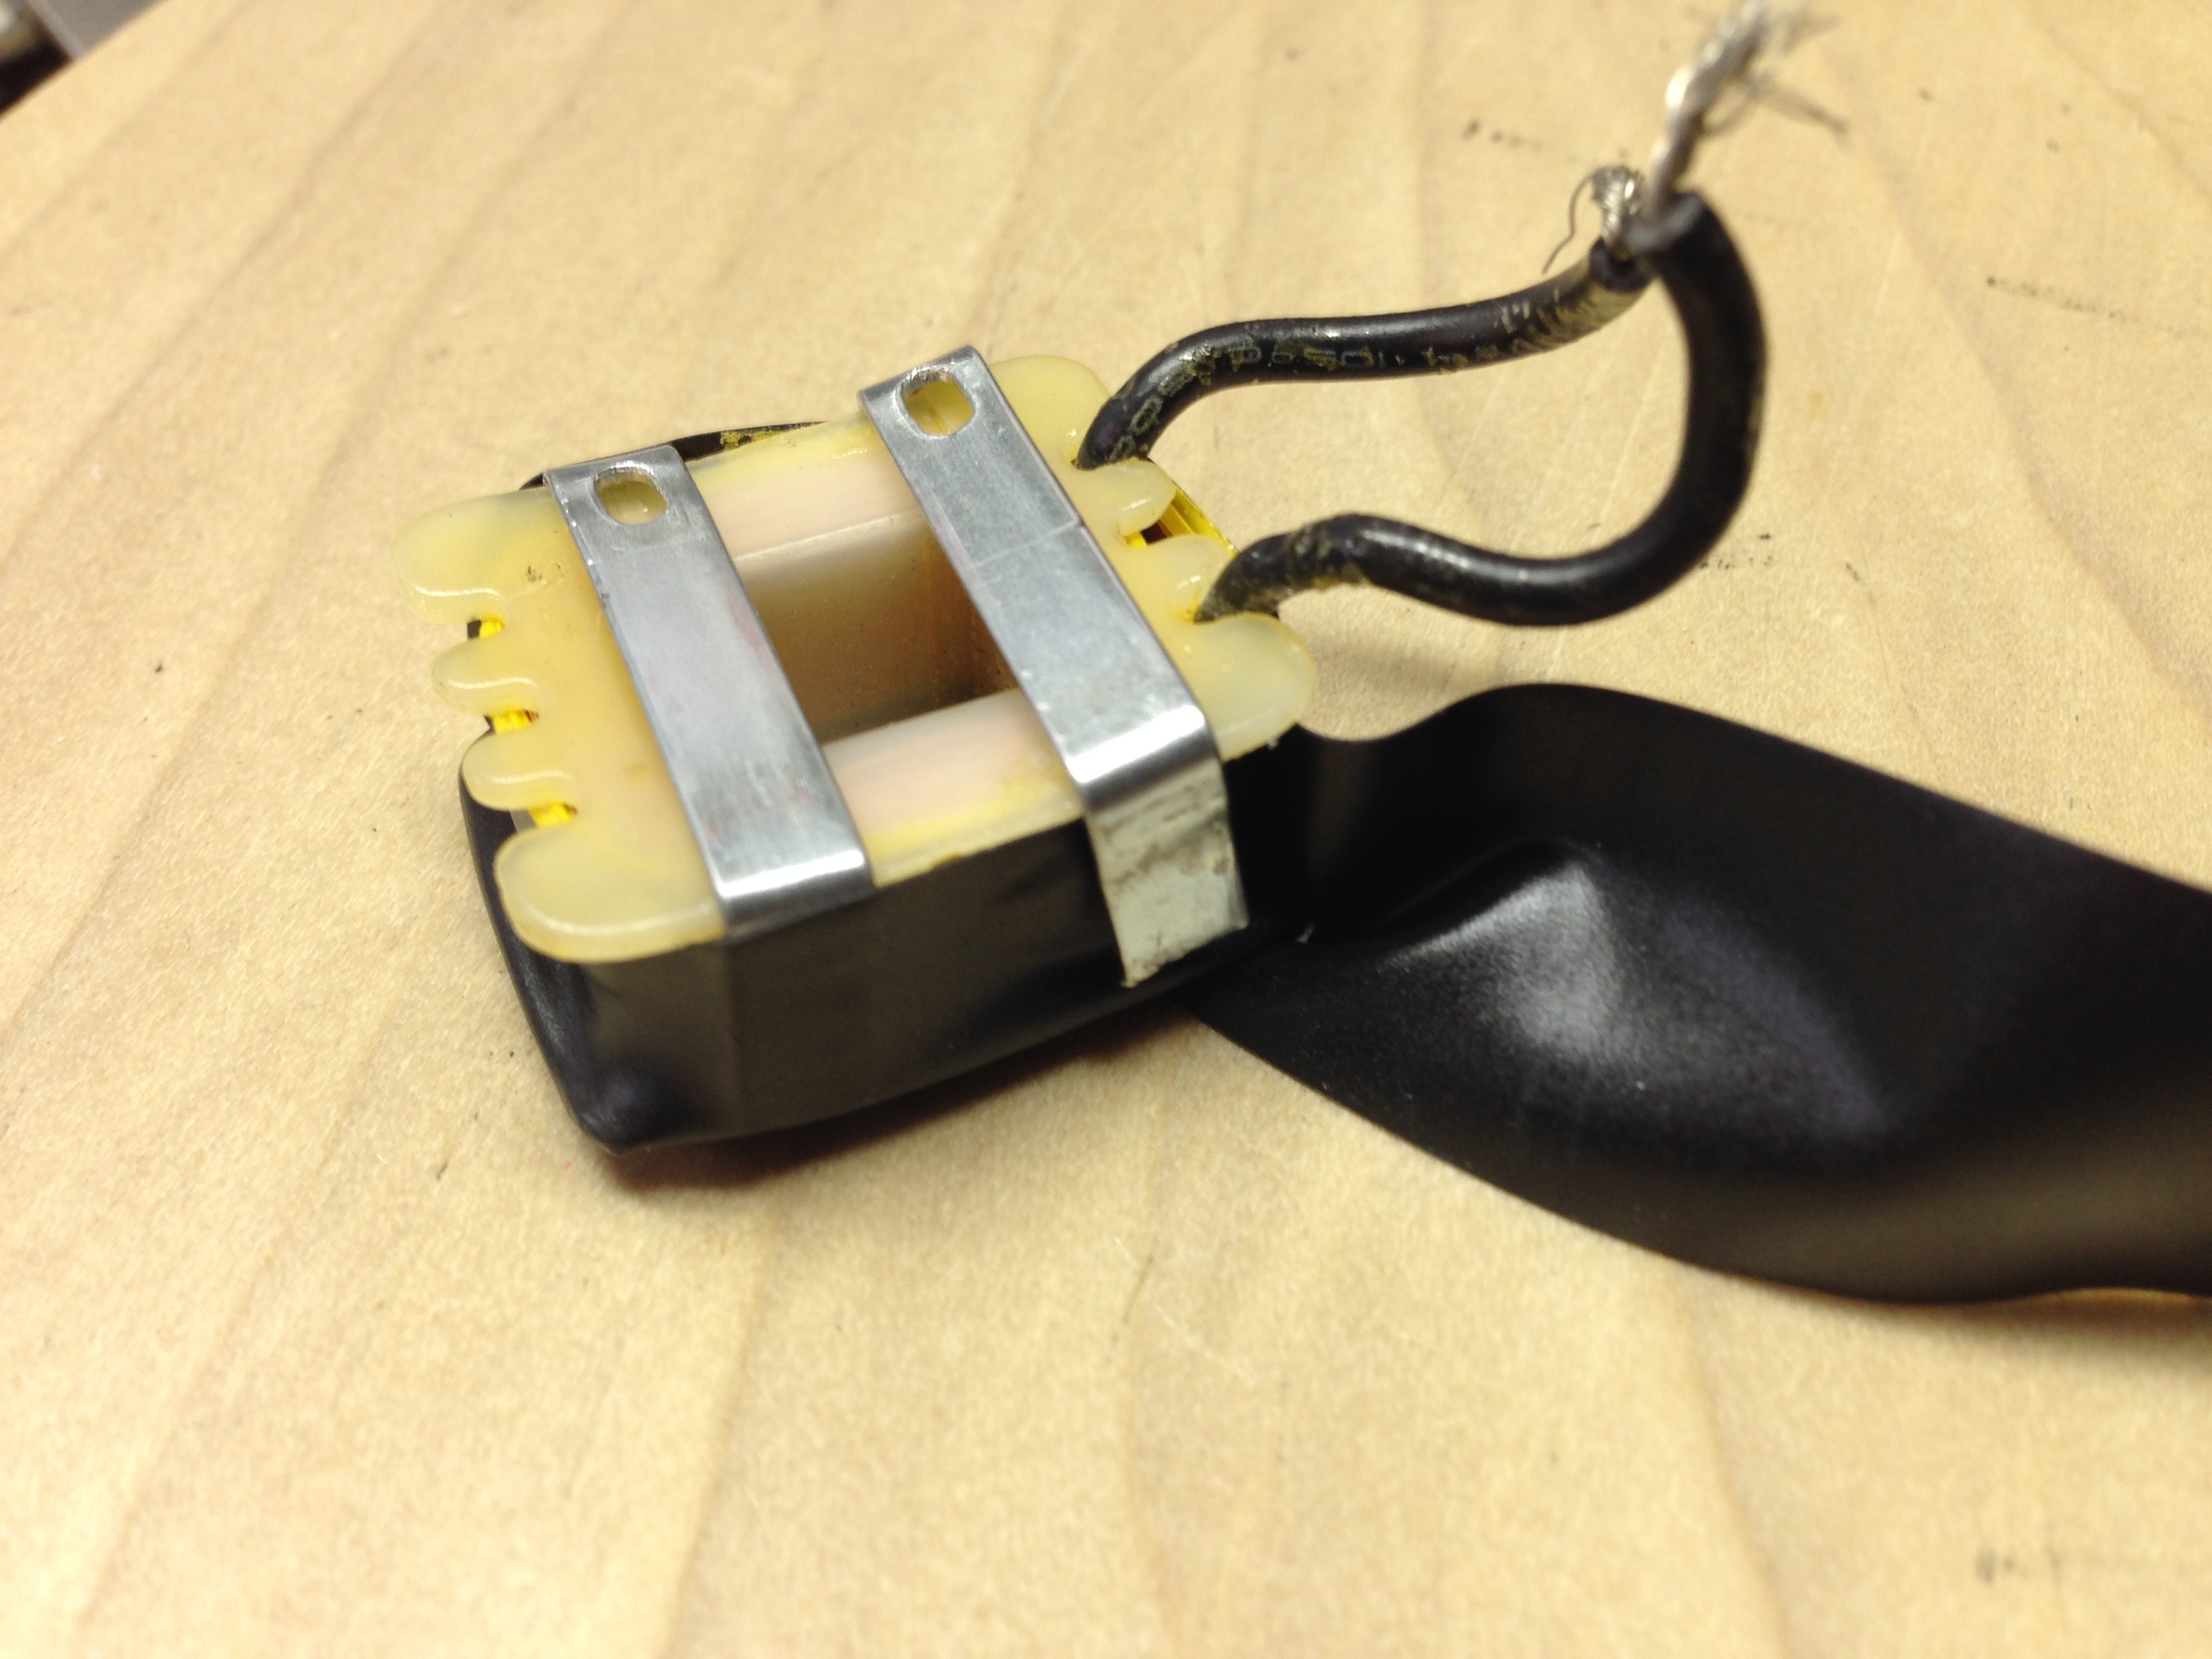
4) Remove the bottom coil—the bottom coil is made of thicker wire and is attached to the board. The coil that we want is the top coil, with the black wires, that was attached to the prongs.
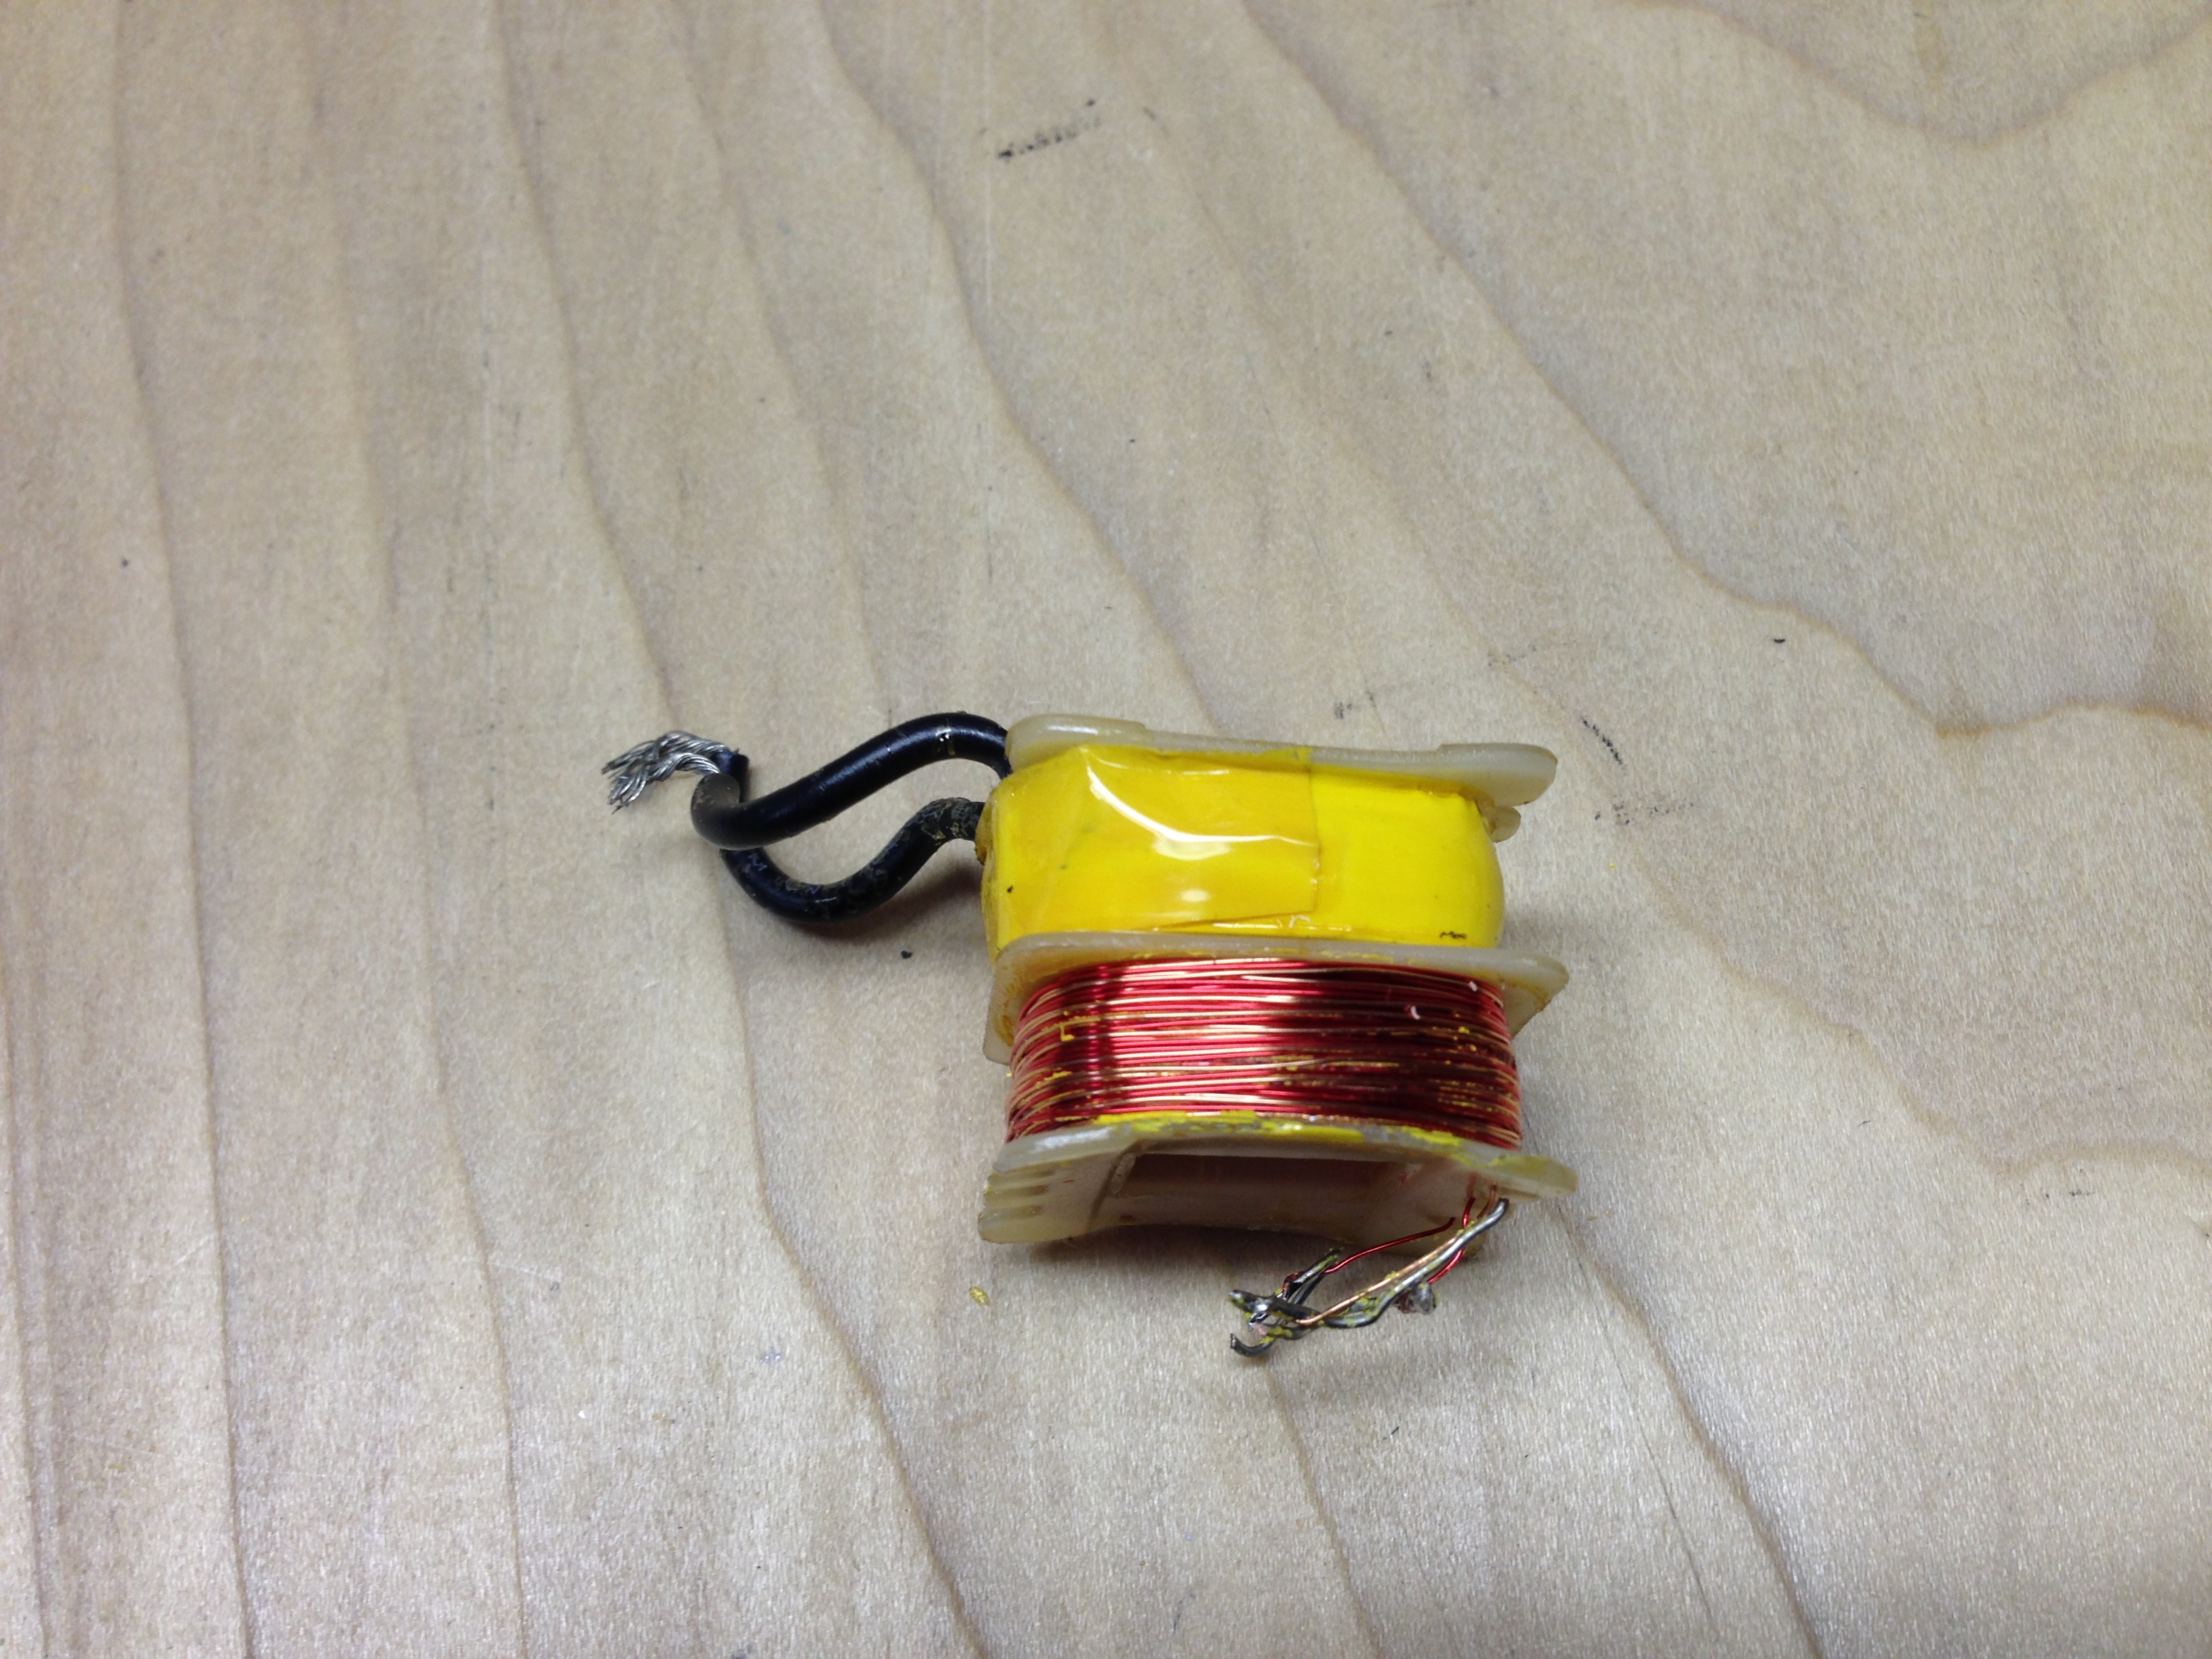

a. Unwrap the bottom coil. Clamp the coil in the bench vise, as seen in the picture above—clamp the top coil just firm enough to keep it from moving. Do not over tighten; you don’t want to damage the coil.
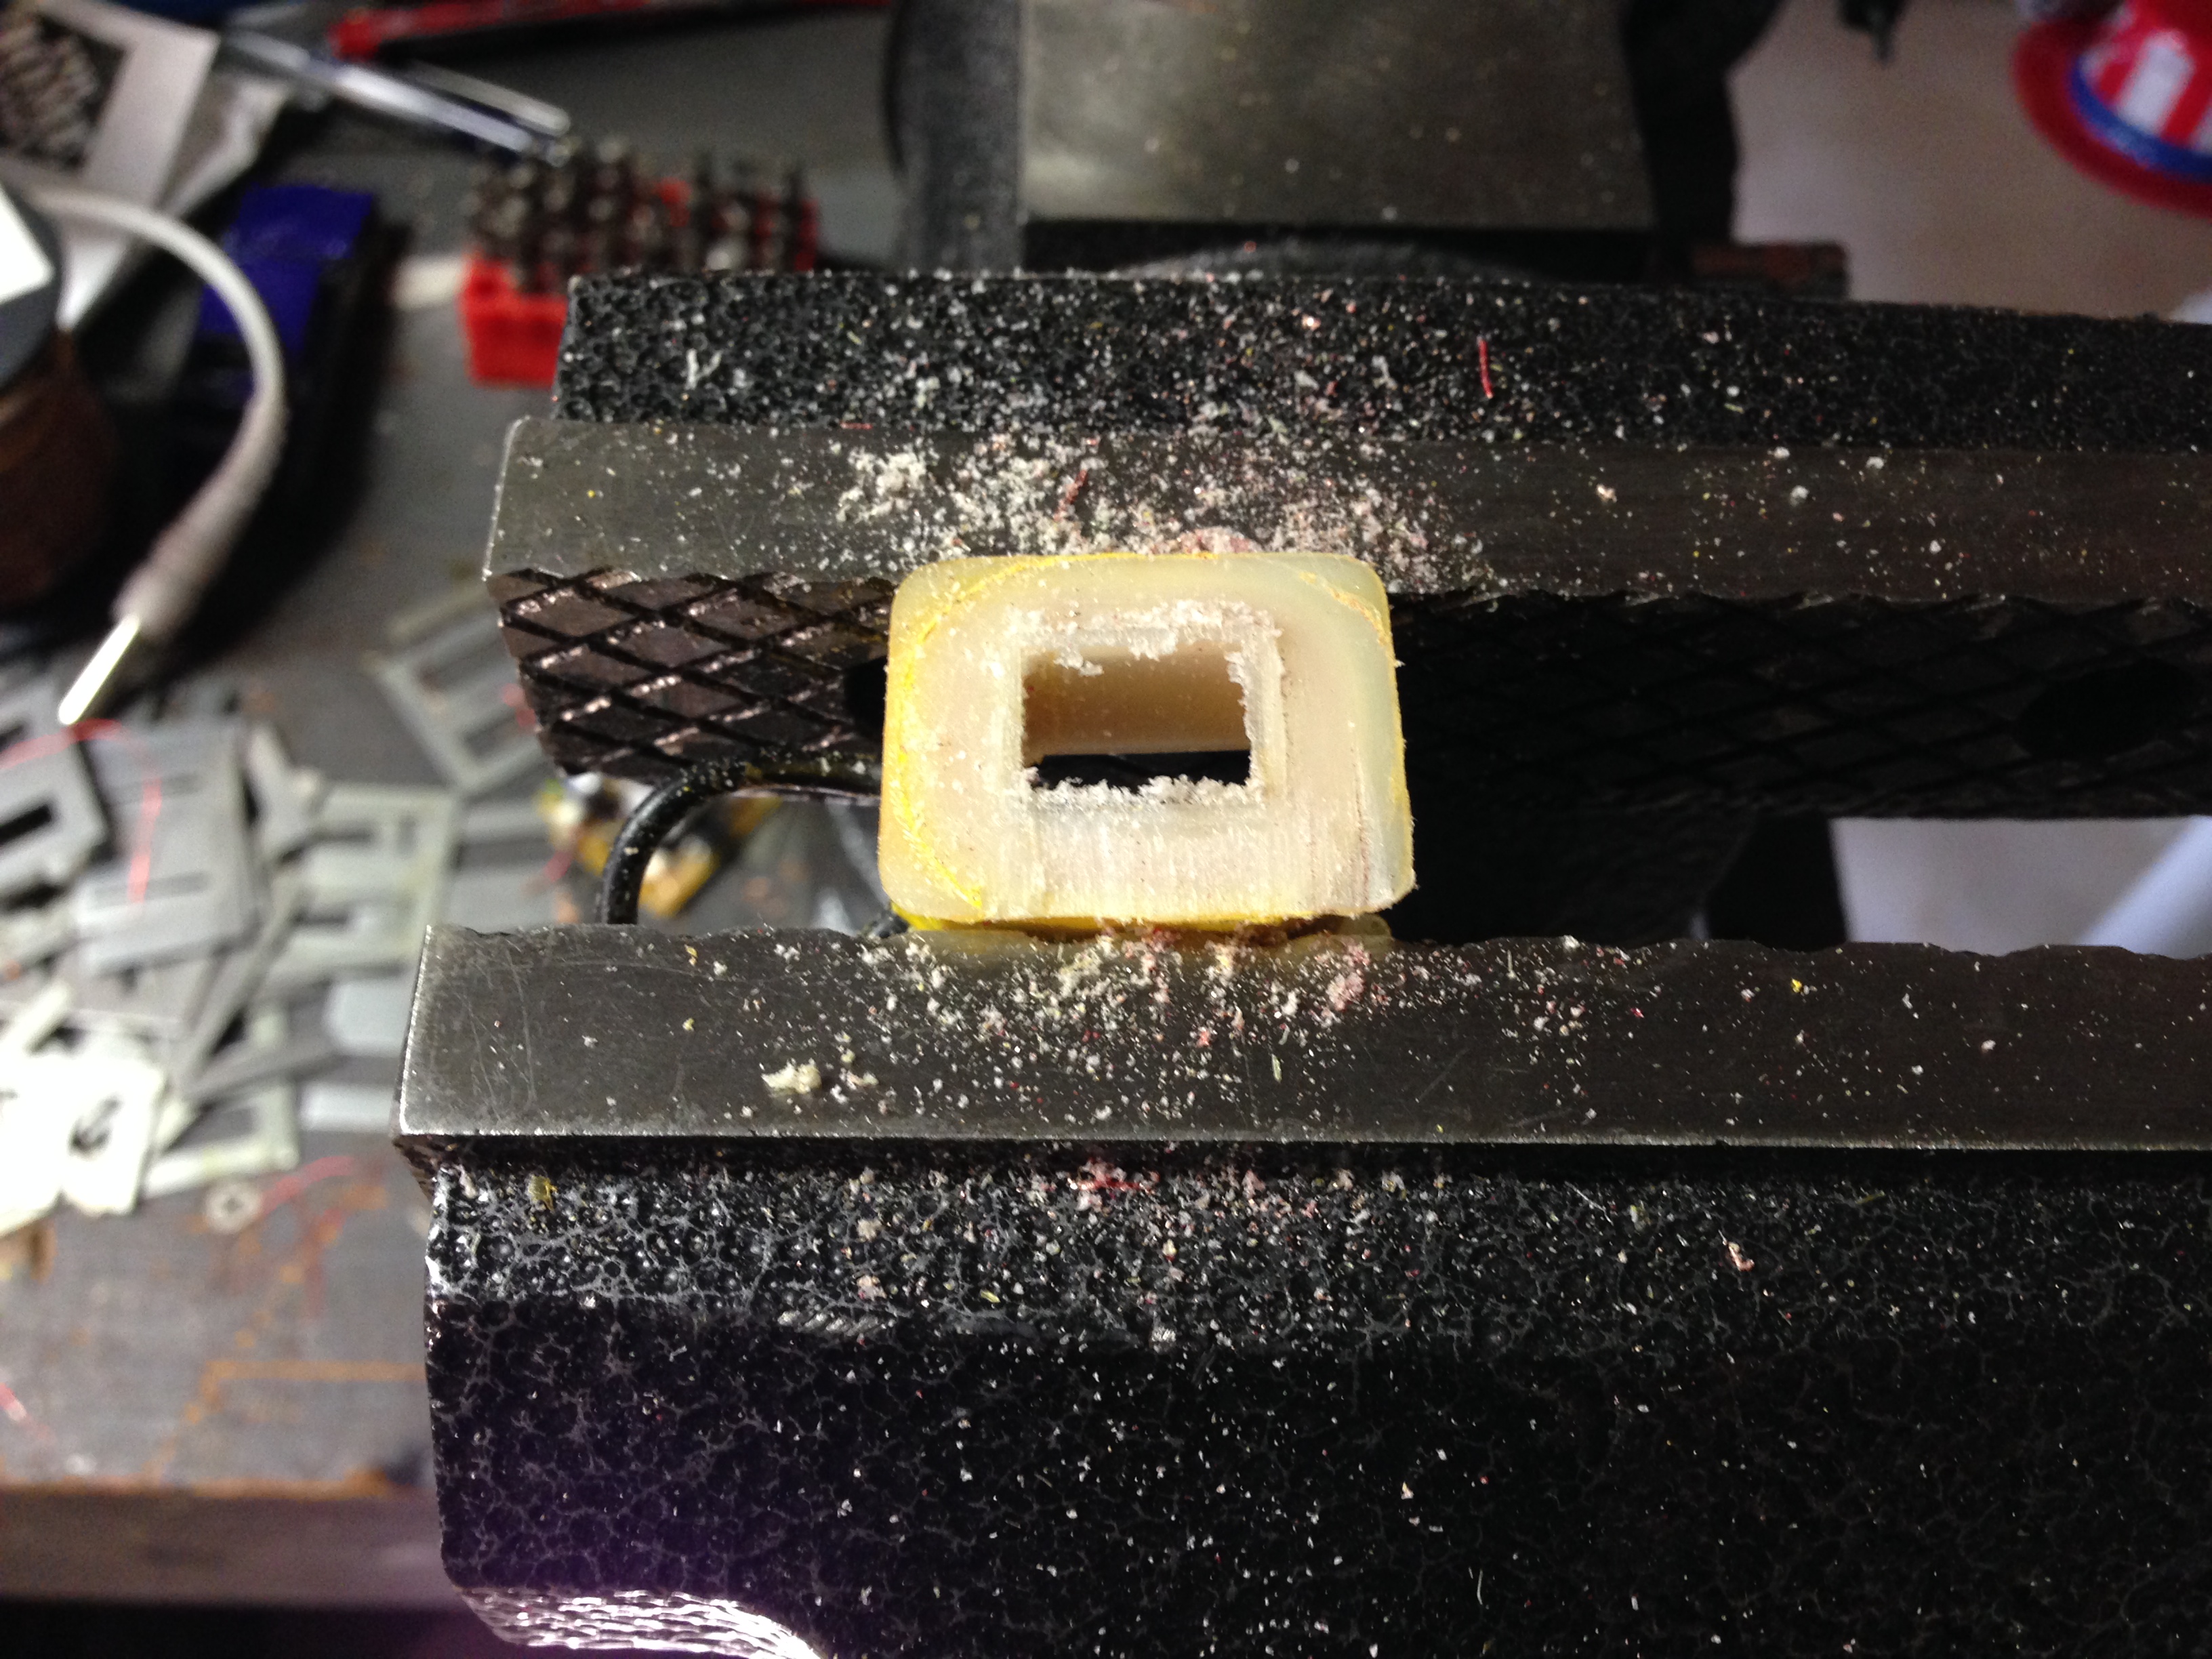
b. Using a hacksaw (or reciprocating saw), cut through the bottom coil—keep in mind that the end product should be the top coil with a piece of plastic on the top and bottom, like a spool. Cut horizontally, keeping it straight as possible and using the edge of the bobbin as a reference. See the picture above for more details. Initially, you may have to pull some of the broken wire out of the cutting area as you proceed to the hollow center. Discard the severed bottom coil.
c. Check the freshly cut area of the top coil. There may be a slight ridge in the center if so, use a fine-tooth file to make it flush with the surrounding area.
d. Remove the top coil from the vice. If your project necessitates a second coil, as in a six-string application, fabricate a second coil by running through steps one through four again. If not, move on to step five.
5) Fabricate the metal picture hangers.
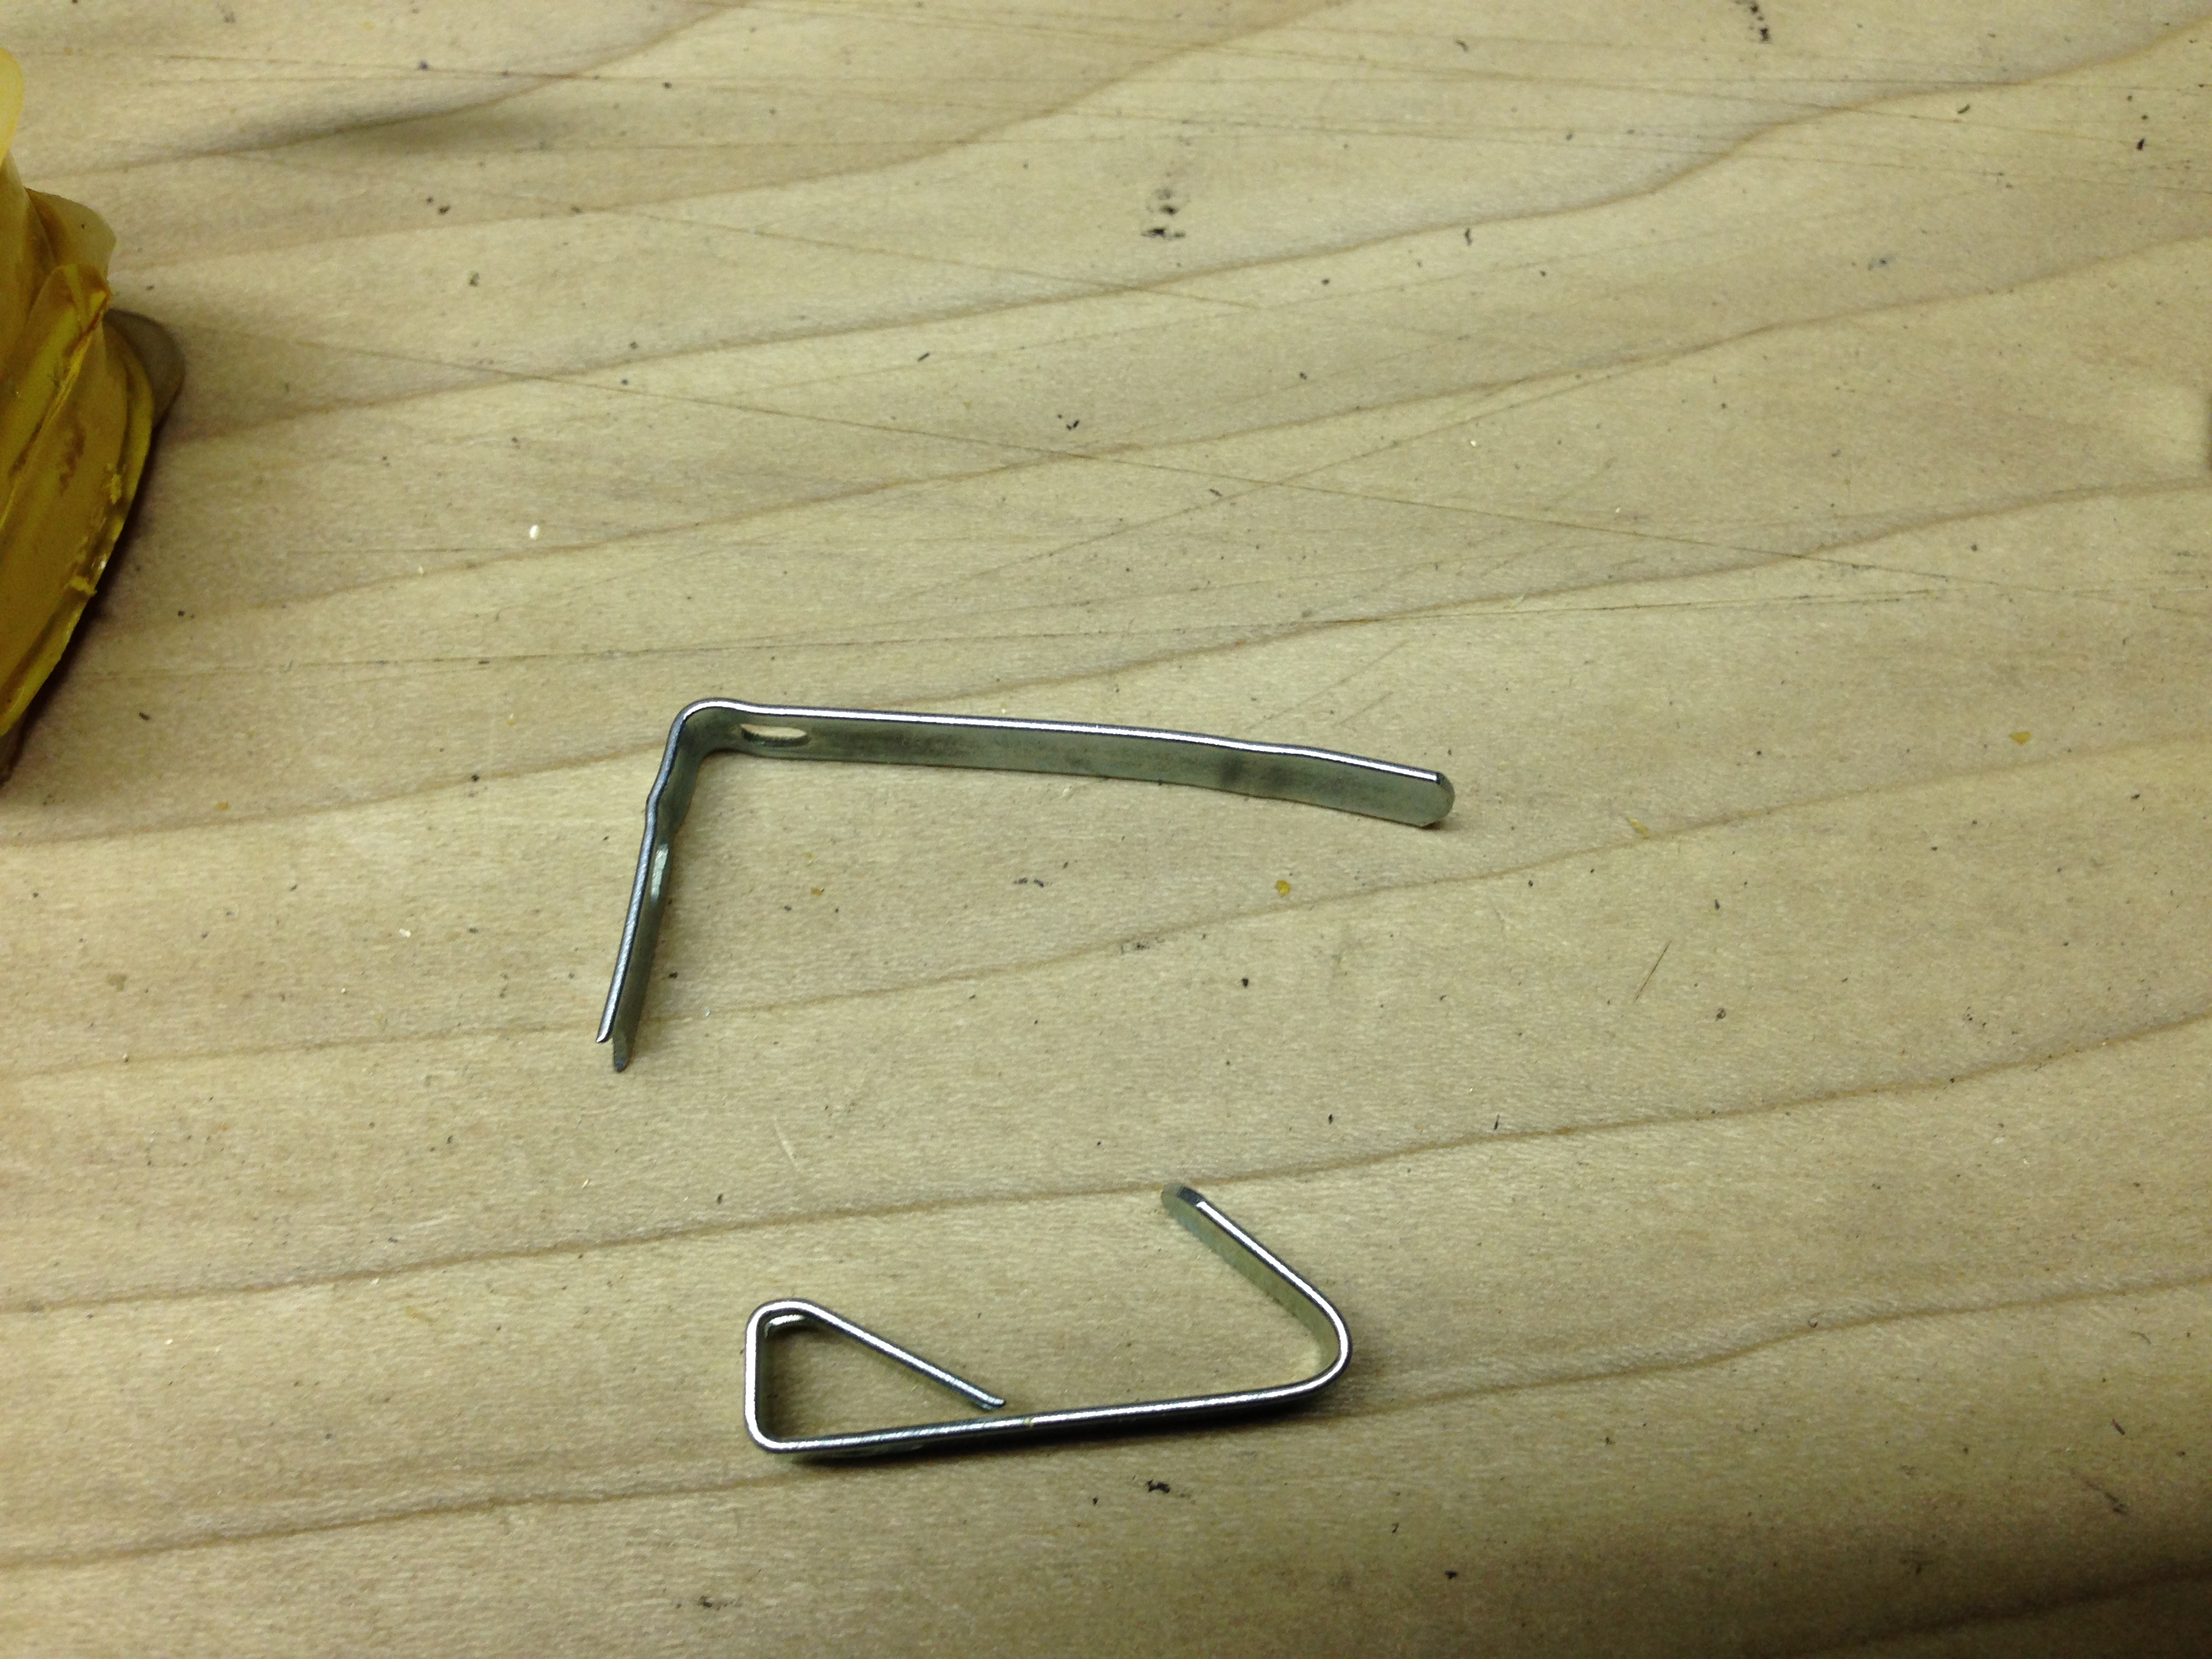


a. Grab two metal picture hangers like the one shown above. Bend one of the sides to a 90-degree angle and the other side straight out, as shown in the picture—bend another hanger in the same way.
b. Place the hangers on top of the coil, against the side and note where the hanger extends past the bottom. Trim the hangers with a pair of tin snips.
c. Place the hangers on top of the coil with the angle against the side. Note where the straight side hangs over. Clamp your pliers on the hanger, against the coil; then remove the hanger and bend it to a right angle. Place the hanger back on the coil to check the fit—bend the other hanger in the same way.
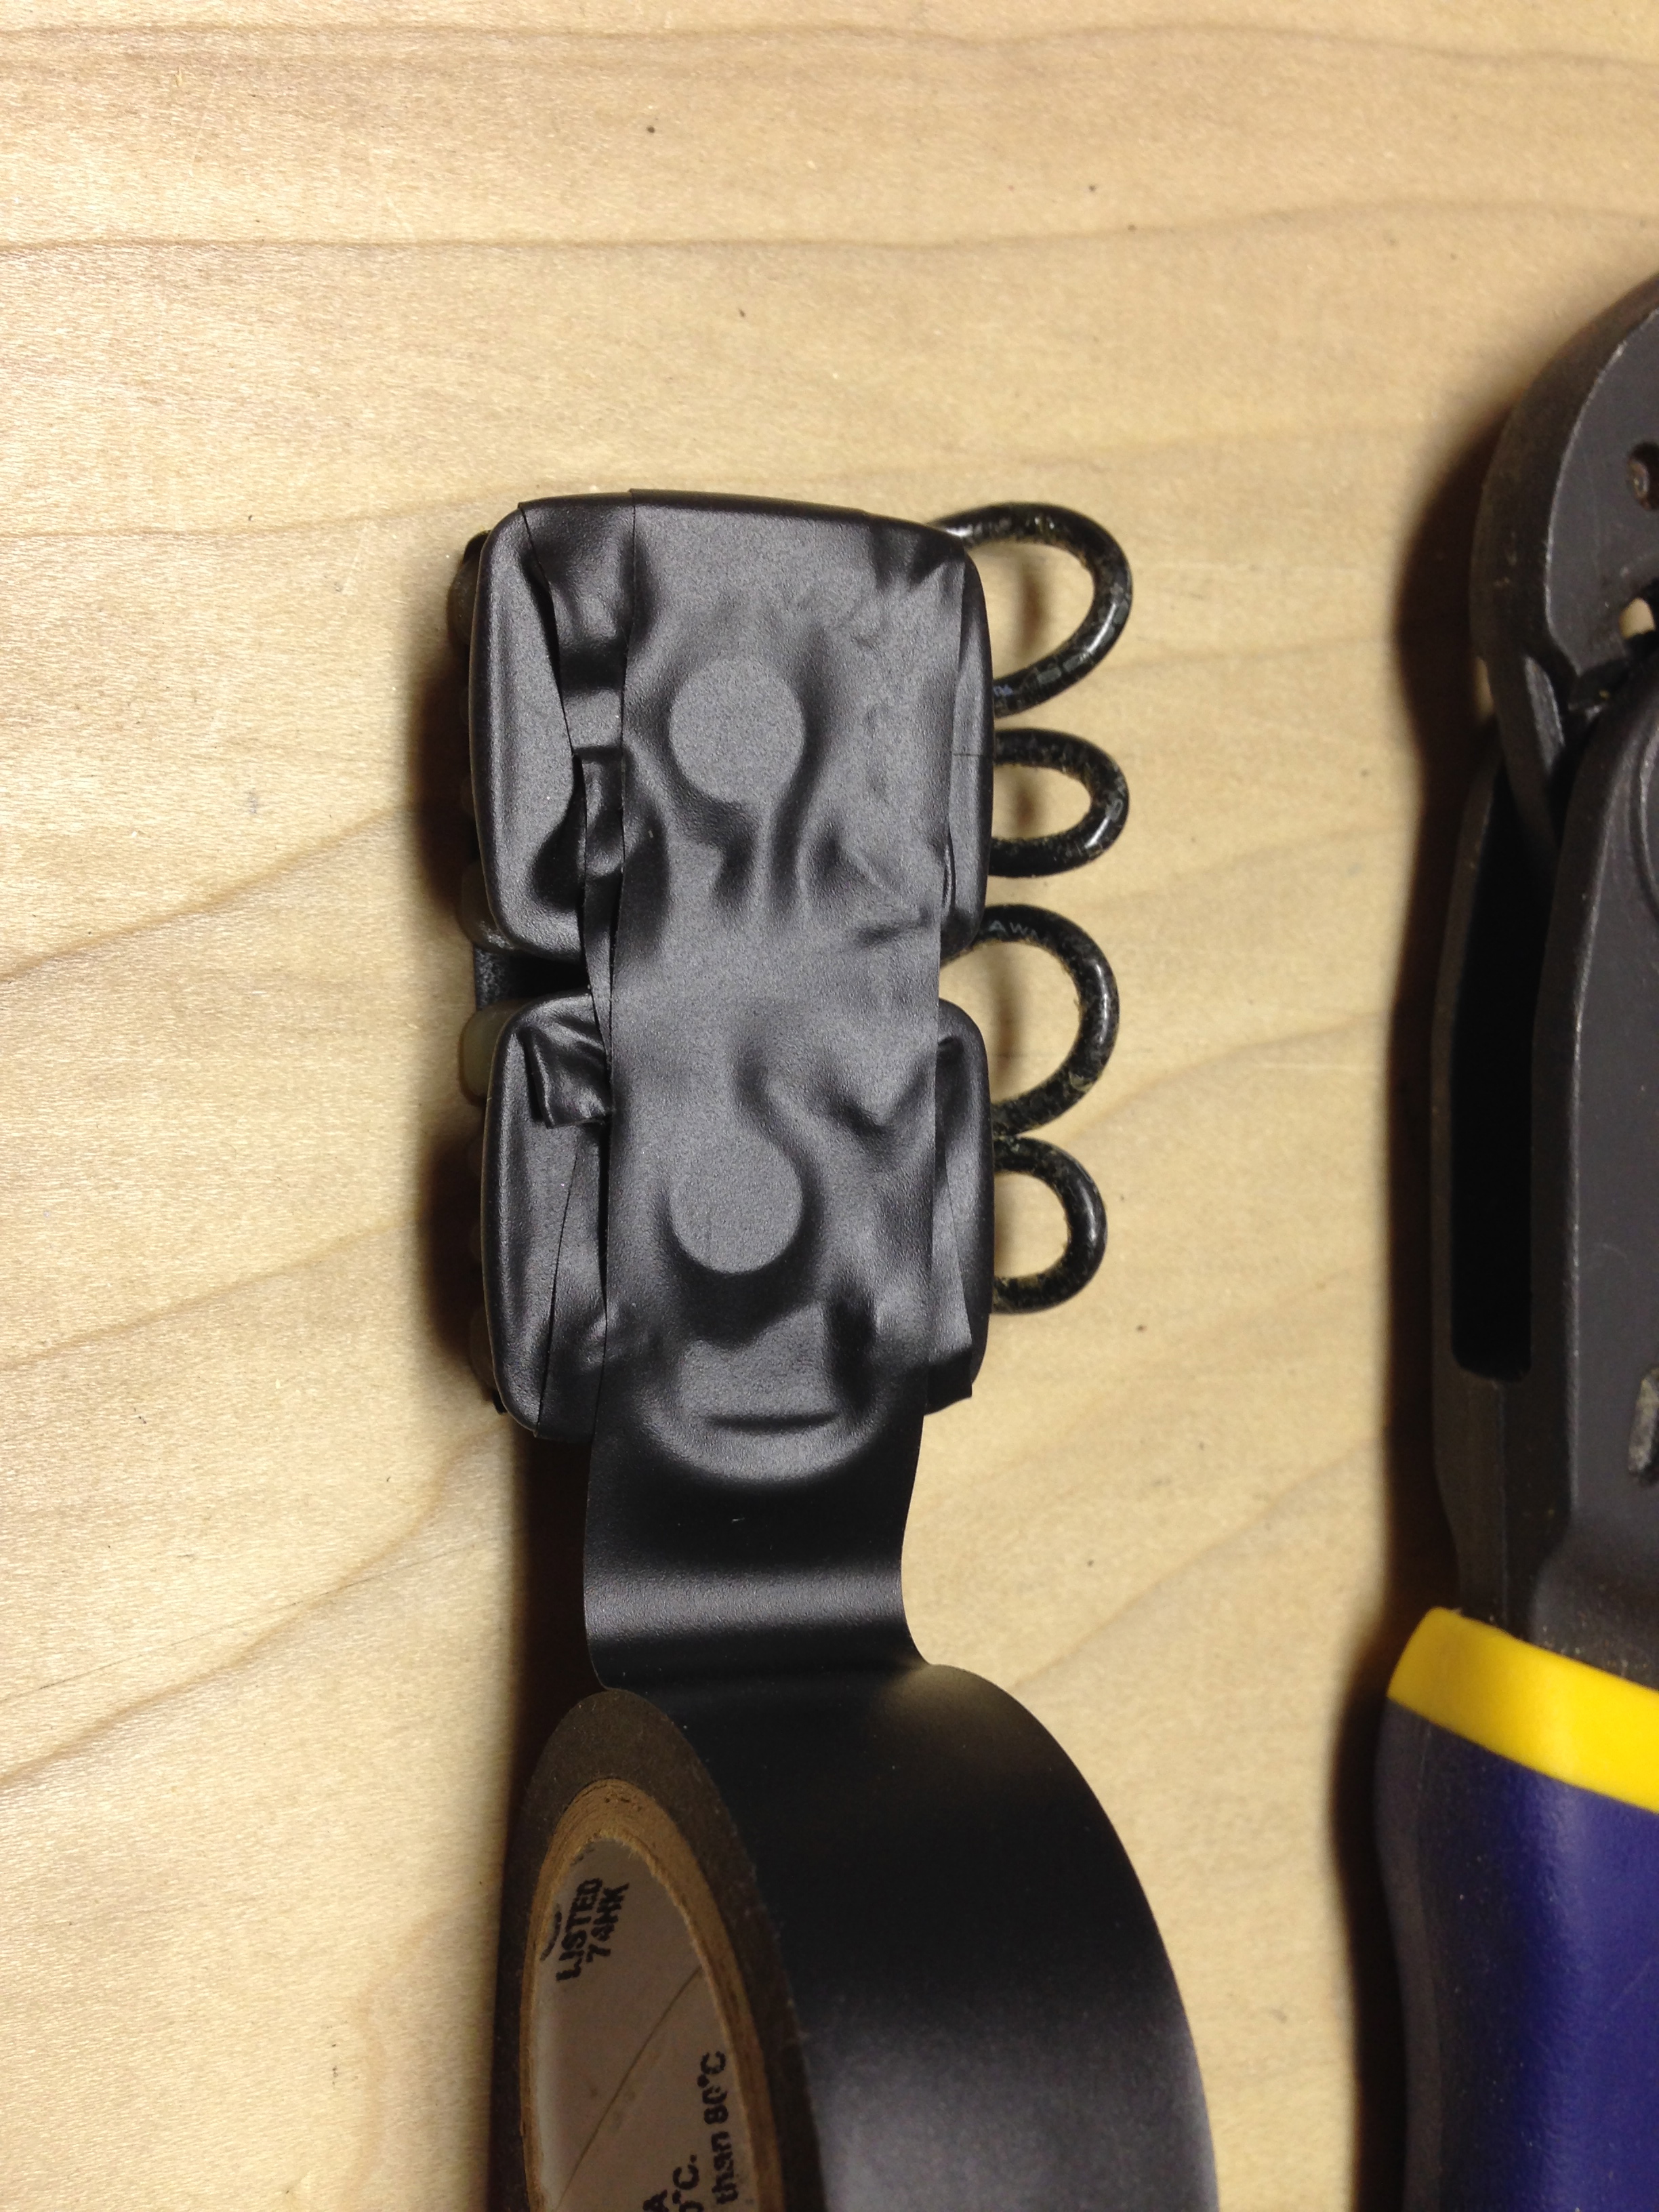
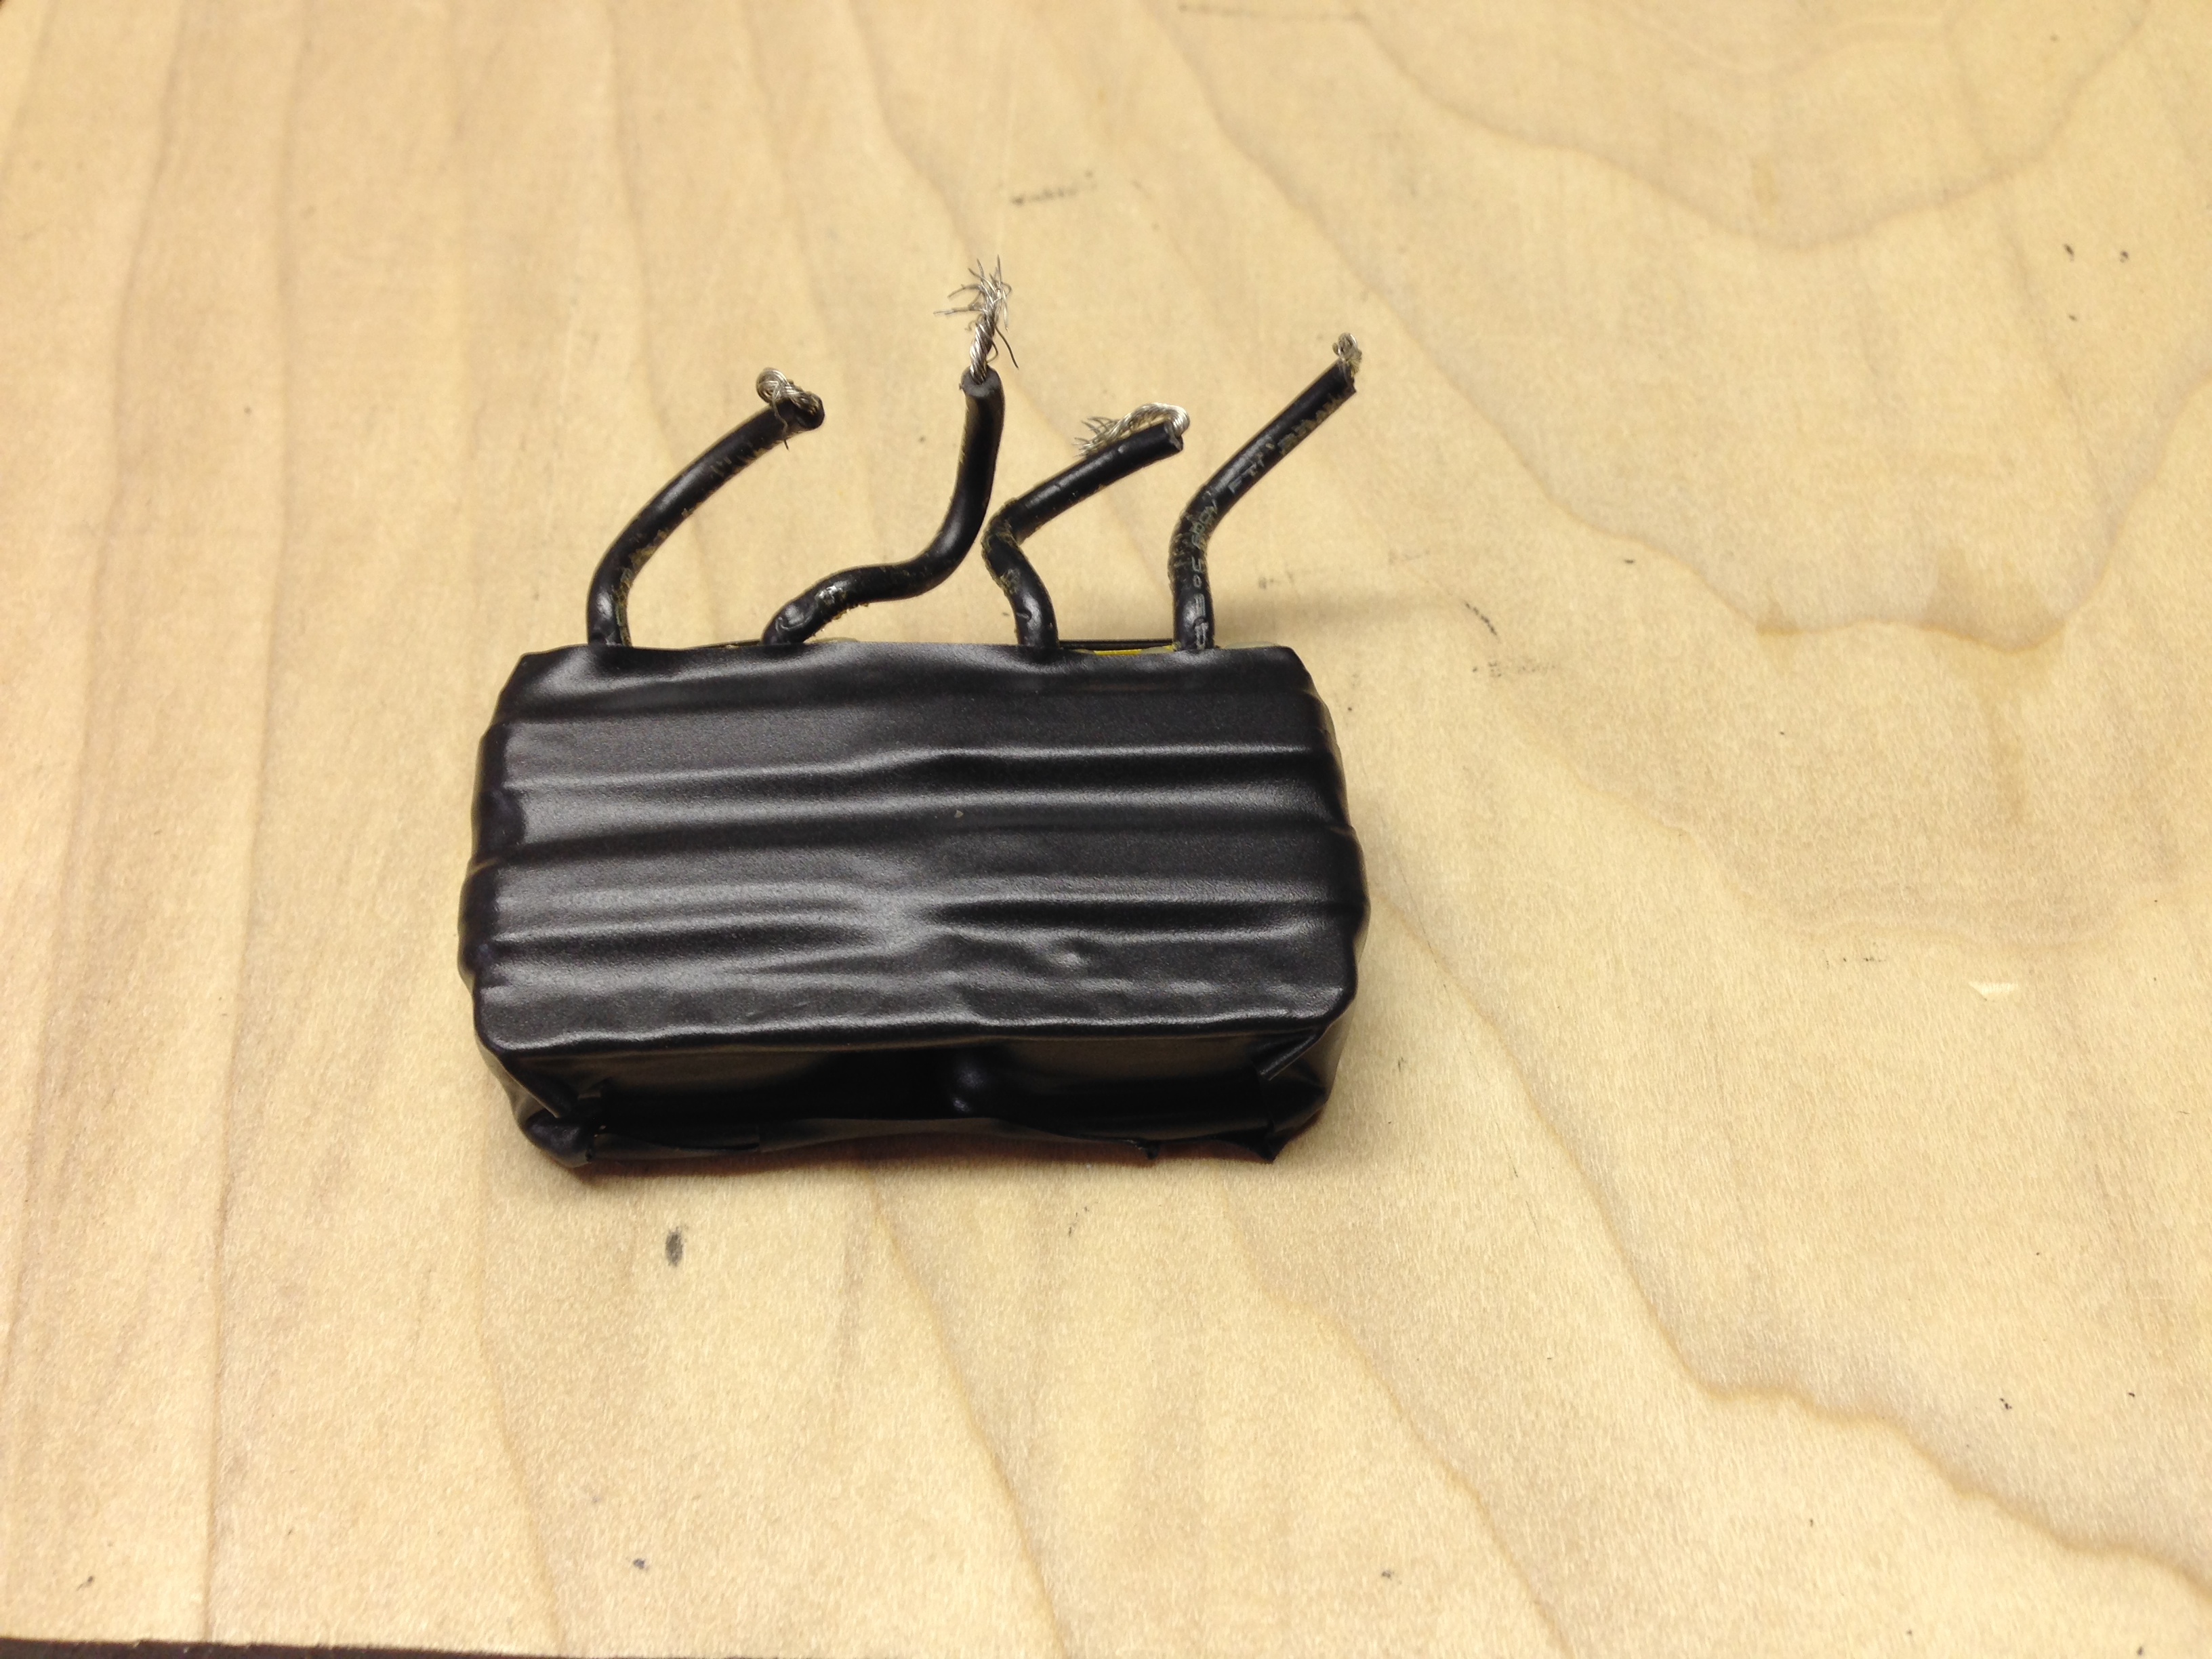
d. Remove the hanger farthest from the lead wires. Position the hanger closest to the lead wire, as seen in the picture. Starting below the lead wires, wrap electrical tape around the sides of the coil, keeping the hanger straight. Then place the other hanger on the coil, as seen in the picture, and wrap the coil with electrical tape once more. Cut the tape upon reaching the lead wires. Fold the remaining tape over onto the bottom of the coil.
If your project necessitates a second coil, as in a six-string application, fabricate a second coil by running through steps one through five again. If not, move on to step six. We will continue on making the double coil version; the single coil version requires the same steps, just without the additional coil.
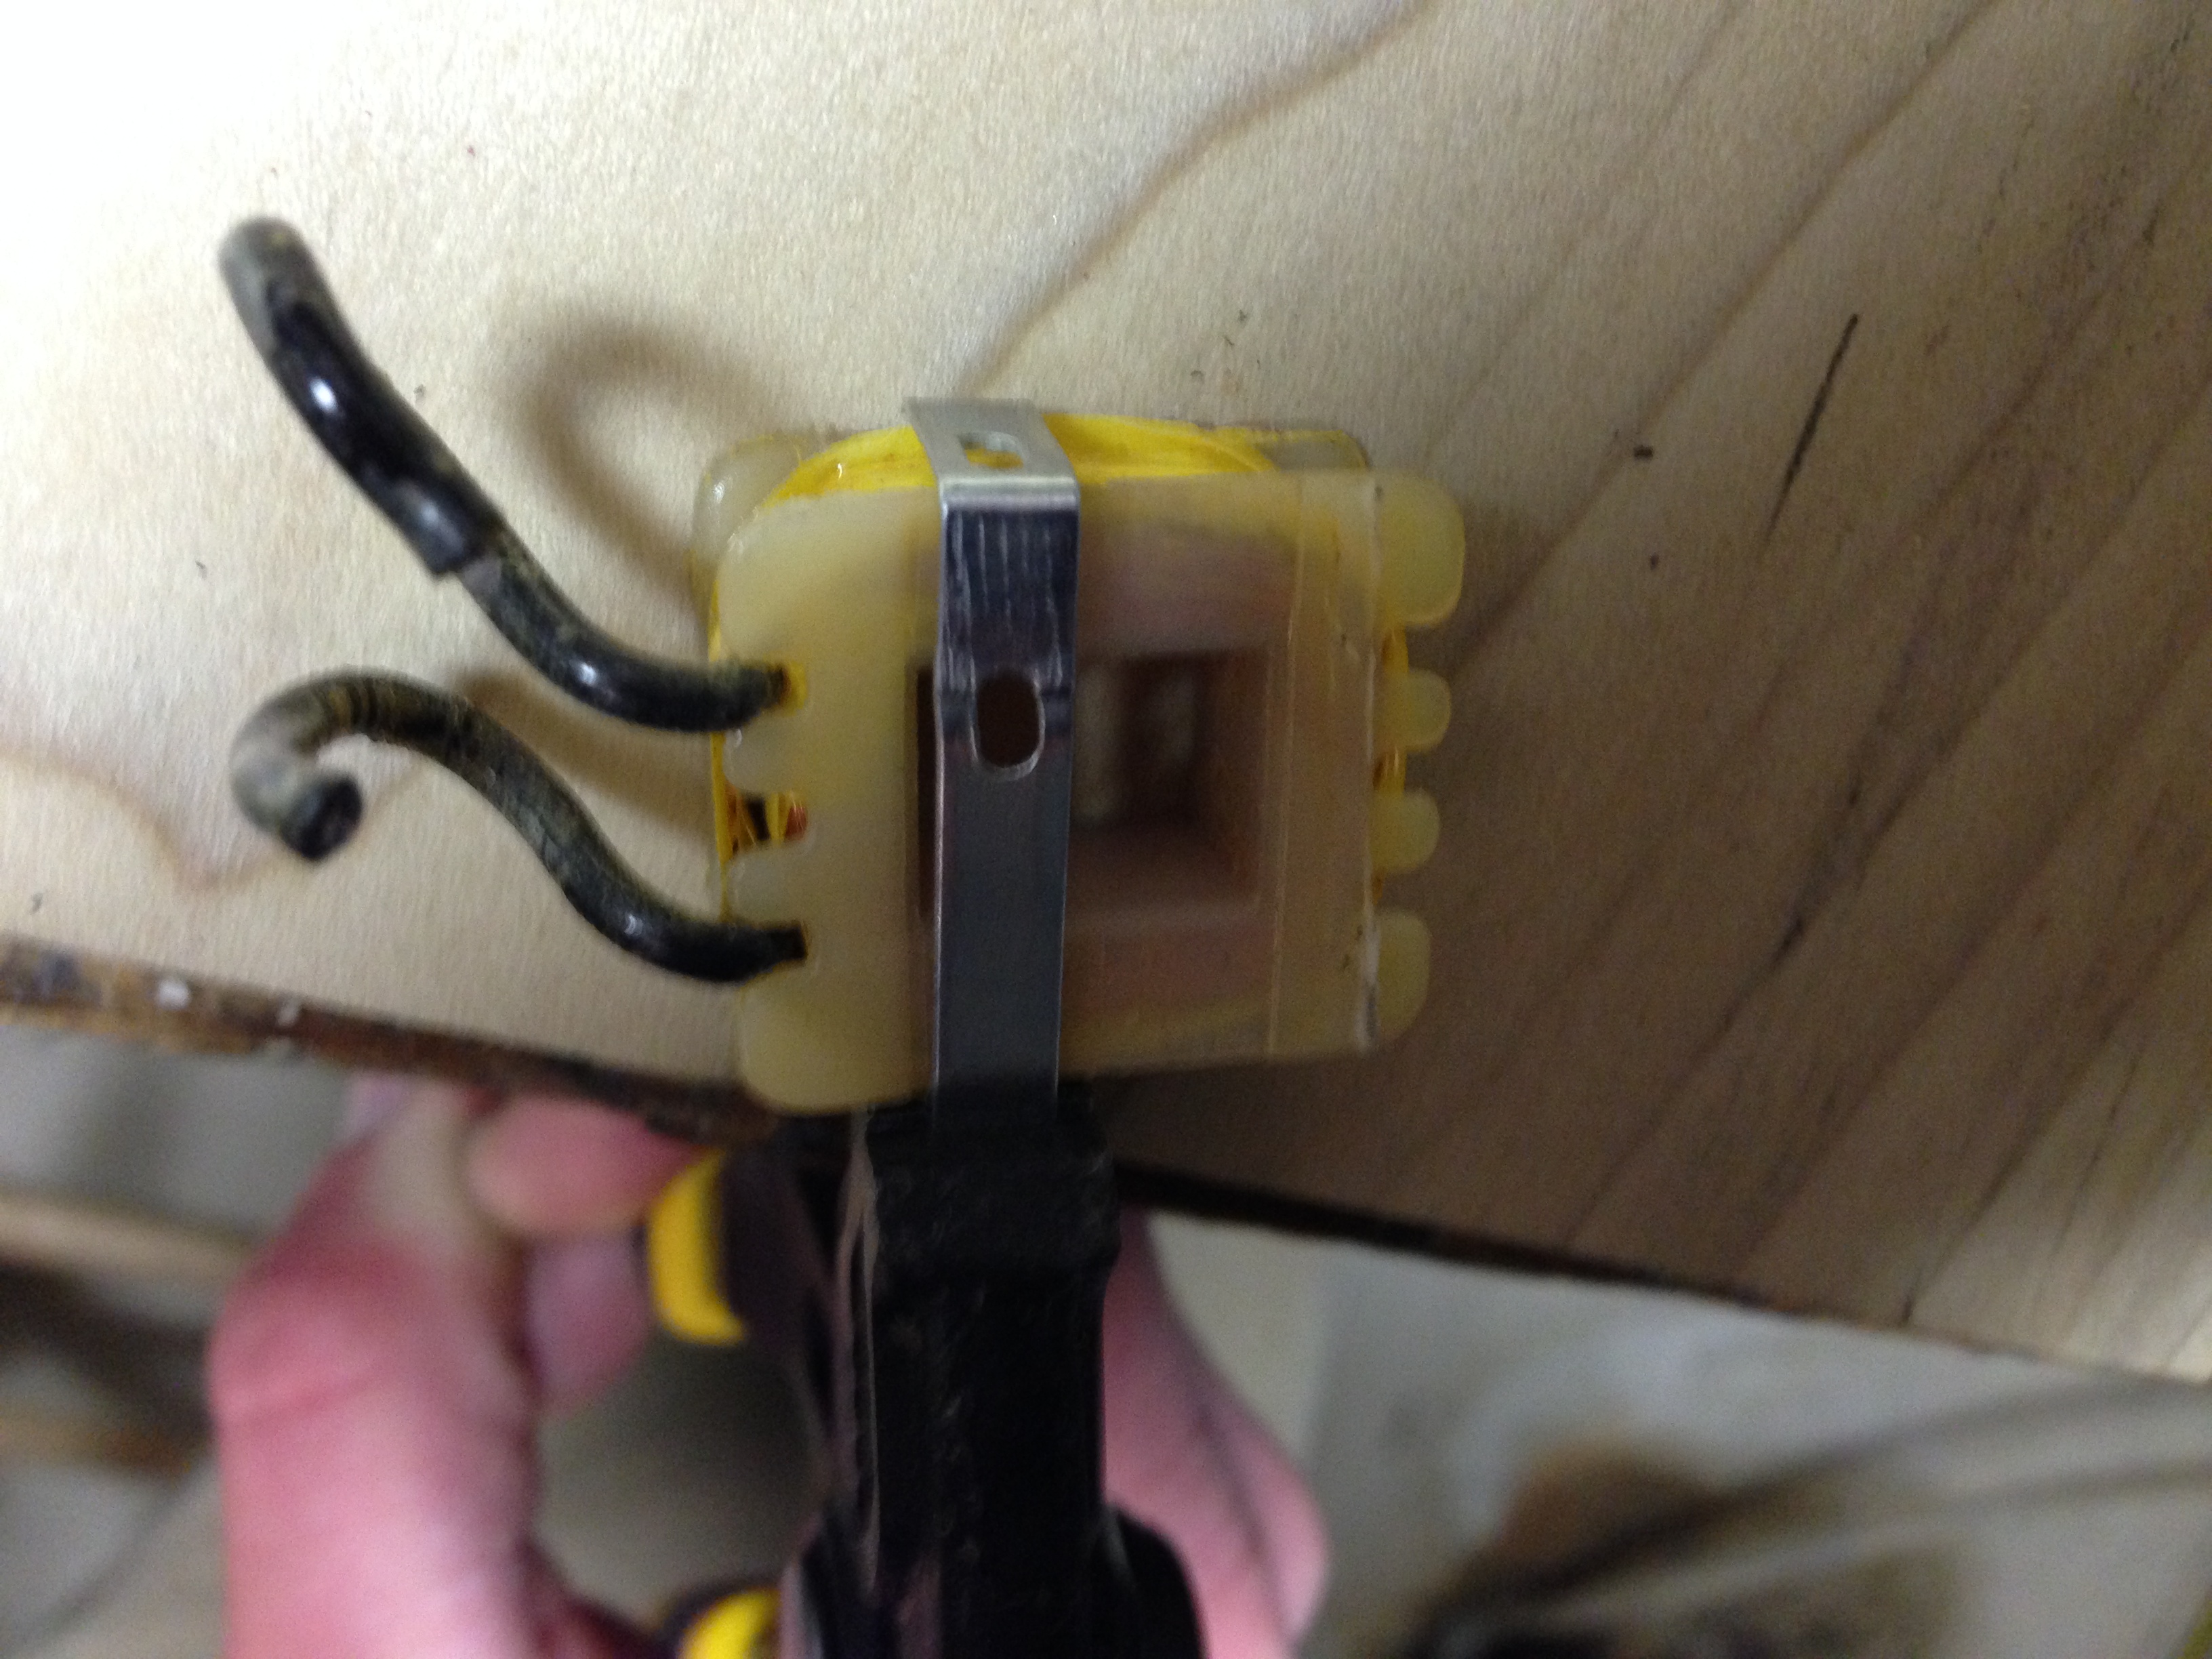
6) Attach the magnets/combine the two coils (double coil version) — Please note that these magnets are very strong and should be kept away from small children and possibly people with pace makers.


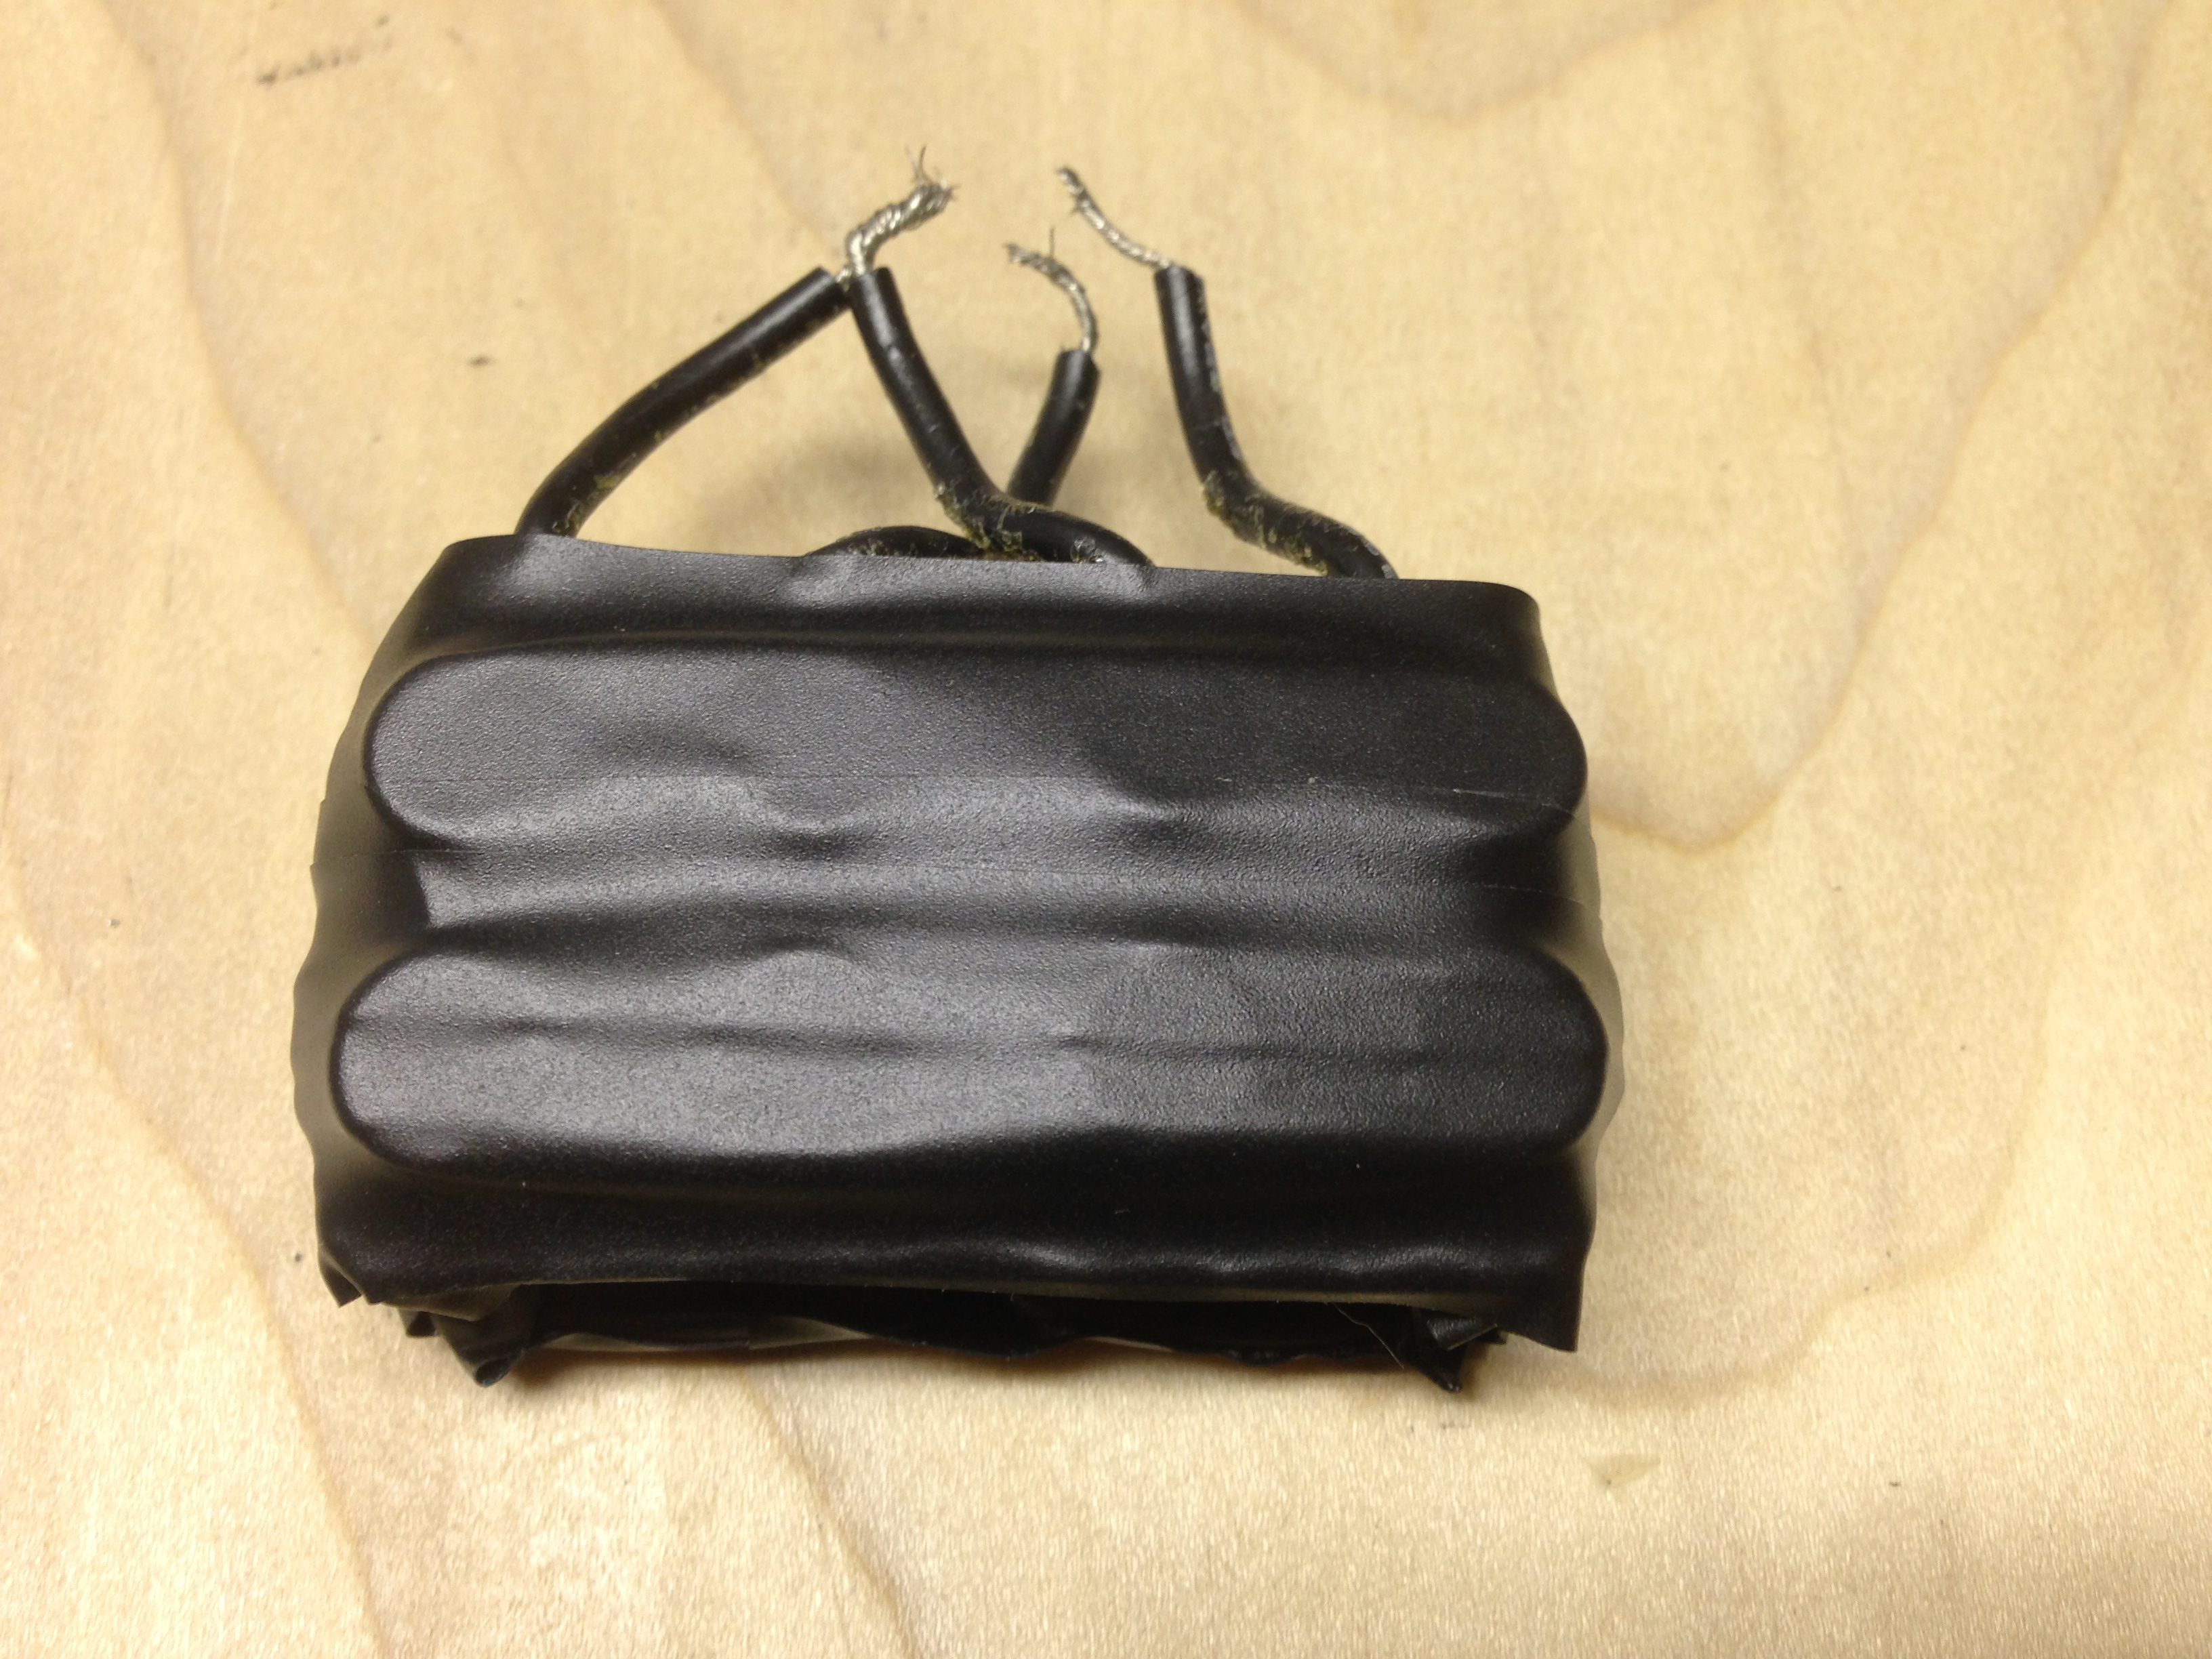

a. Place the two coils together and turn them over.
b. Starting at one end of the coils, electrical tape across the center holes in the coils over the top and back to the origin.
c. Take two magnets (making sure that the polarity is the same) and place them on the tape over each of the coil’s holes, then press them down flush with the bottom of the coil (do this quickly, as the elastic tape will pop them back up). Tape over the magnets and over the top and back once more. Press the magnets flush with the bottom of the coil. These bottom magnets are for mounting, if necessary,
d. Tape over the top—once to the front and then once to the back.
e. Making sure that the polarity is in the same direction as the bottom magnets, place eight magnets on the metal hangers. Space them out as shown in the picture. If the polarity is correct they should space naturally, you will just have to straighten them out.
f. Tape over the top of the magnets, taking care not to knock them out of place. Then tape once more over the top to the front and then to the back.
g. Starting at the back, tape around the sides of the coils—twice should do it. Fold the excess tape on the bottom under as you tape. Cut the tape off at the back under the lead wires. Make sure that you seal the top portion of the tape all of the way around.
h. Place eight more magnets over the previously taped magnets. Straighten them.
Application:
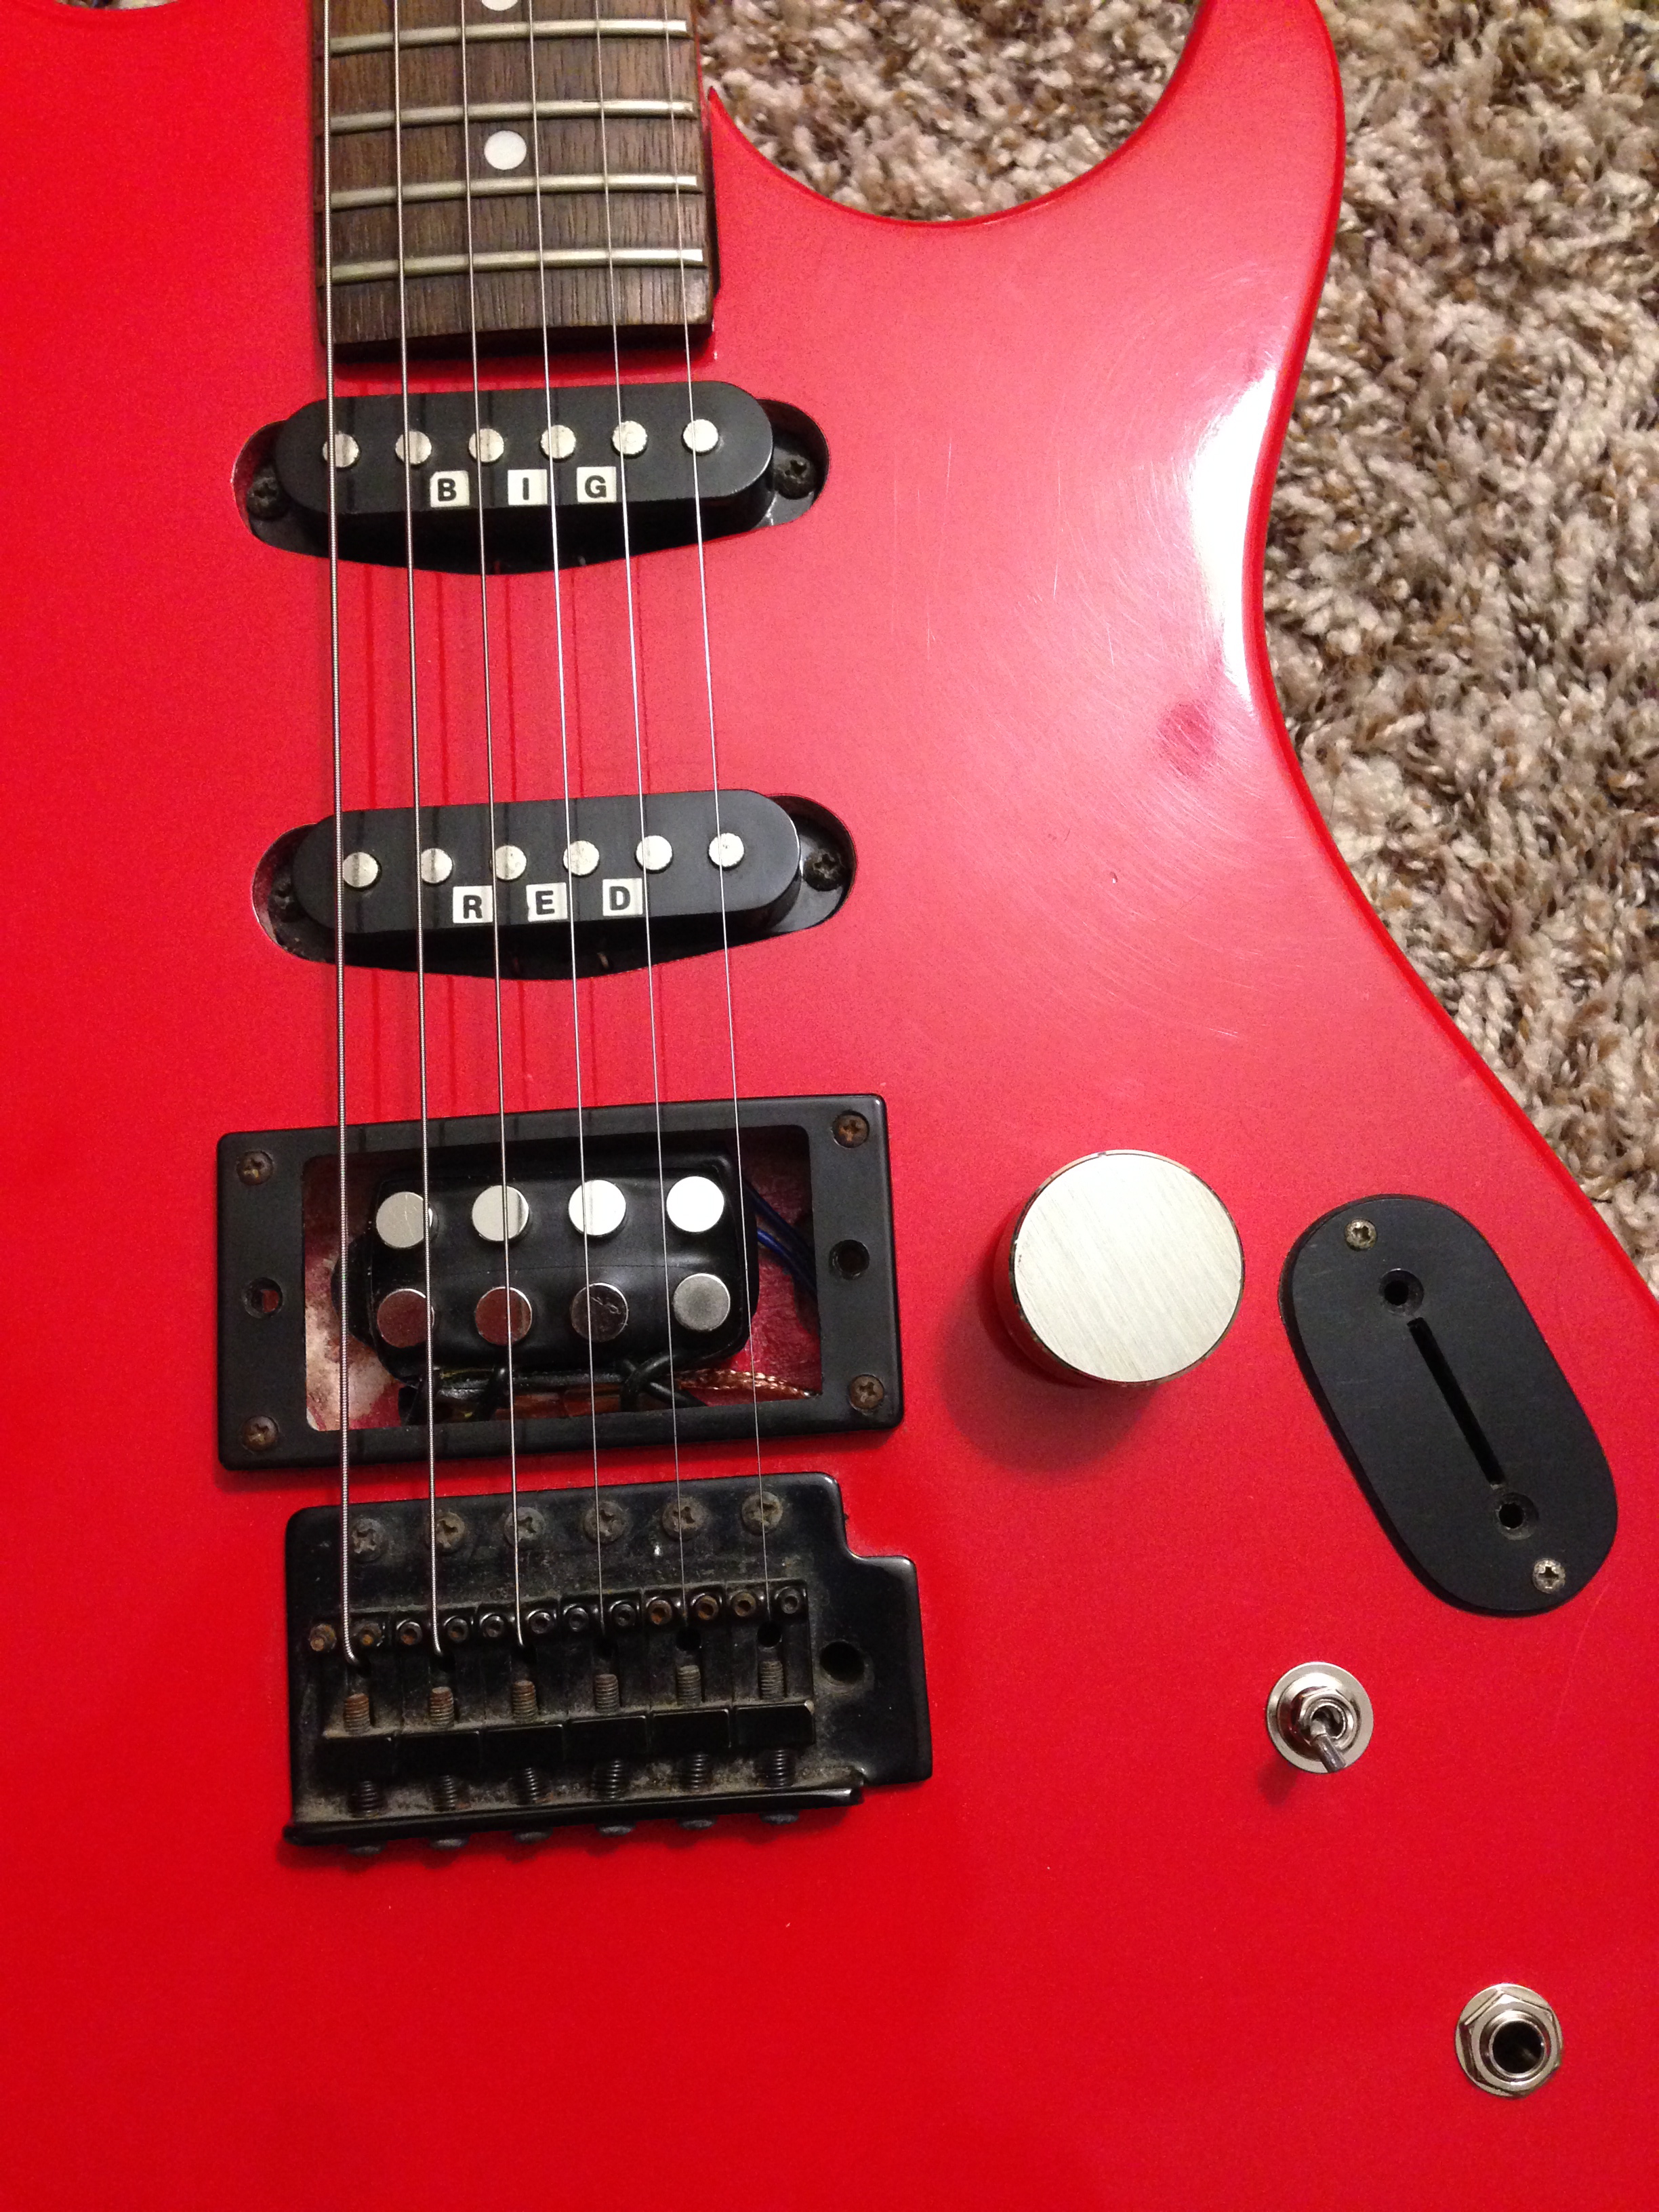


The double coil version of this pickup can be used to replace a pickup on an electric guitar, without modification, if placed in a humbucker slot. By replacing the mono 1/4” jack with a stereo 1/4” jack, the pickup can be wired to produce a stereo effect across the strings—strings one through three on one side and strings four through six on the other. This would also necessitate the use of a stereo 1/4” cable that splits into two mono 1/4” plug (or adapted equivalent) plus two amplifiers.
Check out this video:
Appendix:
| Parts List | ||||
| Part # | Qty | Description | Vendor | Price Ea |
| —— | 1-2 | 9 Volt Power Adapters | —— | ? |
| 14314 | 4 | 10lb Picture Hangers (8 pk) | Lowes | $0.98 Pk |
| 07045HD | 16 | 3/8” Neodymium Magnet Disks (10pk) | Home Depot | $3.98 Pk |
| 4218-BA-40 | 1 | 3/4” x 66‘ Electrical Tape | Home Depot | $2.36 |
| Tool List | ||
| Part Number | Description | Vendor |
| —— | Bench Vise | —— |
| —— | Hammer | —— |
| —— | Chisel (1/2”-1”) | —— |
| —— | Channel Lock Type Pliers | —— |
| —— | Hacksaw (or reciprocating saw if available) | —— |
| —— | Fine-tooth File (or sanding block) | —— |
| —— | Tin Snips | —— |
| —— | Wire Cutters | —— |
Thanks,
![]()

Pingback: December Project — 9 Volt Power Adapter Guitar Pickup | Junk Shop Audio
Pingback: Resonator Guitar Project | Junk Shop Audio
Pingback: 4×4 Electric Steel Slide Guitar | Junk Shop Audio
Pingback: 9 Volt Power Adapter Acoustic Guitar Pickup | Junk Shop Audio
Hi Jason
Nice talking with you today at CBG fest.
This is an interesting pickup.
Thanks for sharing
Larry Lancaster
LikeLike
Hey Larry,
Thanks for checking out my site. I had fun talking about building. Hope to see you again soon.
Jason Carter
LikeLike