

I had been considering this idea for over a year and knew this acoustic would be an excellent candidate when I picked it up at a local antique mall for under fifteen dollars. I found the stove drip pan and two small drains early on and fabbed the stainless steel cat bowl with a pair of tin snips and a grinding wheel a couple of months before starting.


I measured the drip pan and then found the center of the guitar. Using painter’s tape. I marked the vertical center and then placed the drip pan on the guitar to find the correct position. I marked the horizontal cross point with painters tape.
I placed a large adjustable compass on the center mark created by the tape and traced a circle. Then, I peeled the tape off and completed the circle. To cut the large hole, I drilled a couple of starter holes and then carefully cut along the reference line with a mini hacksaw.
I had two small 1-1/4” drains that if felt would look cool as sound hole inserts and their 1-1/4” depth would keep the switches beneath the guitar’s surface. I located the bracing beneath and found a happy medium between the pick guard, bracing, and outer edge of the guitar. A 1-1/4” spade bit made a quick hole on each side.
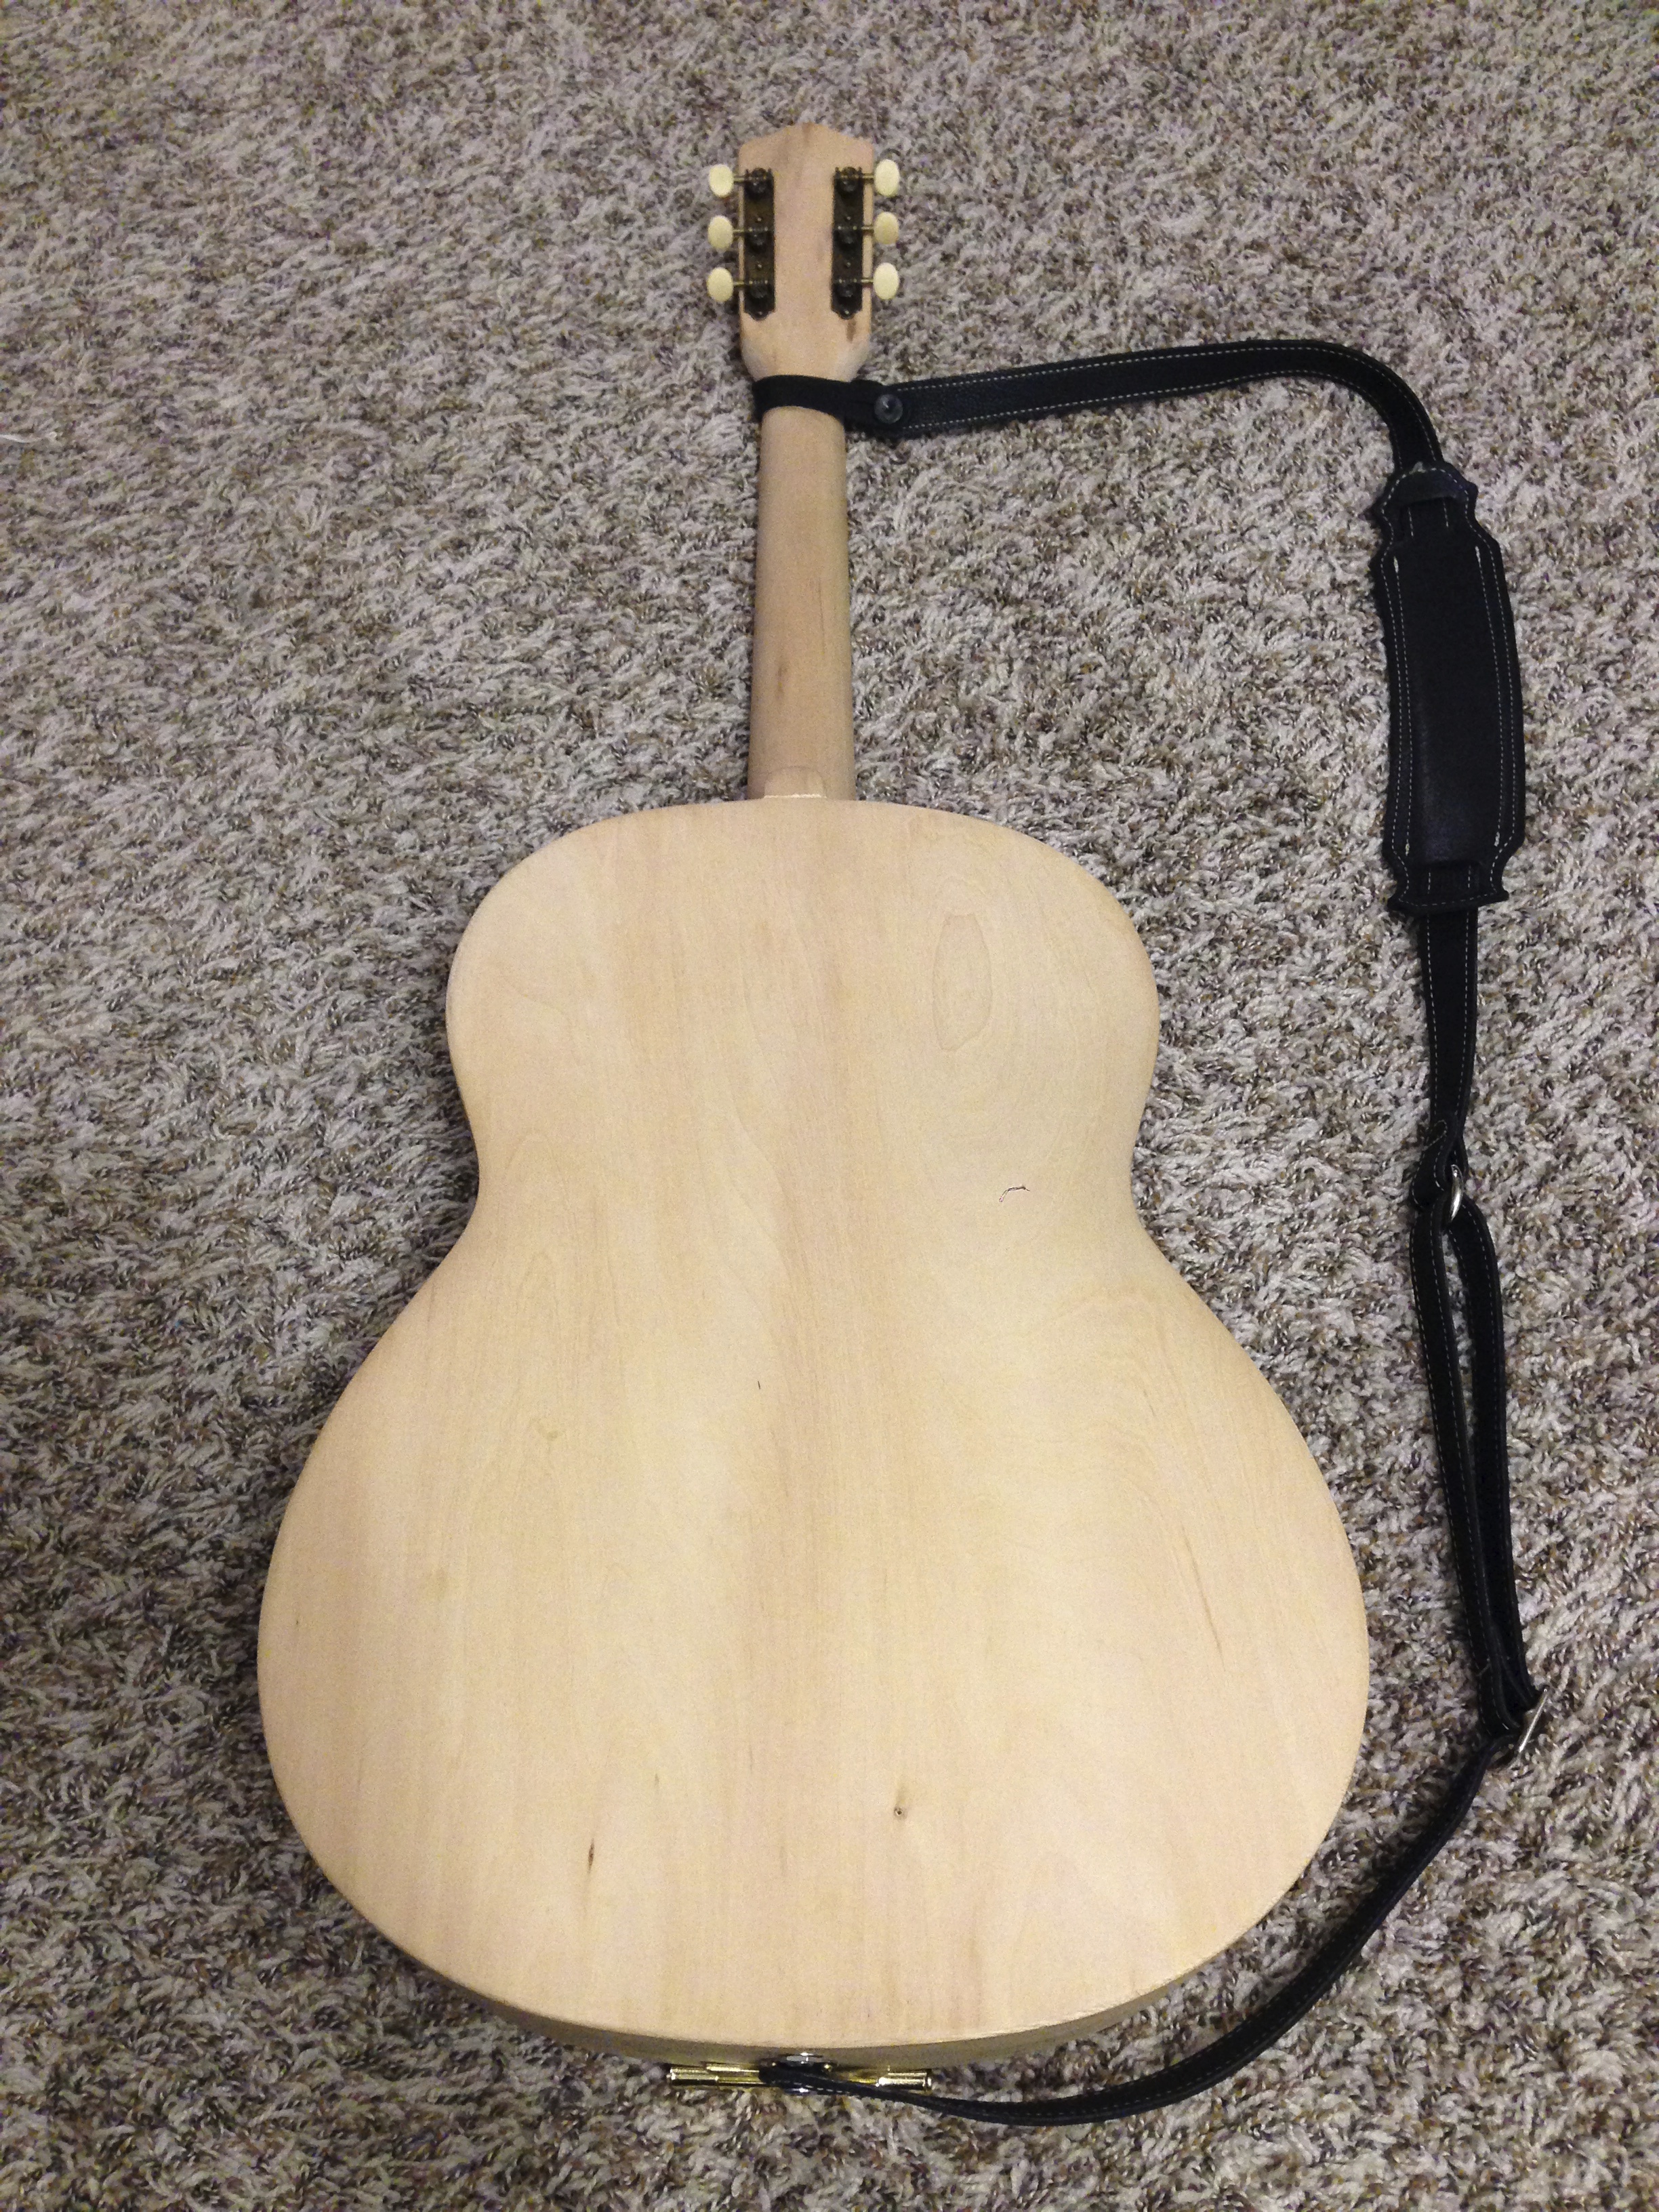
I took all of the finish off—head, body, neck, fretboard; everything—with 120 grit sandpaper and followed up with 600 grit sandpaper to smooth the wood. I also polished the brass frets, which turned out to be a nice feature. I had planned to apply a vinegar and steel wool mixture that creates a rustic finish, but decided instead to leave it natural.

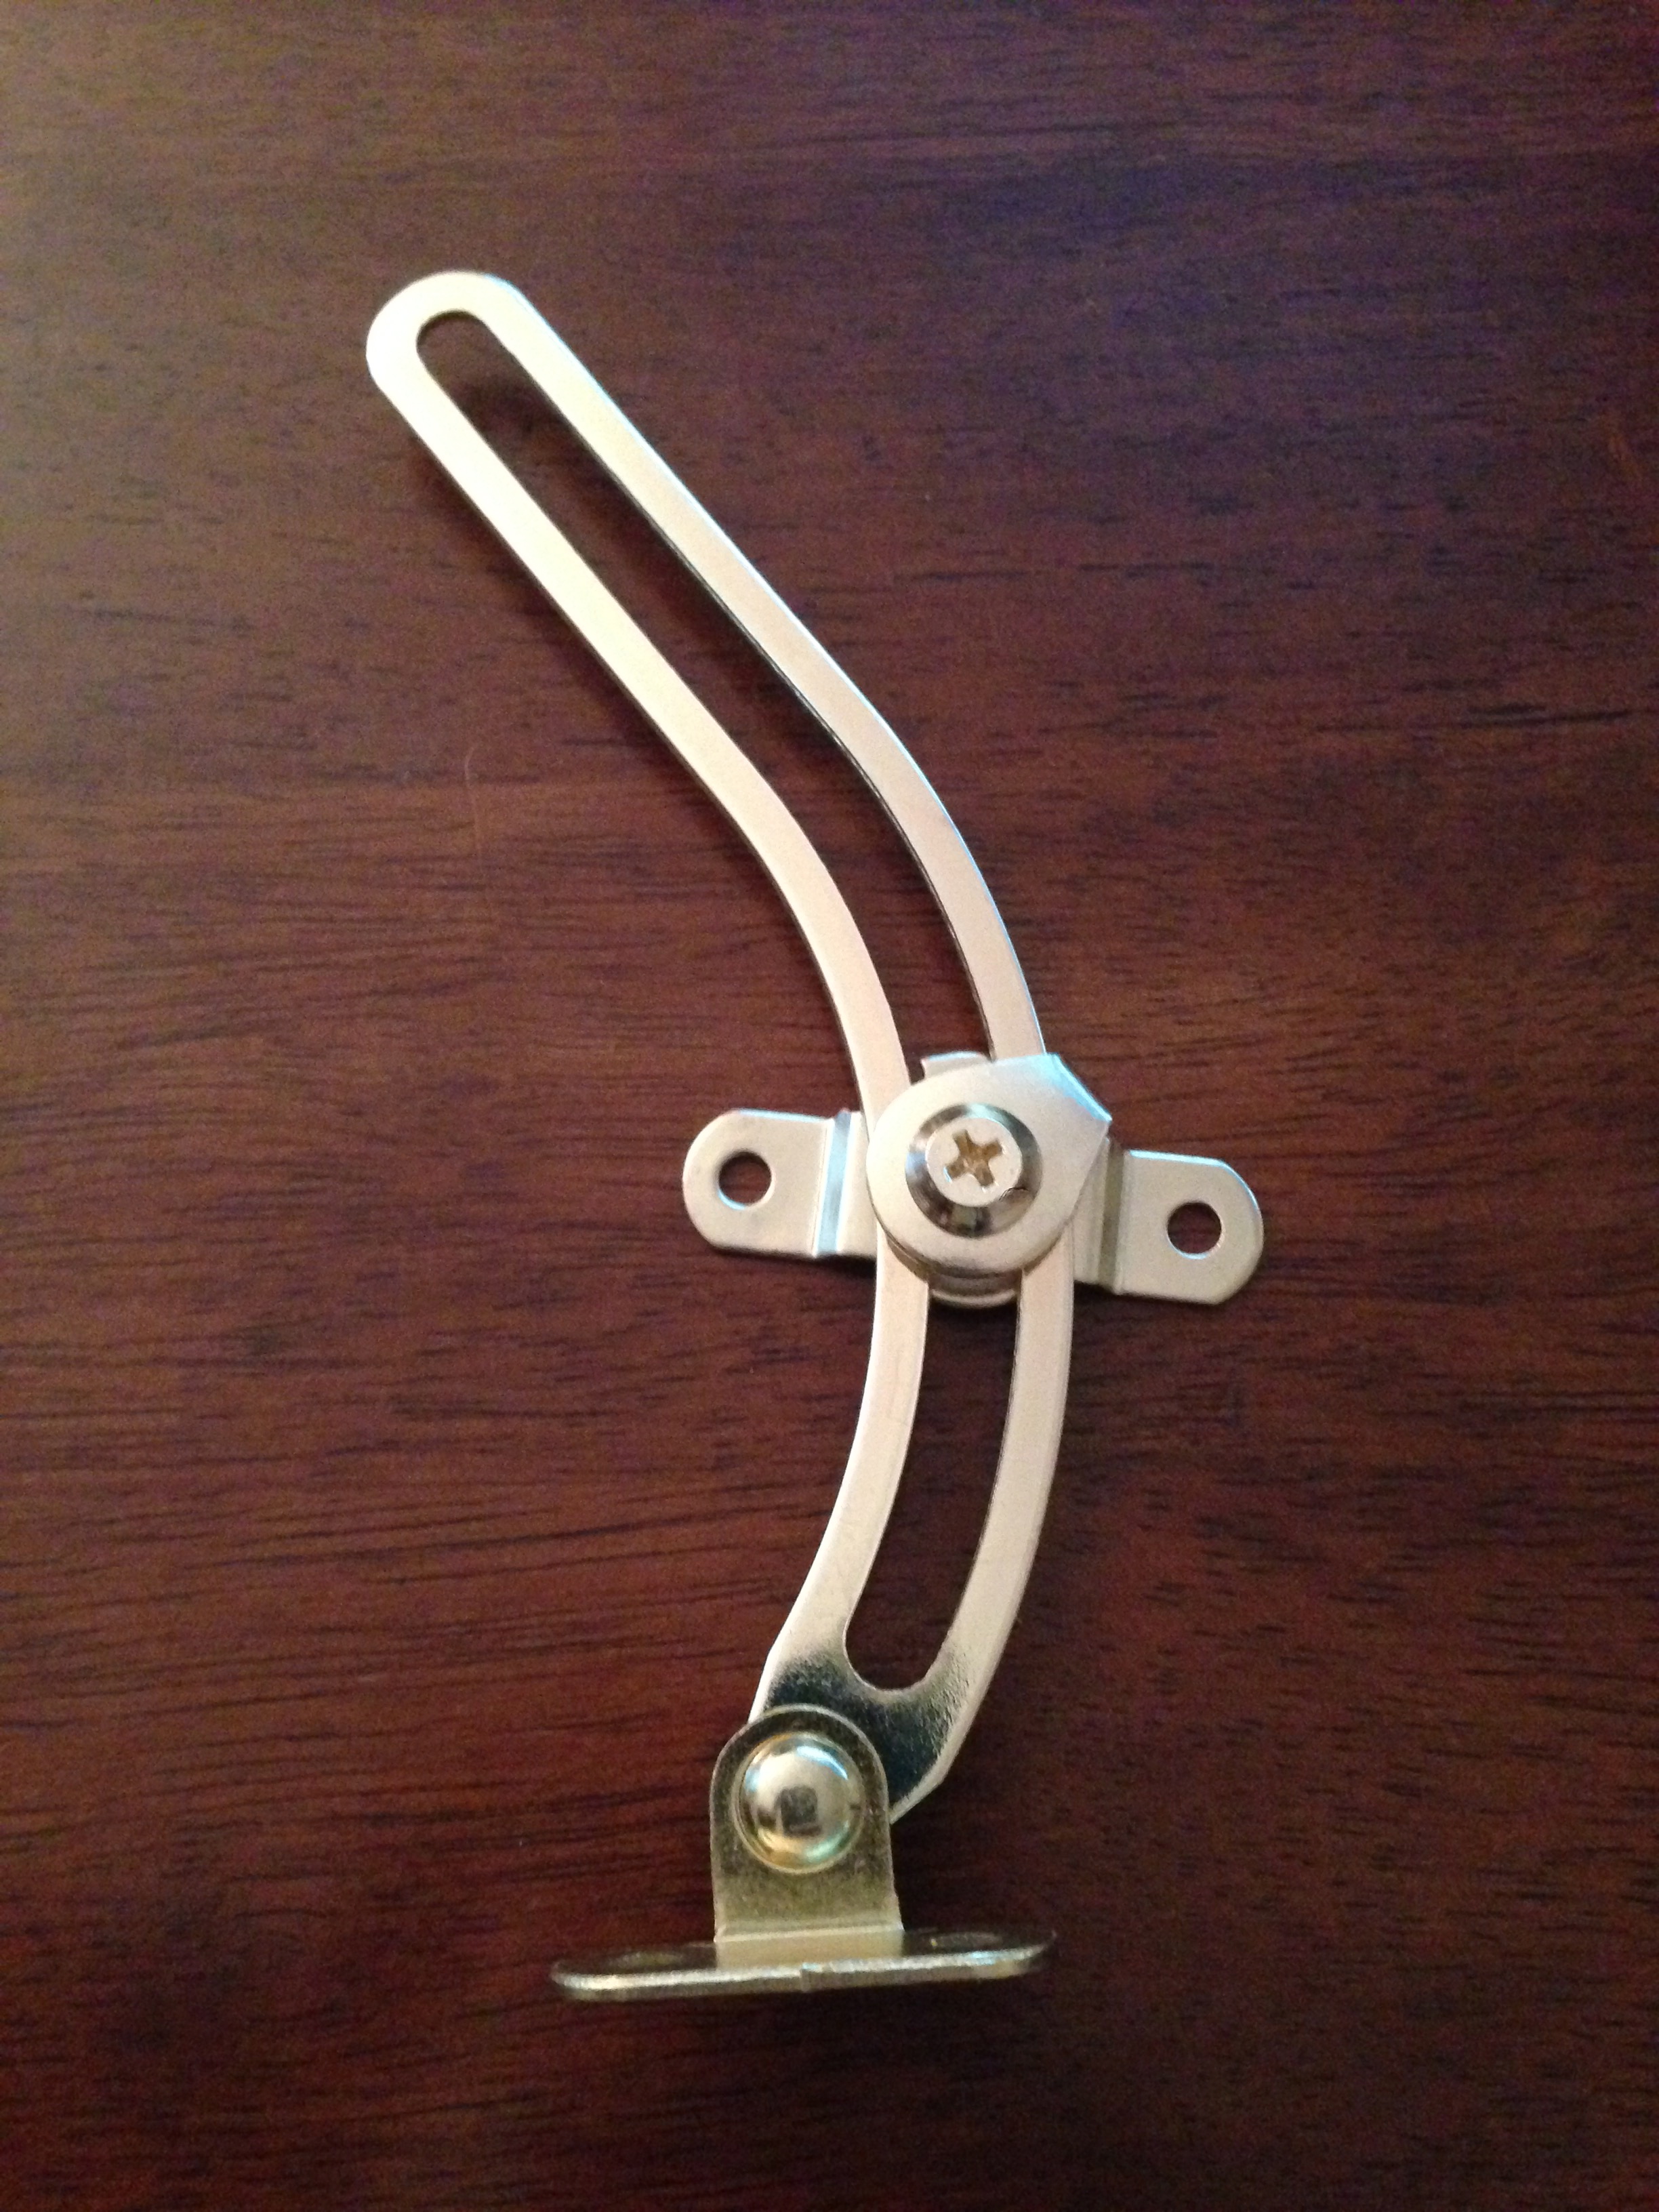
I filed small notches for six strings in a 3-1/2” hinge, lined it up with the fret board, and then installed it. I had found a brass friction lid support that would make an awesome tremolo arm—I cut the extra material away and fabbed the nut plate. Additionally, I added a 1/4 mono endpin for the strap and a 1/4” stereo jack. By that time, my new tuners had arrived, so I installed them, screwed the drip pan down, notched the cat bowl with a round file, cut a brass bolt to length for the bridge, and strung it up. It tuned well and strobing was as easy as moving the cat bowl.


I began working on the pickup and had found a nickel plated drain cover that seemed like it would serve both as a cool looking cover for the sound hole and a stable acoustic pickup adapter. I bought a mounting bracket that usually holds lights to the ceiling in a junction box and cut off the cross piece. I found brass screws that would thread into the mounting bracket, added some springs to each side, cut a rectangular hole for the pickup and installed it on the guitar.
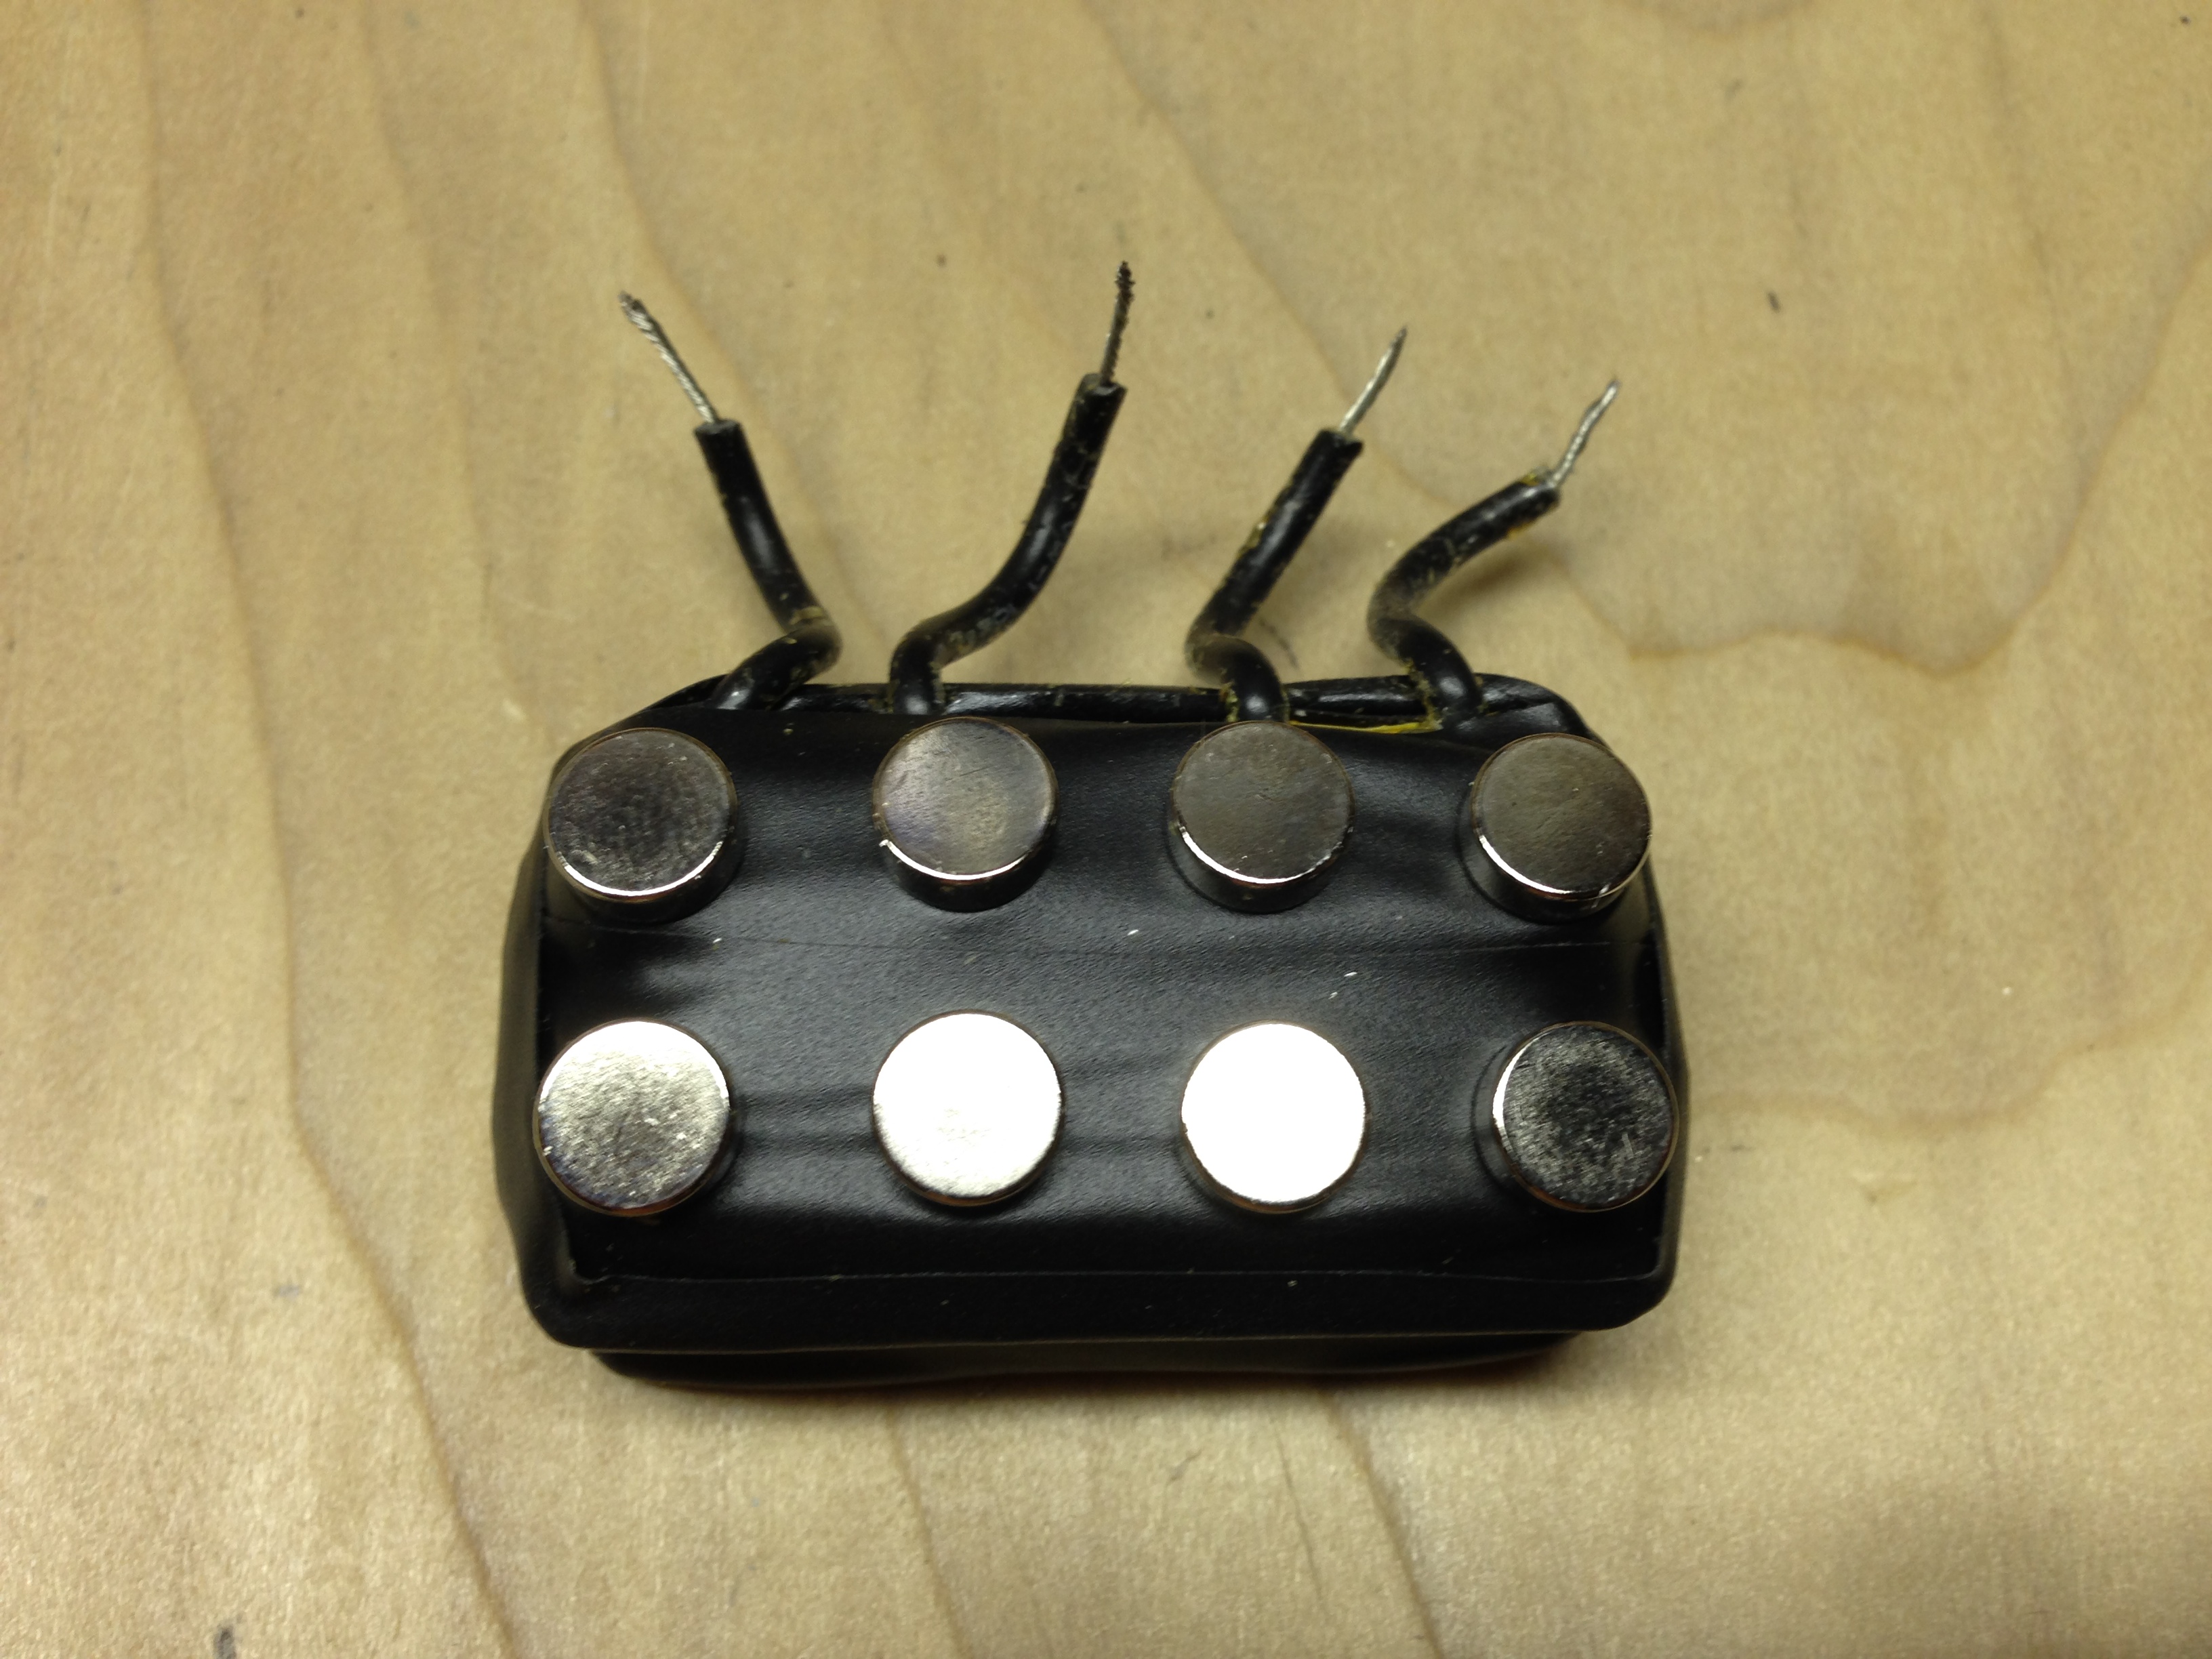


The pickup is made of two power adapters, four picture hangers, eighteen neodymium magnets, and electrical tape. If you would like more information on how to make one please follow the link below:
These make excellent replacement pickups for electric guitars, are a practical way to amplify an acoustic guitar, and half of a pickup is perfect for a three string cigar box guitar. If each side is wired independently, as was the case with the electric and acoustic guitars pictured, a stereo effect can be achieved, which sounds pretty cool.
I’ve been happy with it’s sound and playability thus far and the semi-high action makes it excellent for playing slide.
![]()
