

Over the past few months, I’ve been trying to get the word out about this site, and recently entertained the idea of making homemade promotional guitar picks to distribute. I believe I have stumbled upon a reasonable process and wanted to share it with you.
The process entails printing 56 pick-sized designs on a sheet of transparency film and then laminating it. After that, four laminating pouches are cut into eight separate sheets and are then laminated to the back of the primary sheet one at a time. Finally, the picks are harvested with a pick punch and finished with 600 grit sandpaper.
This project takes a little effort, but the final product is the equivalent of a medium thickness pick. One other thing to consider, when contemplating this project, is that these picks are best suited for promotional use or reasonable playing. They may fail under heavy playing conditions—the separation of layers being the usual consequence.
For this project, you will have to gain access to the following:
3 mil Laminating Machine
PC that runs Microsoft Word or Pages
Inkjet Printer (or laser printer if you want to experiment)
Pick Punch (http://www.pickpunch.com)
You will have to purchase 9×11.5 laminating pouches that require a thermal laminating machine and transparency film based on which printer you choose to use. I chose inkjet because I already had inkjet transparency film from a previous project and the package warned that they should not be laminated, which made me think they would fuse to the laminating sheets more readily. However, you may choose either printer, as I would guess that laminating sheets should fuse to transparency film.
If you do not have access to most of the items above, this project could get expensive; however, if you only have to purchase a Pick Punch, thermal laminating pouches, and transparency film your investment will be about $60 for 224 custom picks, which is a little over a quarter per unit.
Please read through the instructions before beginning, if you are prepared and have everything on the list set up, you should be able to complete this project in a few days—see the part/suggested tool list at the bottom of the page. Click on any image to zoom in for a closer look.
INSTRUCTIONS:
1) Design the images to be printed on the transparency film.
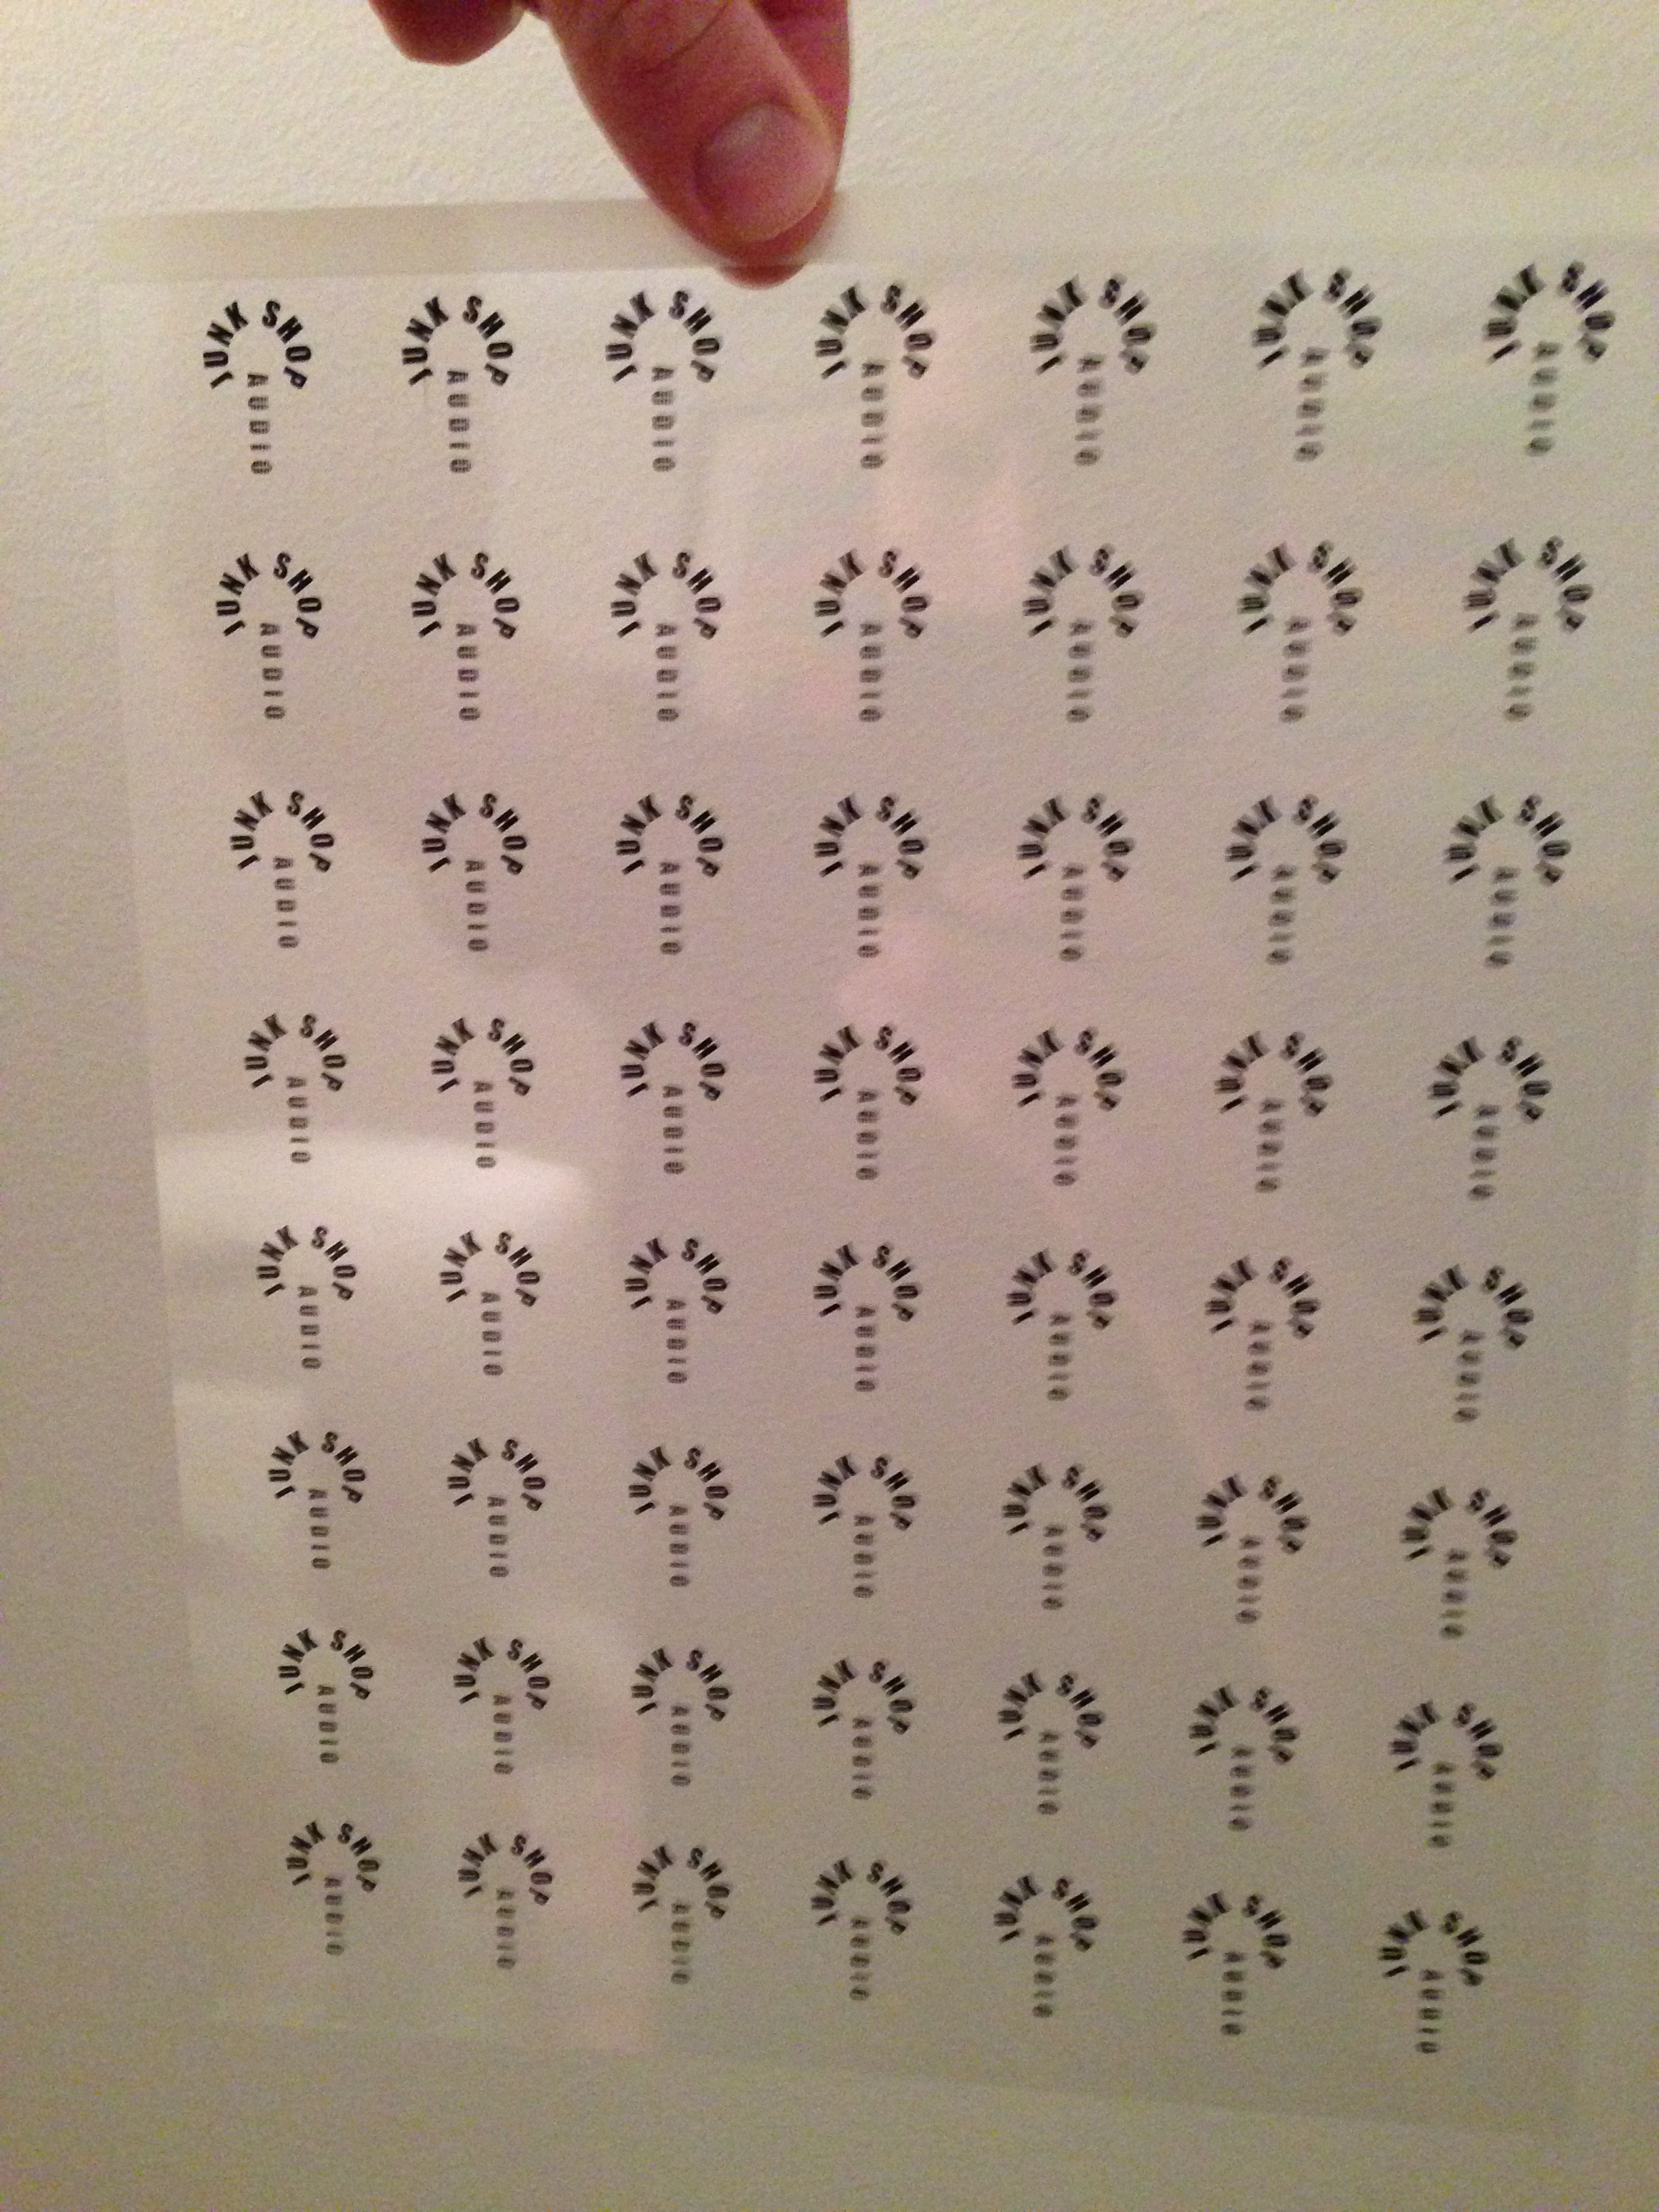
a. Using either my 56 pick-per-page templates, or your own custom sheet, select desired images. See links to templates for both Word and Pages. Follow the links to my Google Drive account and download the file of your choice.
Link to 56 pick-per-page template for Apple’s Pages: https://drive.google.com/file/d/0Bz_BJp6_LjKyaU5KNGZFWDdNQm8/view?usp=sharing
Link to 56 pick-per-page template for Microsoft Word: https://drive.google.com/file/d/0Bz_BJp6_LjKyeEVJY0JkMWVMRVU/view?usp=sharing
b. If using my template, import your images and size them to the pick shape in the document. Place copies of said image(s) within the boundaries of each of the pick shapes on the page. When you are satisfied that each image is centered/positioned correctly, select each of the 56 pick shapes and delete them, leaving only the images.
c. Print on the transparency film. (Follow the directions on the transparency film package, sometimes there are specific loading instructions). Let the transparency film dry for about an hour so that it does not smear.
2) Laminate the transparency film in a 3 mil laminating pouch.

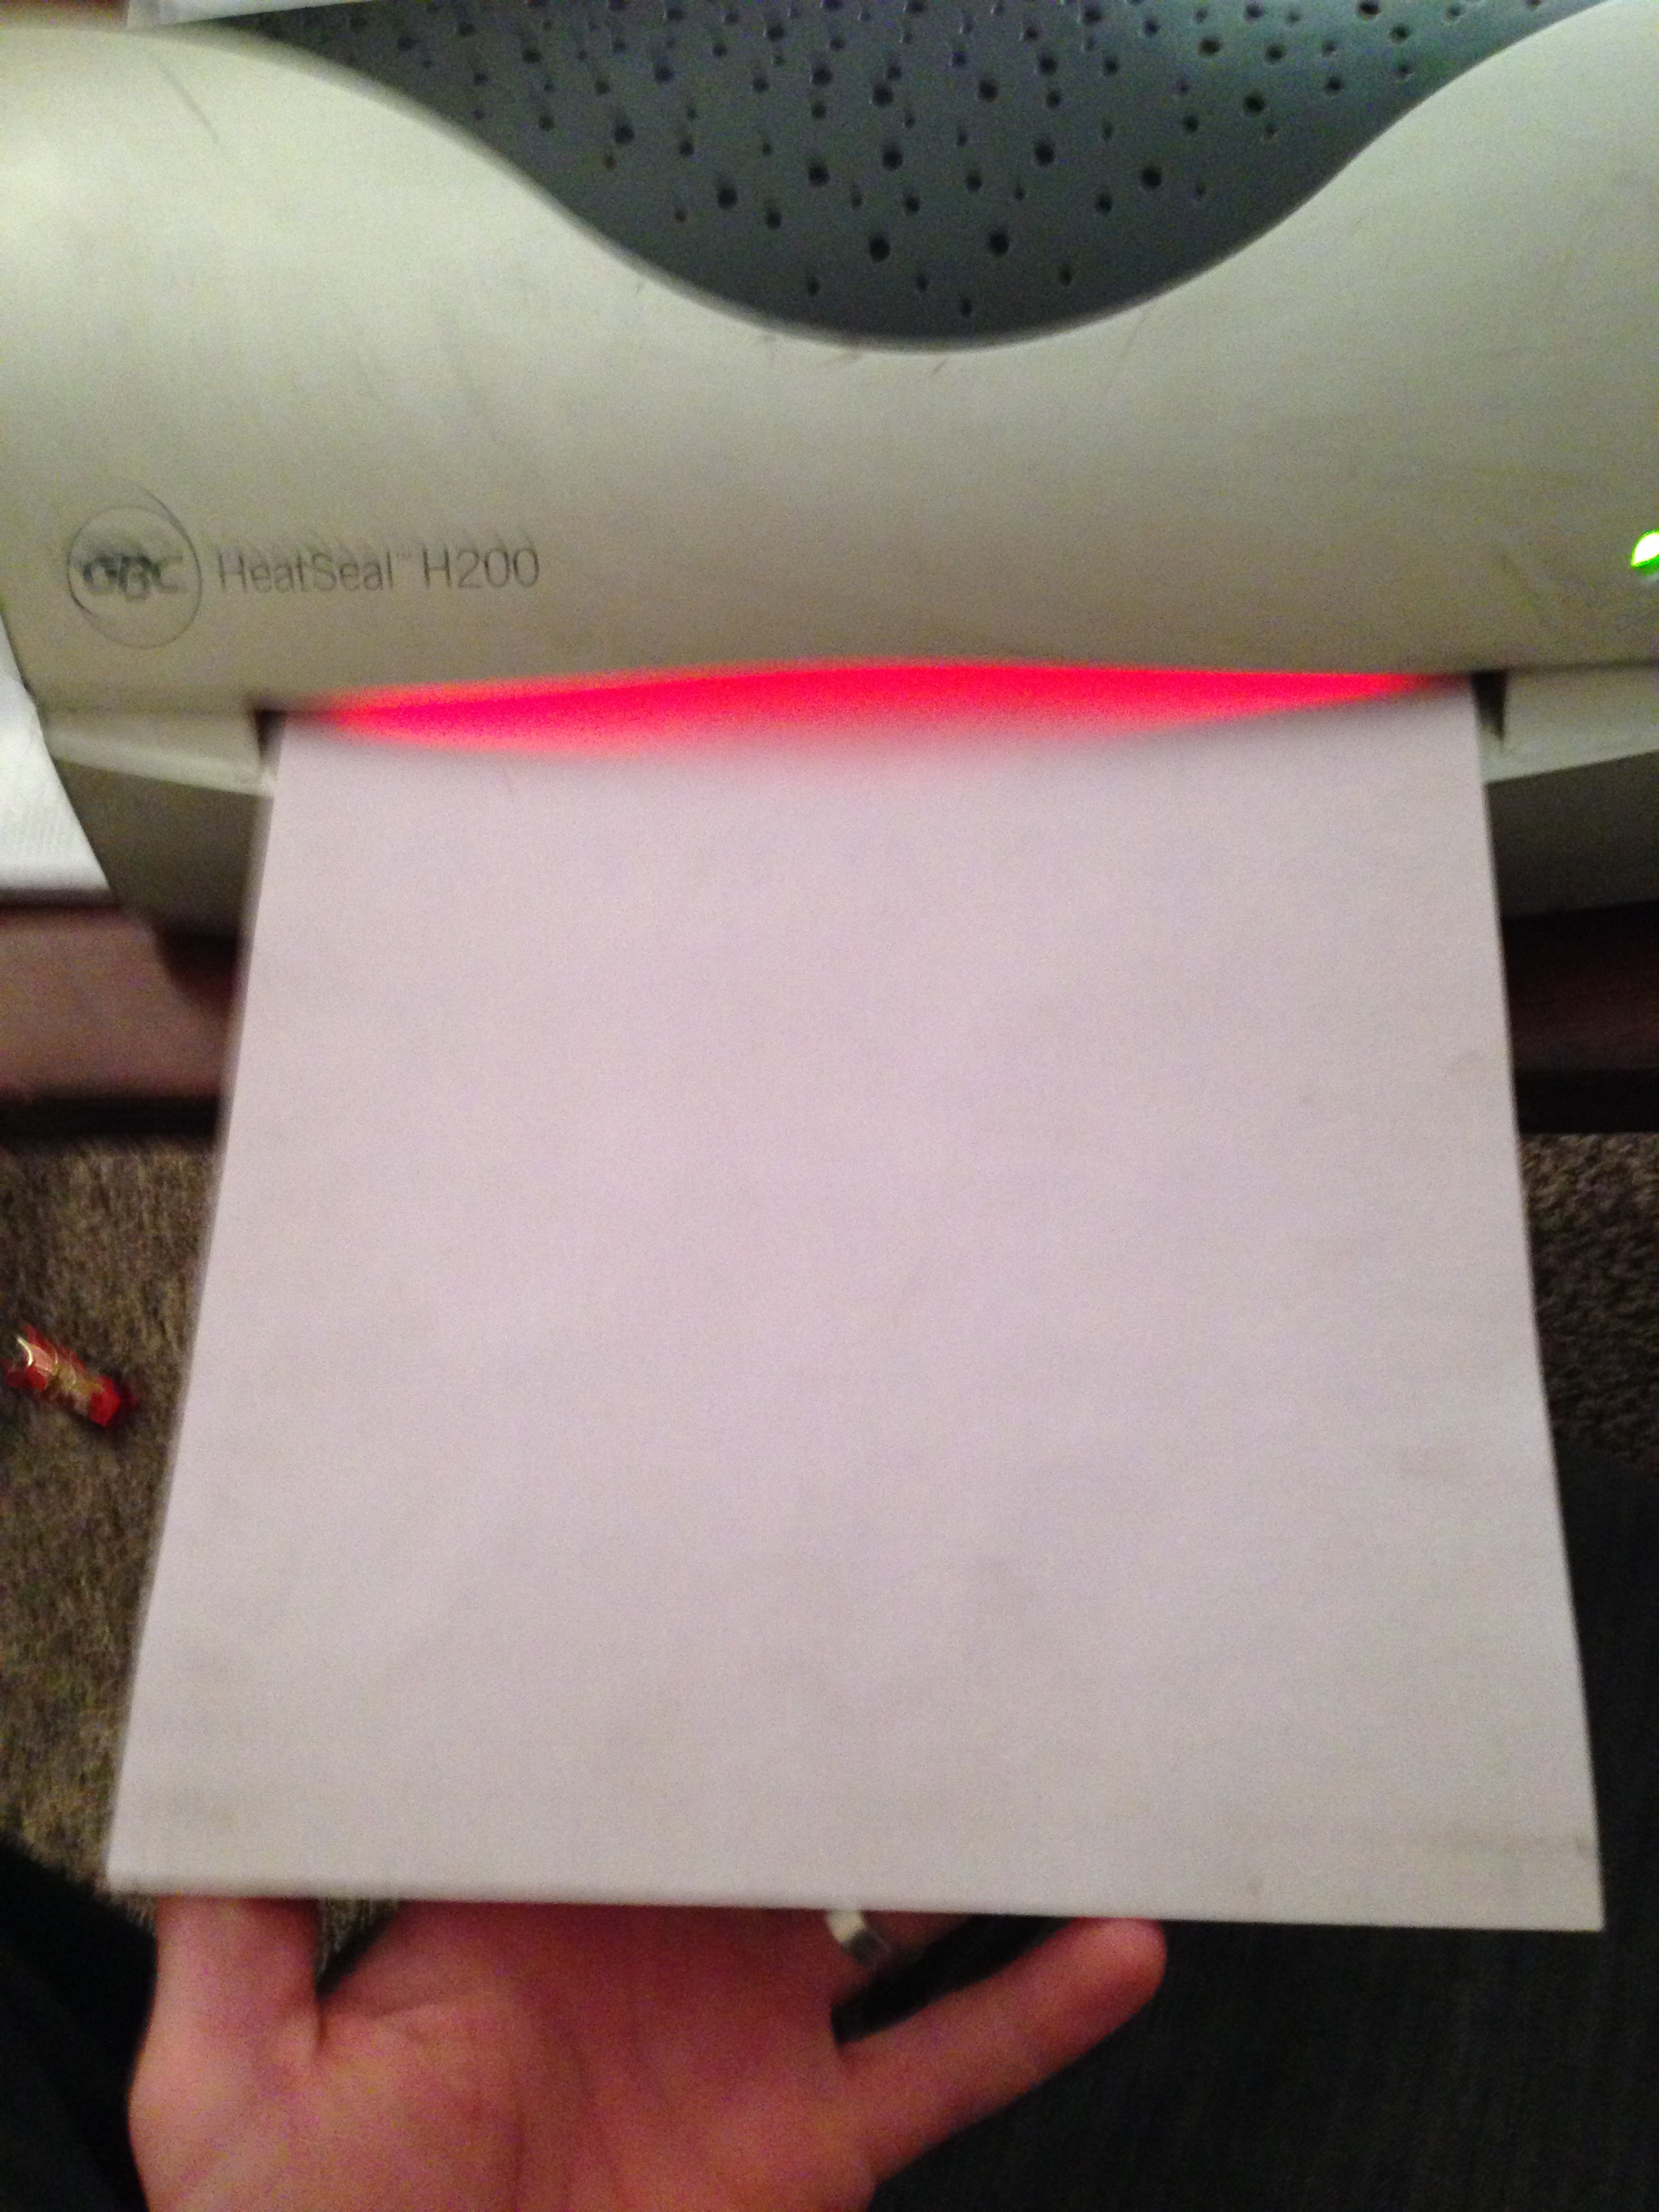
a. Turn on the thermal laminating machine, set it to 3 mil, and wait for it to heat up.
b. Center the sheet of transparency film inside of the laminating pouch.
c. Place the laminating pouch inside of the paper carrier and run it through the laminating machine. Once it is finished, turn the sheet over and run it through the laminating machine a second time. Do not run the laminating pouch through the machine without first placing it in the paper carrier—it doesn’t turn out well.
3) Add layers of laminating pouch to the back of image sheet.
a. Confirm that correct side of your image sheet is facing up and the reverse side facing down.
b. Grab four more laminating pouches. Separate the sheets on one and cut the top as seen in the picture. You should now have two separate 9×11.5 sheets—place the cut sheets on the table with the inside part facing up. Cut three more sheets and place them on the table in the same way. You should now have eight 9×11.5 sheets with the inner, laminating side facing up.
c. Again, after confirming that the correct side of your image is facing up, place one of the eight laminating sheets on the reverse side of the image sheet, straighten it up, place it in the paper carrier, and then run it through the laminating machine. Once it is finished, turn the sheet over and run it through the laminating machine a second time. Repeat this process for remaining seven sheets—each attached to the reverse side of the image sheet, each ran through the machine twice, once on each side. Remember, it is very important that you check to make sure that the correct side of the image sheet is facing up before adding the eight layers to the reverse side. I harp on this because I fused the eight sheets to the incorrect side and didn’t notice until I had punched all 56 and finished 25% of them—don’t let it happen to you.
4) Allow the image sheet time to cool.

a. Place the still warm image sheet between two large, heavy books to cool.
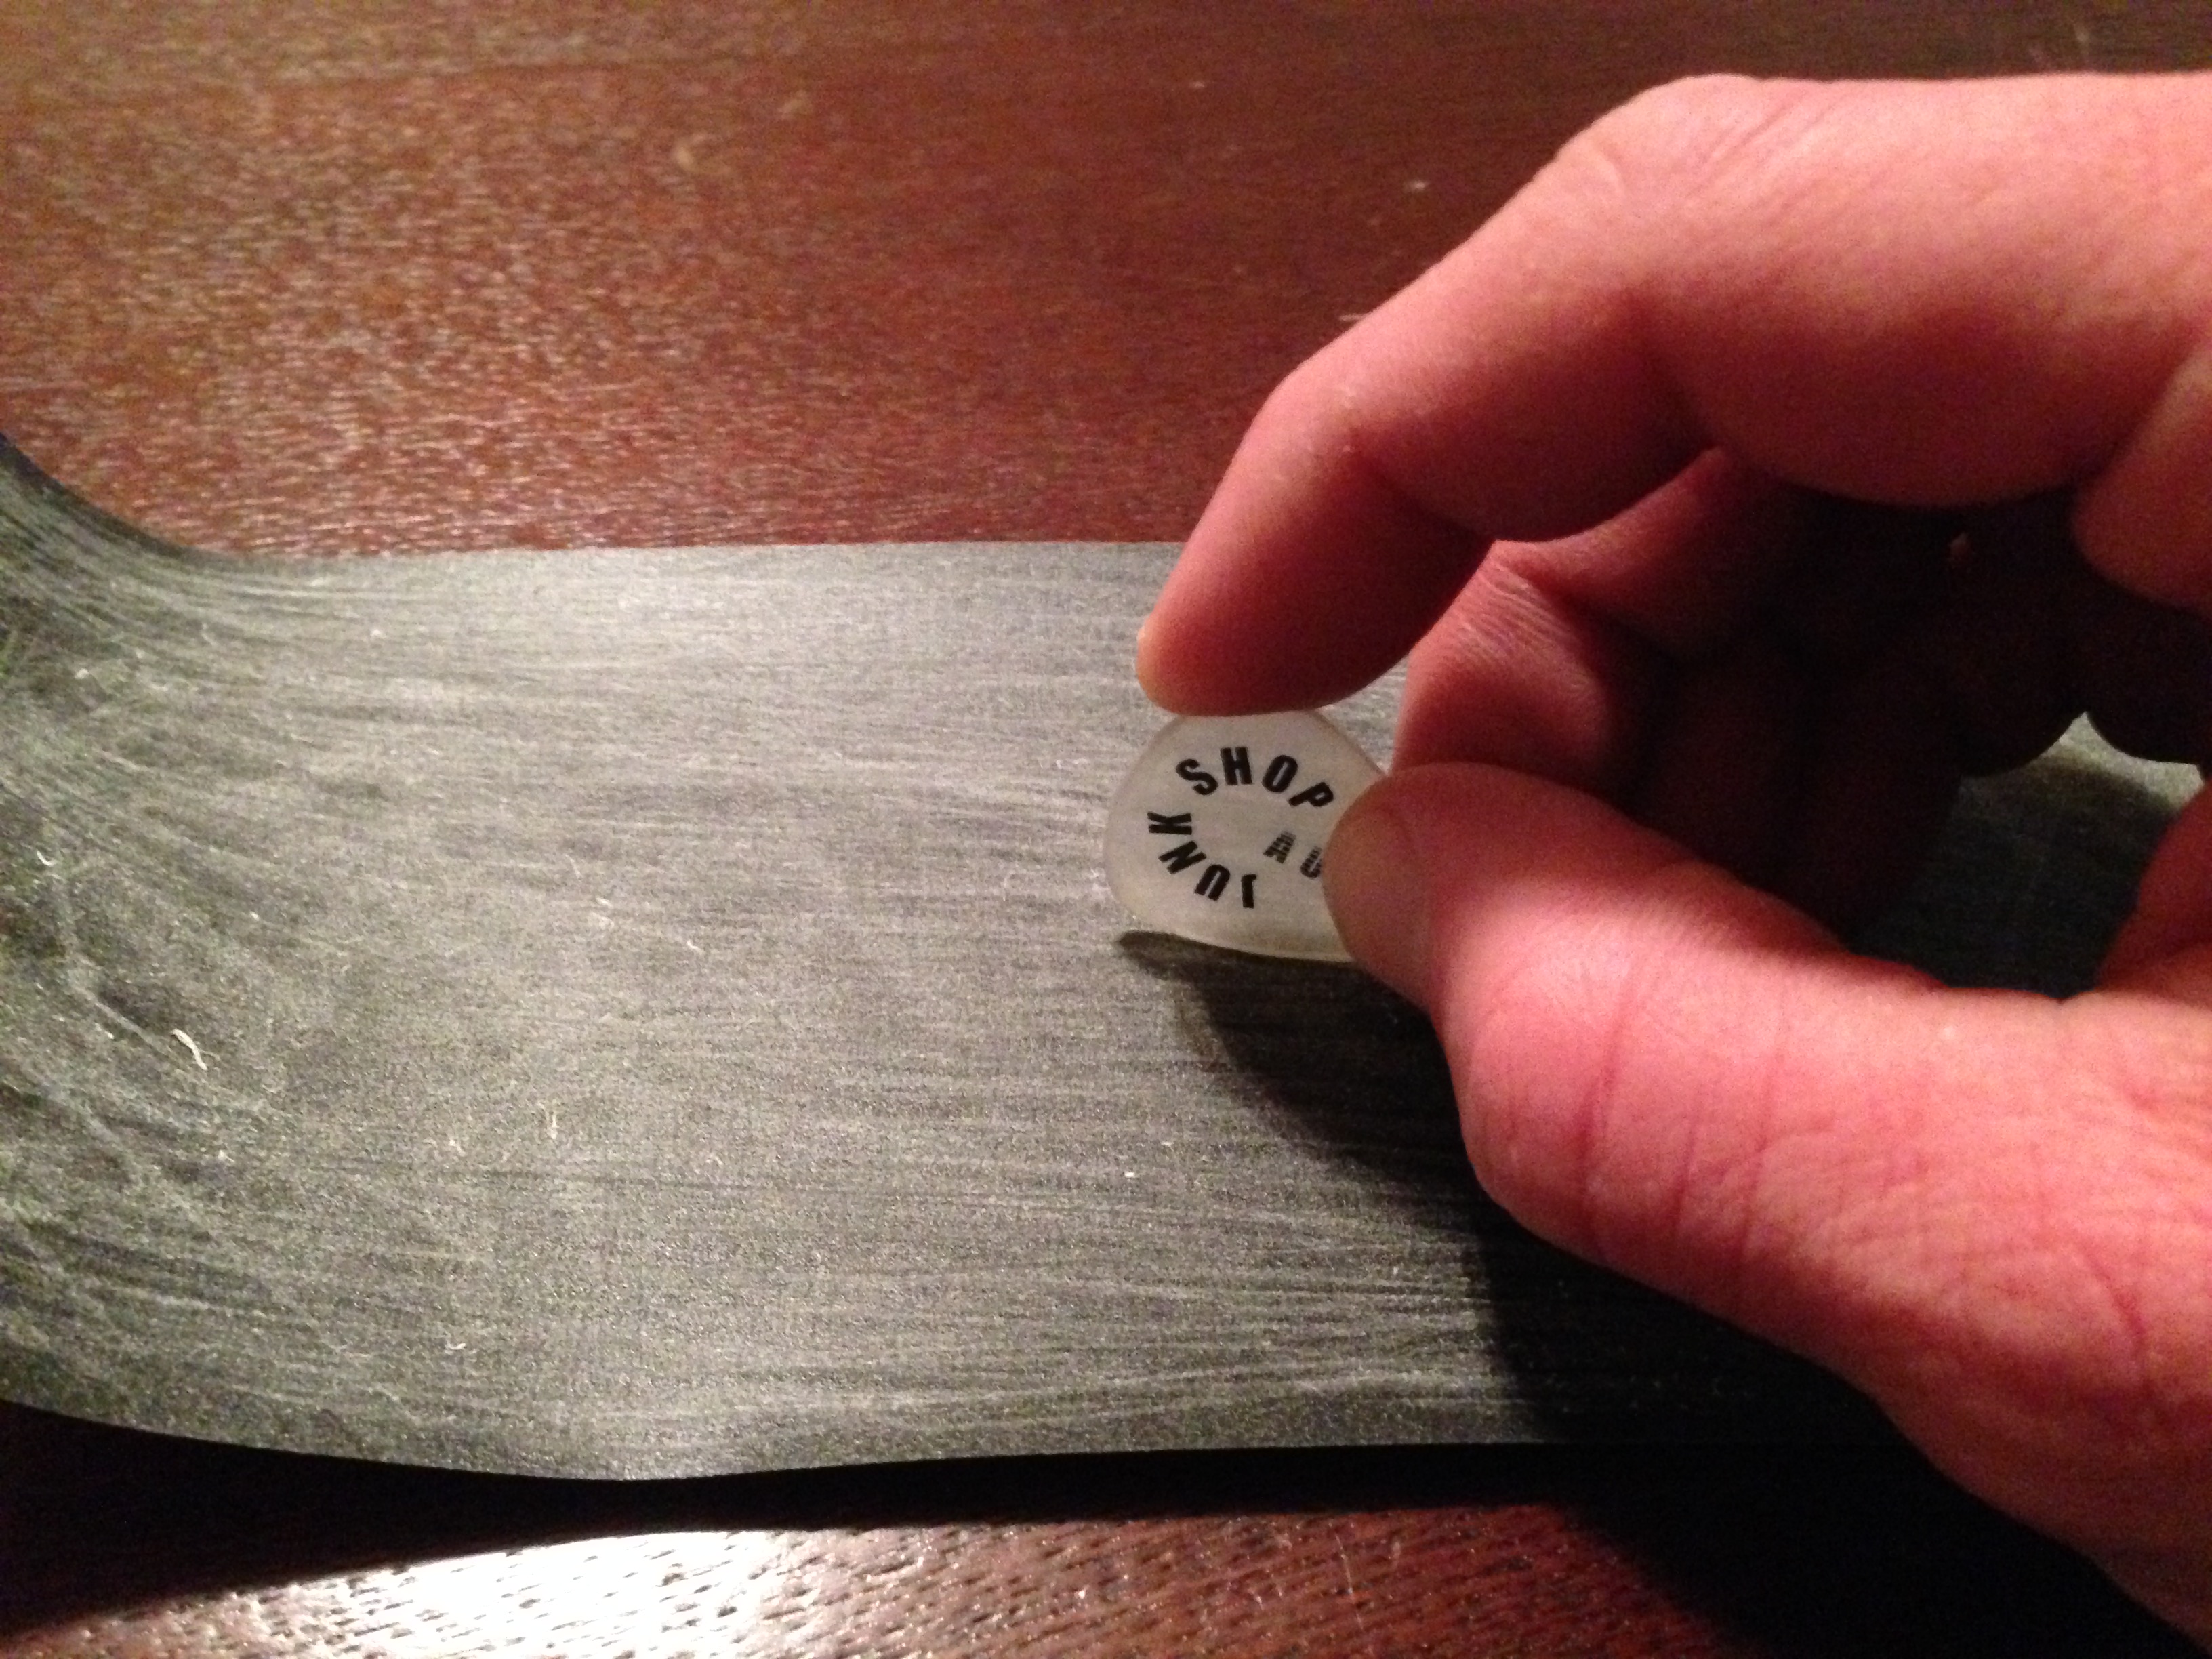
5) Cut out picks with Pick Punch.


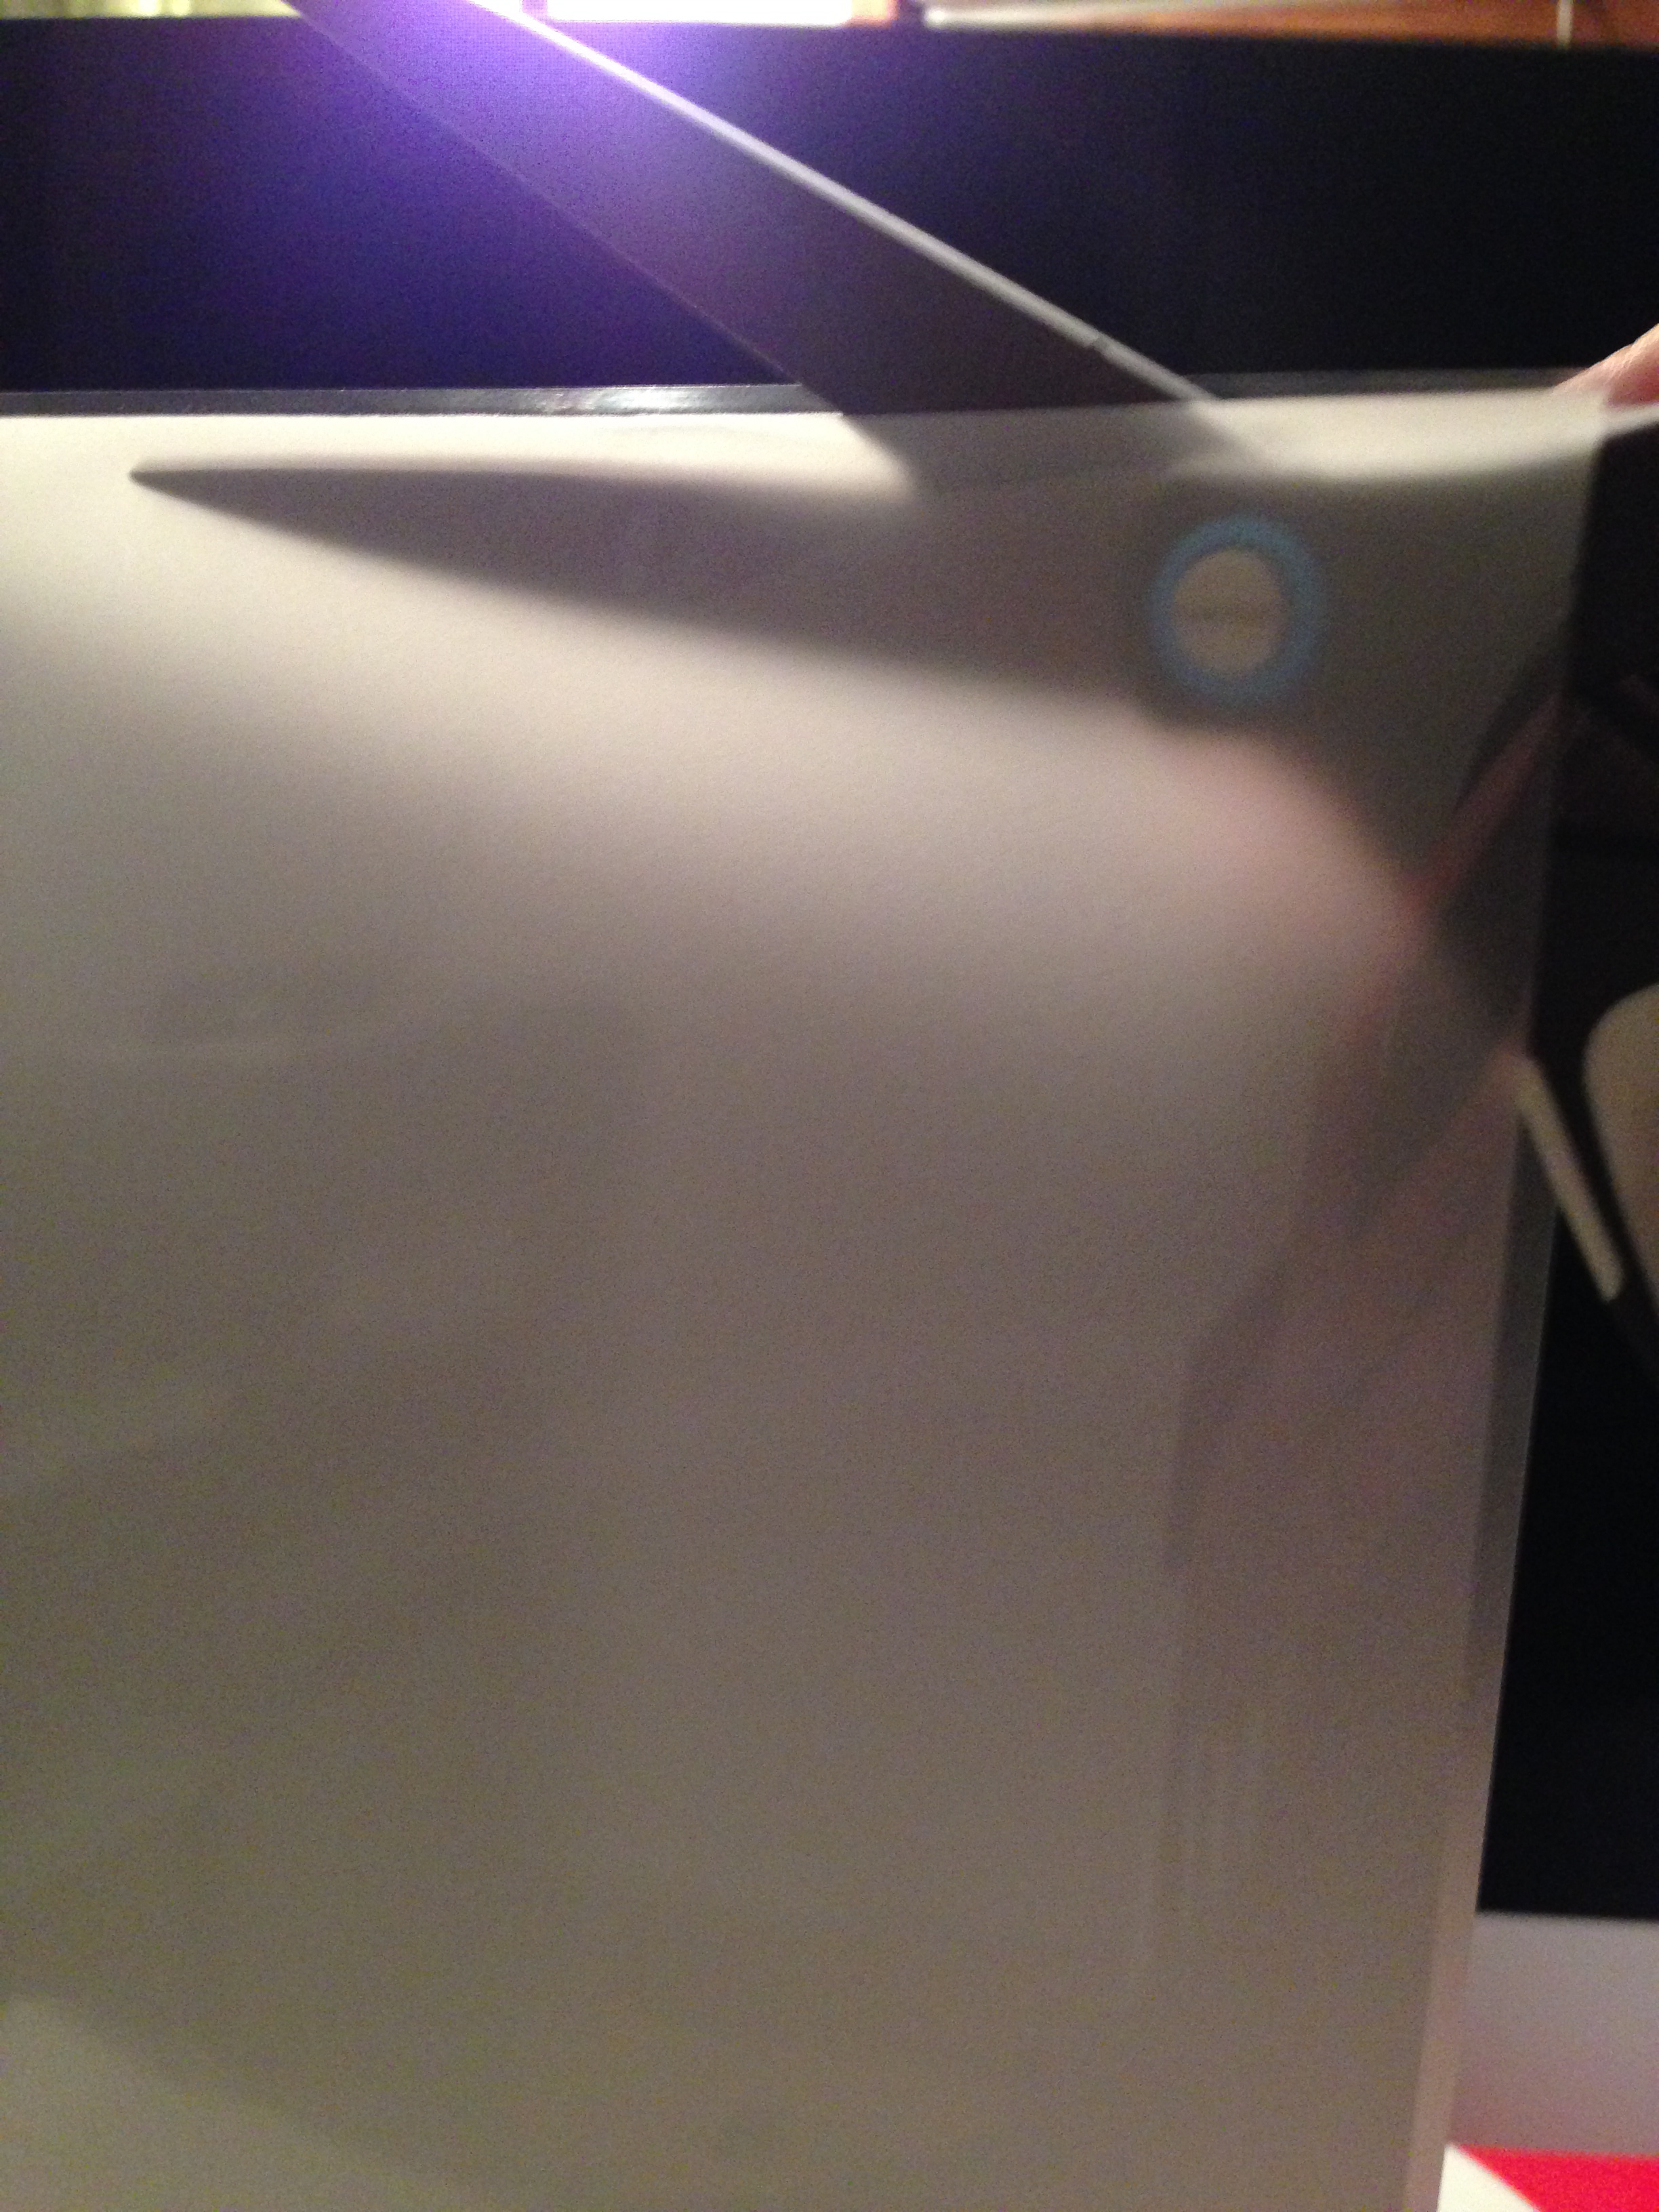
a. Once the image sheet is cool, use a pair of scissors cut off enough of the bottom of the sheet to allow the Pick Punch access to the bottom row of images. If desired, you may use a straight edge and dry erase marker to draw a vertical line through the center of the images to give a reference point for cutting—dry erase marker can be easily removed using Lysol/baby wipes.
b. Slide the image sheet into the Pick Punch.
c. Center the image within the pick-shaped hole in the Pick Punch. Take the time to line it up properly and then squeeze the punch. The pick will fly out of the punch about two to three feet in the air, so don’t point it at your face. Check the orientation of the image in relation to the cut of the pick—if it seems to be off center, you may have to adjust how you align the image in the Pick Punch to yield a properly centered pick. For example, I had to position my image slightly to the left of what appeared to be centered in the punch, to produce a properly cut pick.
d. Continue to punch the images along the bottom row. When finished, use scissors to cut along the top of the punch holes on the image sheet, as shown in the picture. Then punch out the bottom row of images and on up row by row until you reach the top.
e. Wipe the dry erase marker line off of each pick with a wet wipe and dry it with a paper towel.
5) Run cut picks through laminating machine. (This is optional and may not work on some machines—you may want to skip this step.) The cut picks may have a slight ridge around the edge and will likely have loose edges of laminating sheet that will peel up on the top. An easy way to smooth the ridge and better adhere the edges is to run the cut picks through the laminating machine again.

a. Place the paper carrier on top of something sturdy like a notebook. Lift the top sheet and place three rows of five picks face up about three inches apart. You can probably fit more, but then you have to keep more picks under control, as they tend to slide. I did twenty-four the first time and found that it was faster to do fifteen at a time; however, the picks can sometimes move as they travel through the laminating machine, so the safest number is six shoved into the very top of the paper carrier.
b. Pick up the notebook with the paper carrier on top (keeping it flat) and carefully move it toward the laminating machine. Run it through the laminating machine, keeping the paper carrier flat until it is about halfway through the machine.
c. Lift the top sheet on the paper carrier and flip the picks over. Complete step “b” again.
d. Let the picks cool for a few minutes. If there are still picks with loose edges, run them through the laminating machine again.
6) Use 600 grit sandpaper to finish the edge of the pick.
a. Place the sandpaper on a hard surface. Rub the parameter of the pick over the sandpaper until all of the edges are smooth to the touch.
b. Repeat for all of the picks.


7) Use an iron to harden the pick.
a. Plug in the iron and set it to the highest setting.
b. Place a flat piece of wood on an ironing board, not a table, because the steam could damage the finish.
c. Put pick or small groups of spaced picks on the piece of wood.
d. Lay a cloth over the picks.
e. Place the iron on the picks and apply heavy pressure for 10 seconds. You may want to support the bottom of the ironing board to keep the legs from buckling.
f. Lift the cloth and flip the picks and then repeat step e. 3 more times. If the picks are stuck to the cloth, remove them gently.
g. Unplug the iron and lift the cloth. If the picks are stuck to the cloth, remove them gently. Let the picks cool on the piece of wood for a few minutes; while they are hot they can be easily bent out of shape.
h. Check for rough edges, but sand as little as possible. Excessive sanding can result in loose edges; if this happens, repeat the hardening process.
Appendix:
| Parts List | ||||
| Part # | Qty | Description | Vendor | Price Ea |
| TP385420 | 1 pk | Scotch Letter-Sized Thermal Laminating Pouches | Walmart | $8.99 |
| —— | 1 pk | Transparency Film | —— | $24-$40 |
| Tool List | ||
| Part Number | Description | Vendor |
| —— | Laminating Machine w/ 3 mil setting | —— |
| —— | Paper Carrier for Laminating Machine | —— |
| —— | Pick Punch | —— |
| —— | Ruler | —— |
| —— | Lysol/Baby Wipes | —— |
| —— | 600 Grit Sandpaper | —— |
| —— | Personal Computer | —— |
| —— | Inkjet/Laser Printer | —— |
| —— | Dry Erase Marker with fine point | —— |
Thanks,
![]()

Pingback: Homemade Custom Guitar Picks Project | Junk Shop Audio