I found a broken cutting board at a thrift store for two dollars. It sort of looked like a guitar, so I thought I might finish the process.


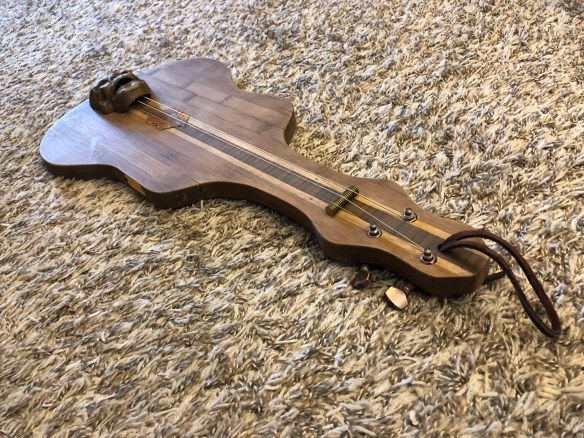 The board is short, so the only reasonable scale length is that of a ukulele. It is also thin, so installing a workable output jack that fits within the lines of the instrument would be challenging.
Body and Finish
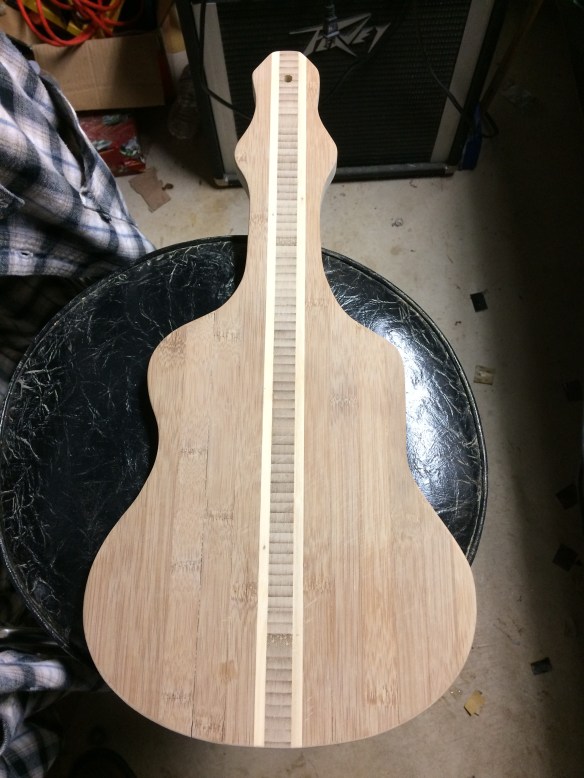

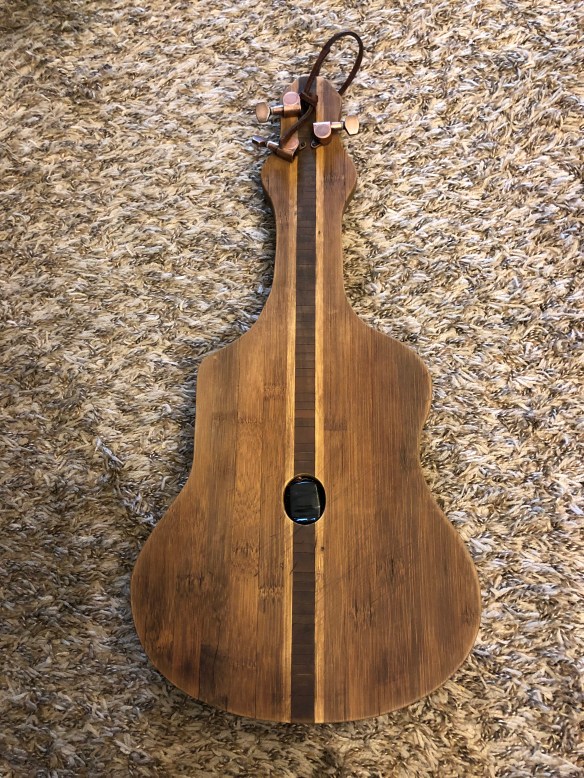
I began sanding and finishing the board. There were many deep knife cuts in both sides of the board, but they looked cool, so I left them.
The small, broken section of the board was unsightly, so I sanded it down to flat and curved it into the neck with an orbital sander.
Using the orbital sander, I sanded the entire board with 220 grit sandpaper and finished with 600 grit.
Eventually, I finished the wood with a vinegar and steel wool mix—starting with a balsamic vinegar for color and apple cider vinegar for texture and shine.
Pickup and Output Jack

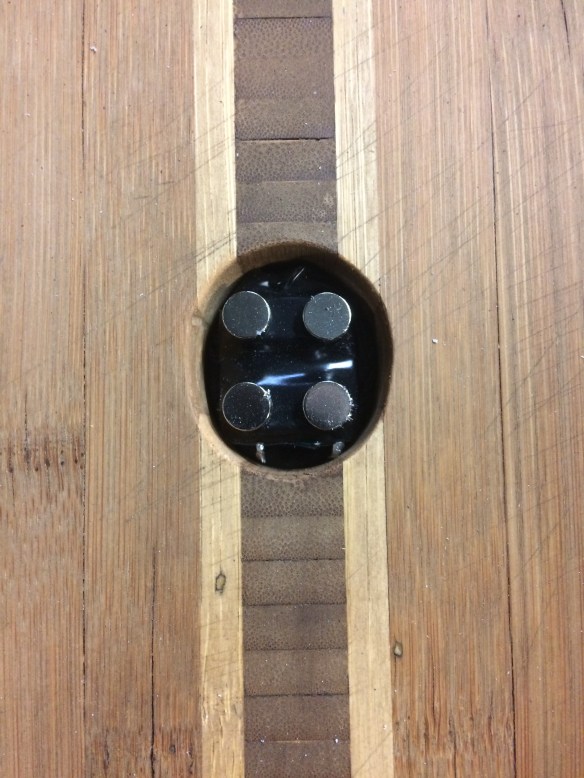
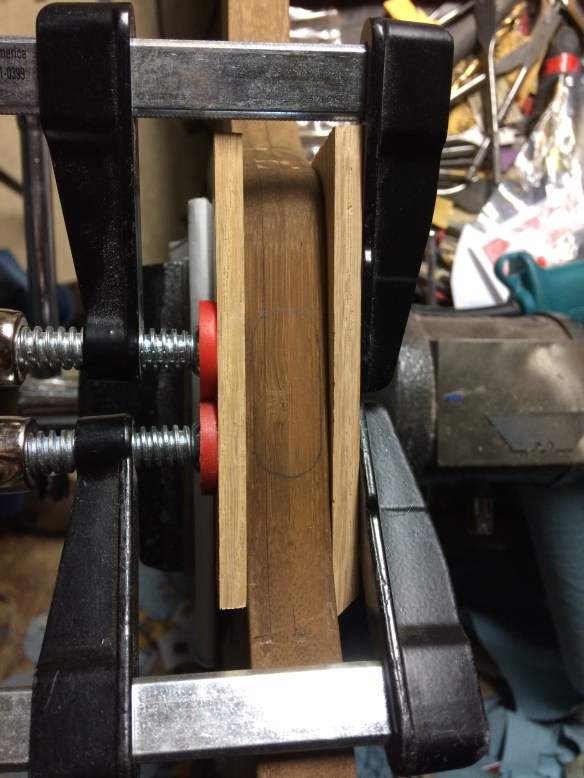
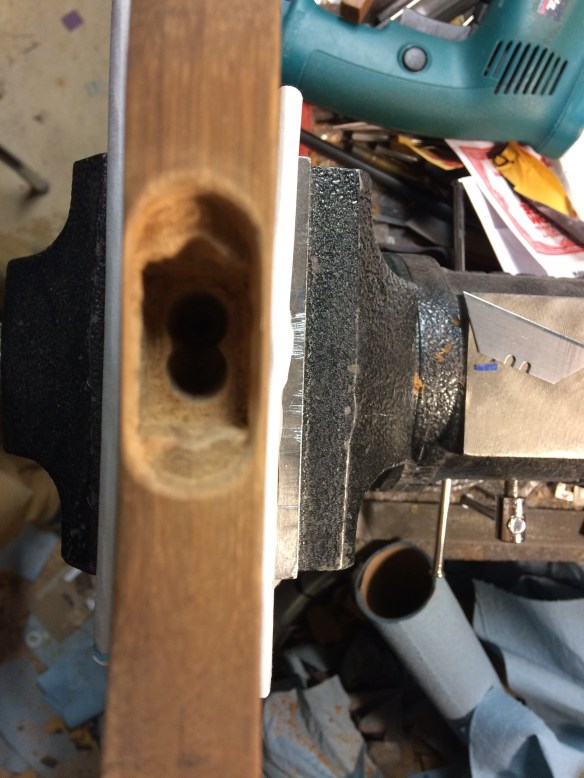
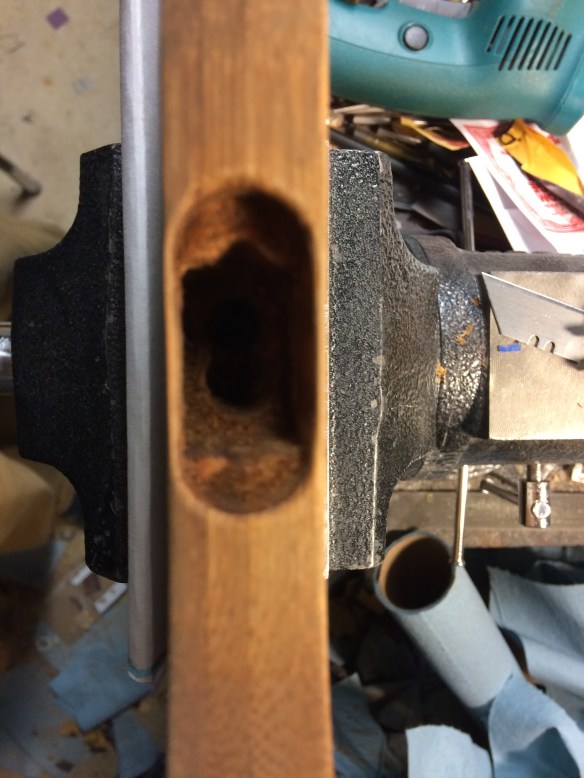
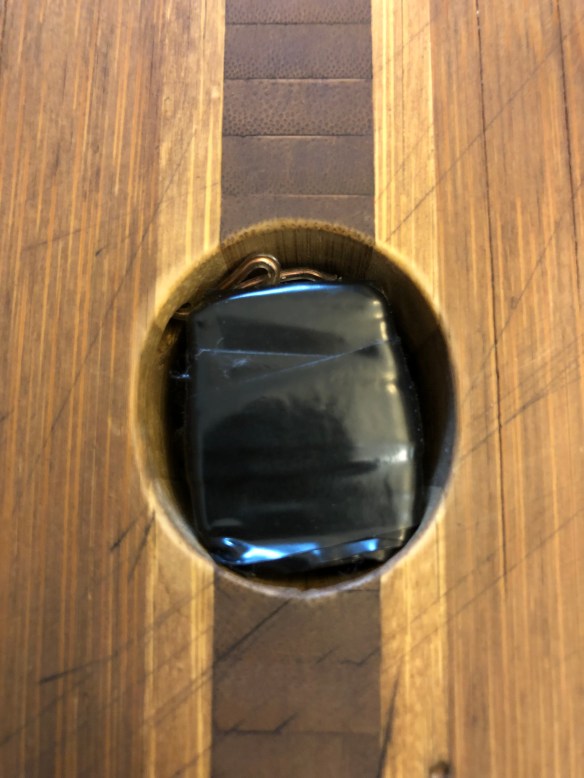 For output, I installed my standard JSA Nd144 Electromagnetic Cigar Box Guitar Pickup. I drilled a central hole and then routed it to size with an oscillating sander.


The board was too thin for a standard 1/4″ jack or even my homemade output jack, so I decided to look for an alternative solution. I landed on an idea that I had been kicking around for some time, which included wiring in an electric outlet and creating an adapter cord from a replacement electrical cord and a spare 1/4″ plug.
The broken area that I flattened out proved to be an excellent location for the outlet installation. I cut off all of the extraneous parts of the outlet adapter and carved a hole sufficient to fit its inner parts and mounts so that it would sit flush with the side of the guitar.
Using a long, 1/4″ drillbit, I figured out the angle and then drilled from the inside of the outlet/output jack to the pickup hole. The two holes were connected without incident and were then wired together.
Tuners, Bridge and Nut
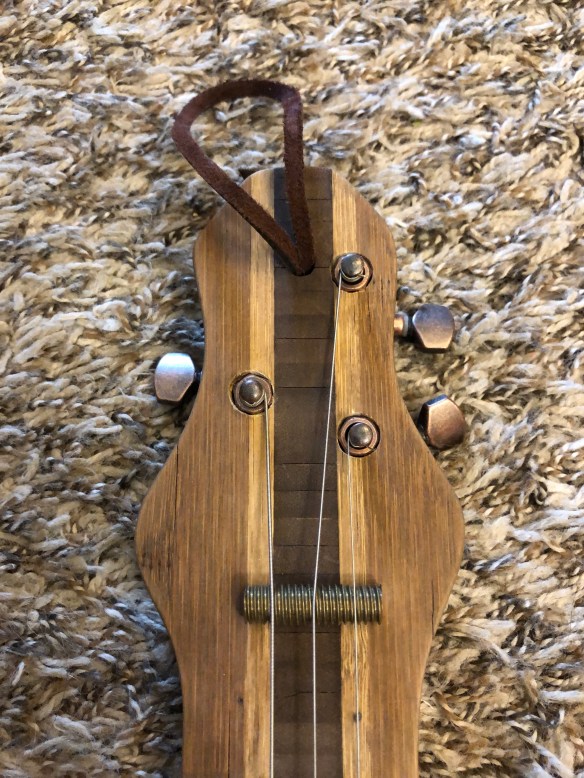

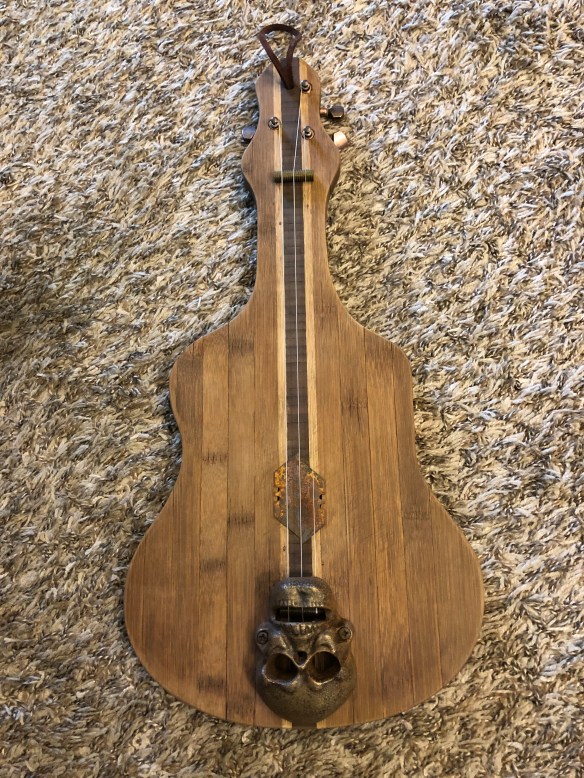
For the tuners, I followed the shape of the already carved headstock. The arrangement seemed to work best with two on the bottom, so I went that route.
The board is small, so the only scale that would fit was a 13″ ukulele length—two pieces of 3/8 brass threaded rod were cut to an 1-1/2 length and filed flat on the bottom to form the bridge and nut.


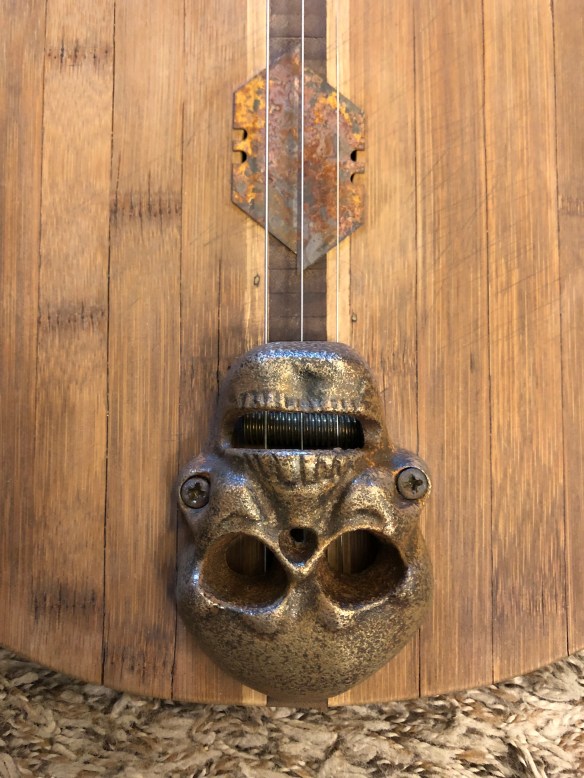
Behind the bridge, six sheet metal screws were drilled and installed with washers, two inline for each string. The string was then wove opposite between two screws for more stability. Plus, the skull would cover the screws, thus keeping me from having to drill holes through to the back with ferrules.
Pickup Cover, Skull Embellishment and leather hanger

 Two razor blades were sanded dull and the finish all around was scuffed with sandpaper. Then, they were tossed into a small bowl of vinegar and hydrogen peroxide.


After a few days the liquid had evaporated and the blades were oxidized. Later, they were superglued over the pickup hole in a configuration similar to the double blade carved headstock.


The cast iron skull was treated similarly —the black finish was scuffed with sandpaper and was then placed in the vinegar and hydrogen peroxide mixture. I pulled the skull out of the liquid and placed it on a paper towel—after an hour it had a rich, rusty texture.
These two additions added a lot of personality and blended well with the finish in the wood.

Since there was already a hole in the top of the board, I thought I would utilize it by taking a scrap piece of leather and tie it through the hole to form a crude hanger.
Adapter Cord


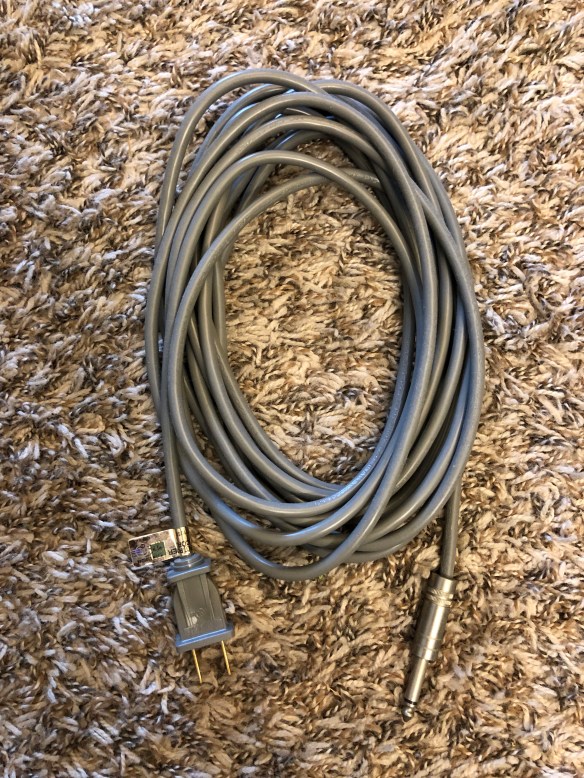
An important part of this build is the adapter cord—without it, amplification is nearly impossible. It was easy to fabricate. I simply found a two-prong replacement power cord and soldered on a old 1/4″ plug from a shorted out guitar cord. It’s simple, but it works.
Final Thoughts:
This build turned out really cool and I like how it plays. The board came cracked in many places, so I’m not sure how long it will last—I’ll ride it out and see what happens.
Video:
Thanks,