Jumper Wire Test Box

Hi,

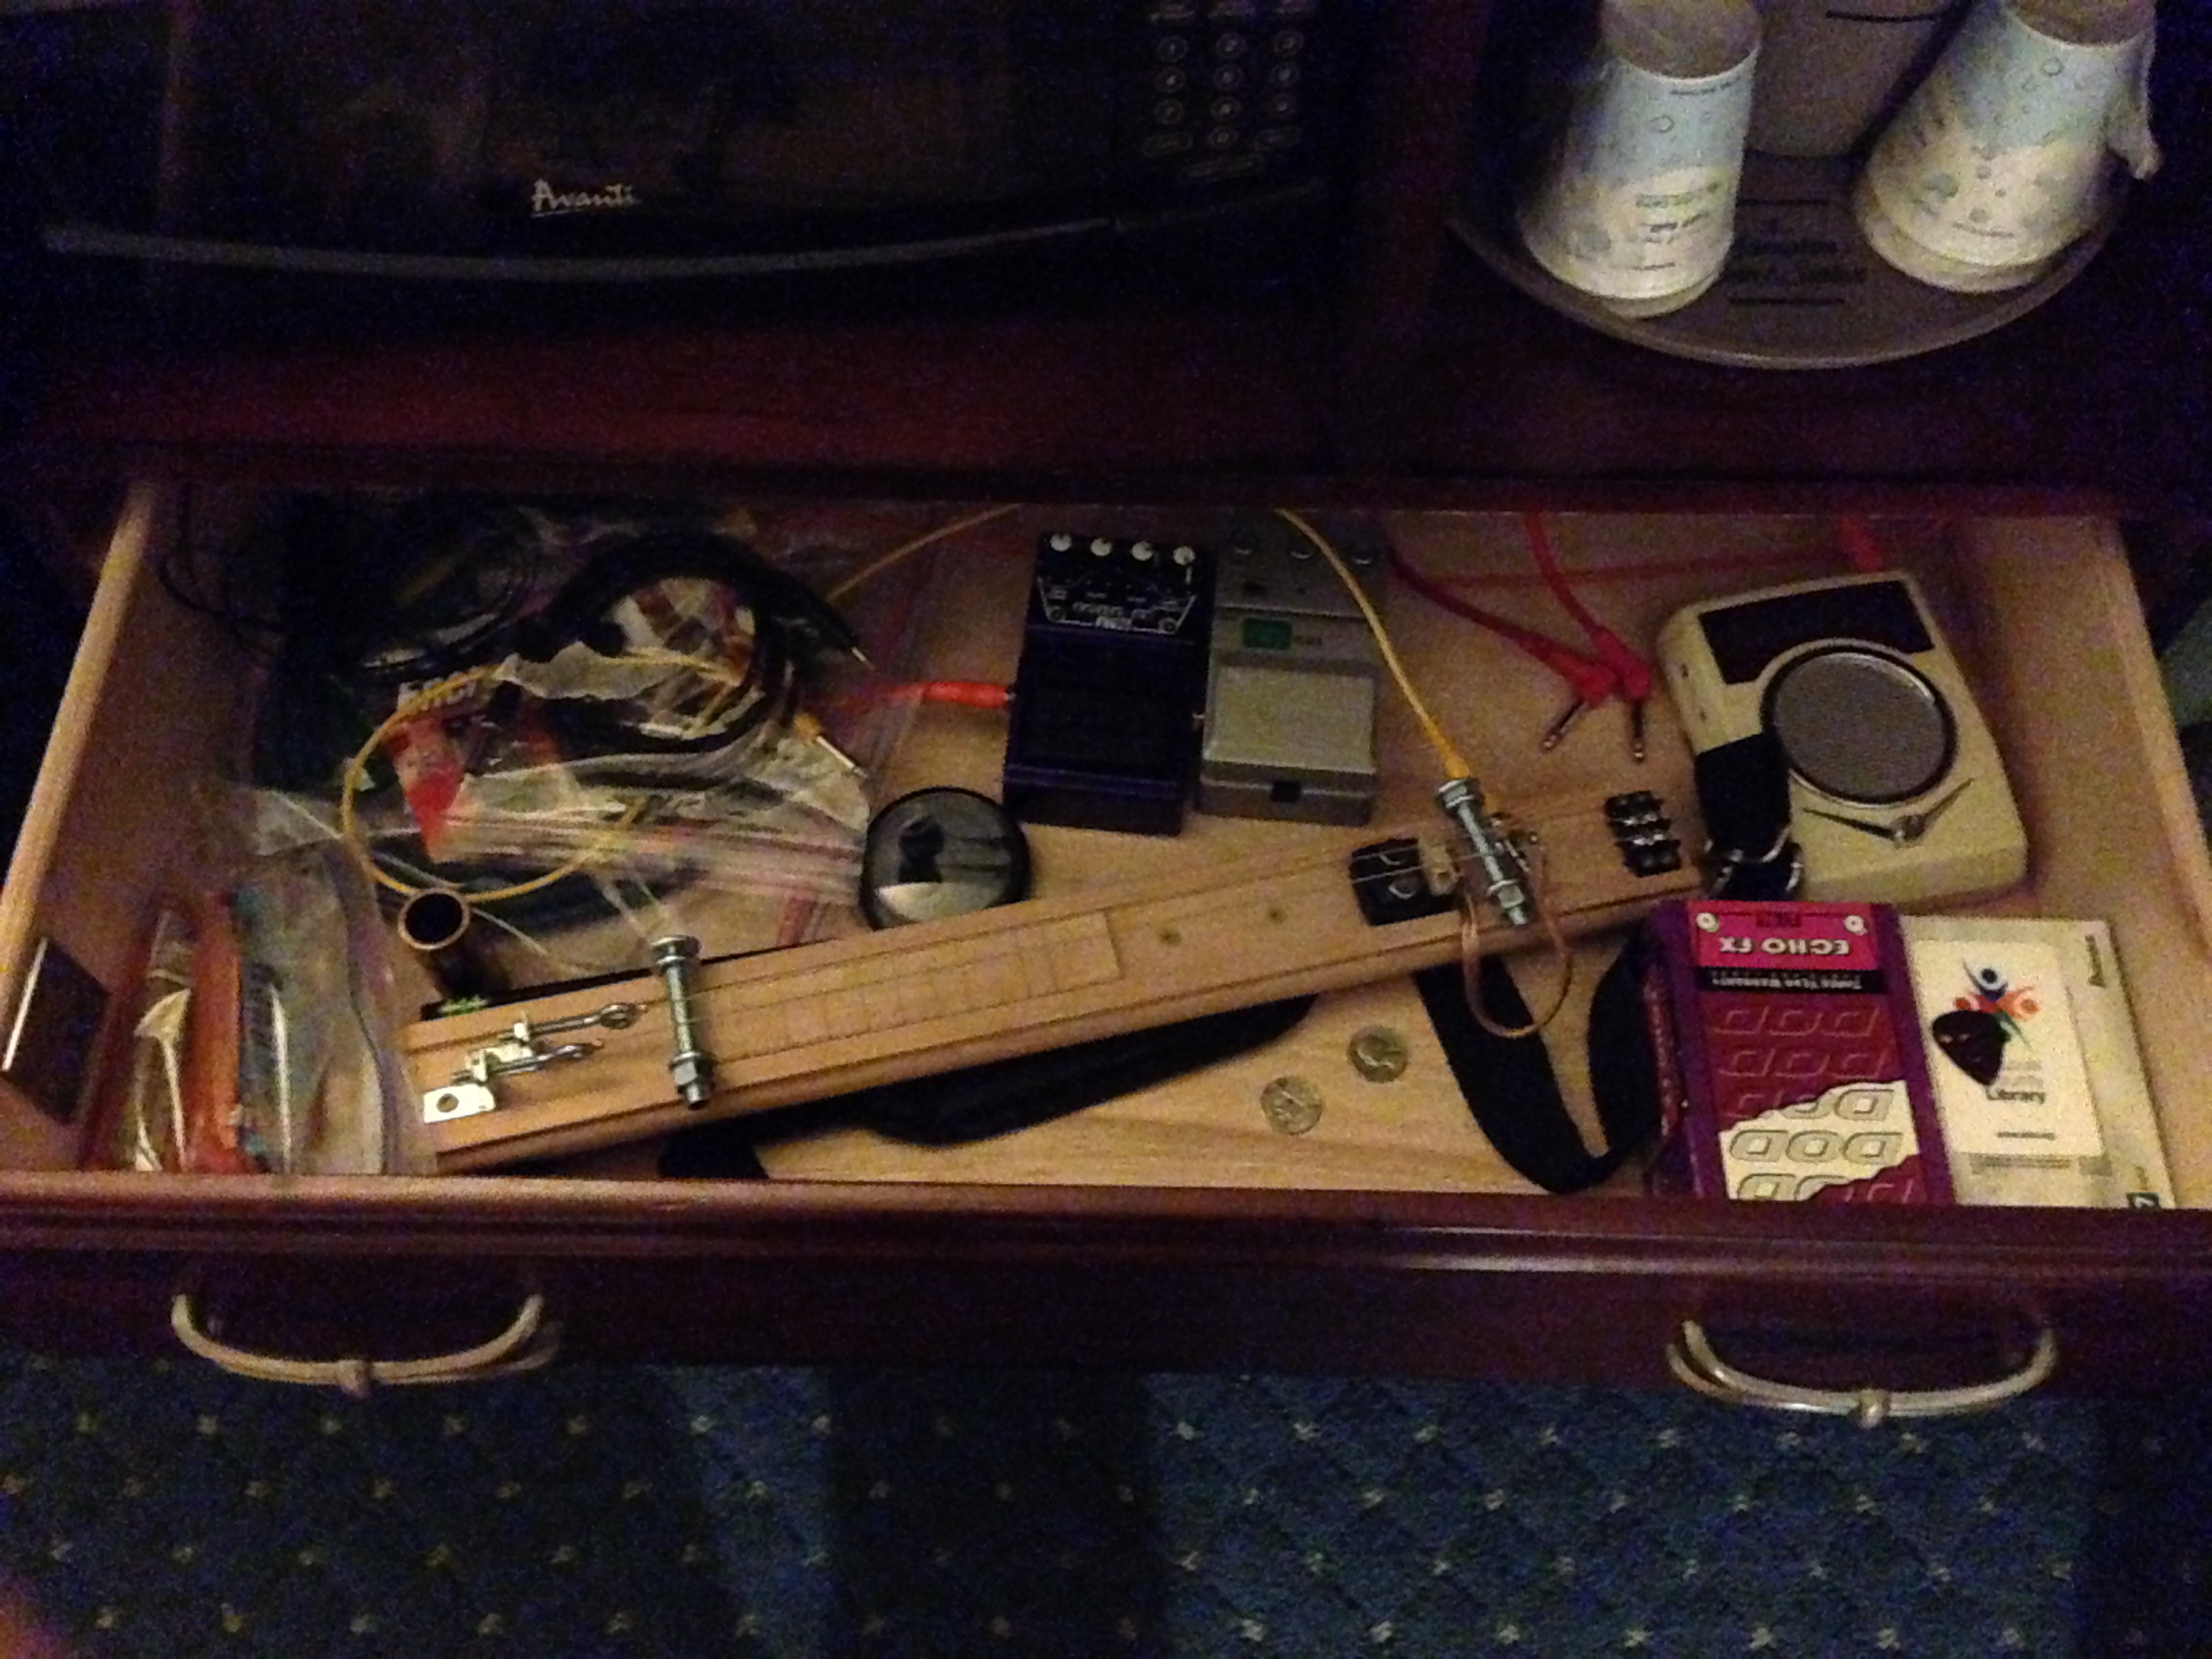
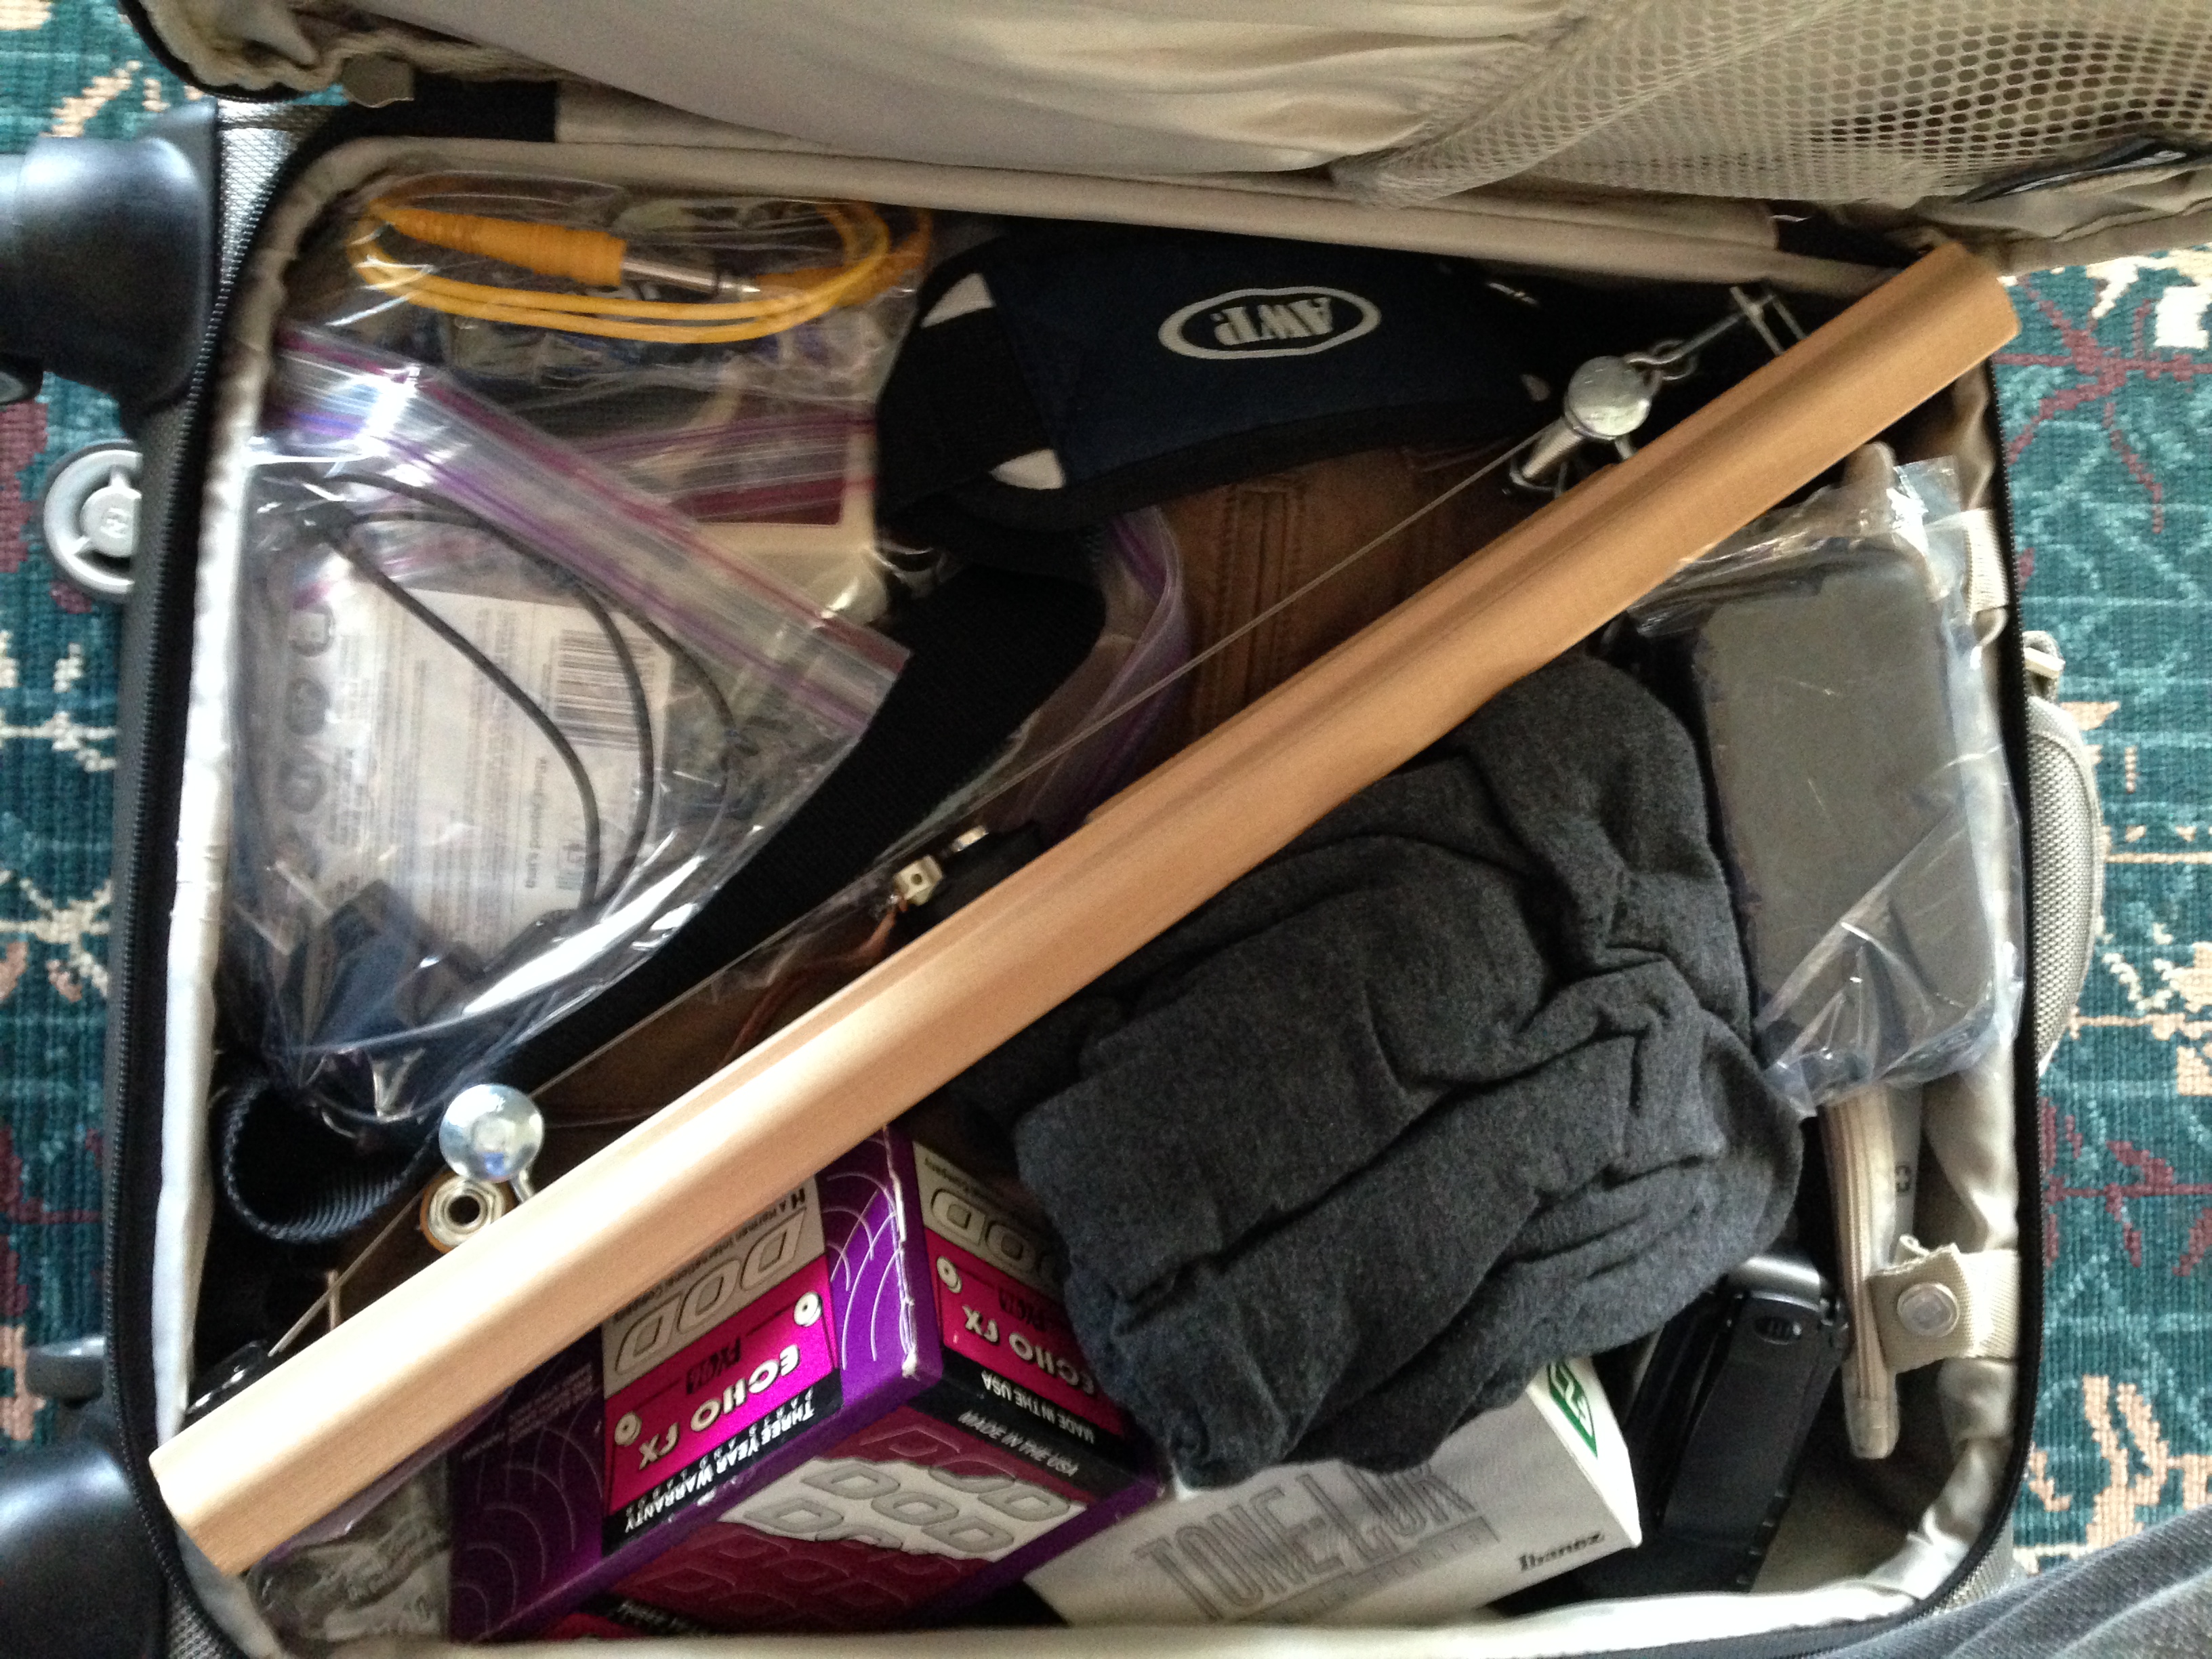
I originally created this test box in preparation for building a portable guitar rig. I had found an old RCA repairman’s vacuum tube box that, if modified, could hold a small tube amplifier, a 10″ Celestion, and a few effects pedals. I’ll likely present this “road rig” as an ongoing, realtime project later this year, but for now I will show you this excellent tool for figuring out complex wiring schemes. 
The box is simple in form; the only criteria I used in choosing the donor box was that it be flat as possible and have a length and width just larger than 8.5×11, so that a sheet of computer paper can be used for a template. To create the template, I used a drawing program from an old software cluster called Apple Works, but you can likely use just about anything.
 IMG_2115 IMG_2119
I tried to make my box as versatile as possible and therefore included two rows of six 1/4″ jacks, one row of switches and one row of RCA jacks (which require the same sized hole and are interchangeable), one row on the bottom for speaker jacks and speciality items, and one row above with pilot holes drilled for expansion. You need not fill all of the holes with components, as it can get quite expensive; it’s better to get a few items to play around with initially, leaving space for project specific components.   
IMG_2116
The pictures are self-explanatory, but the easiest way that I have found to make a box like this is to print the template, tape it to the box as straight as possible using painter’s tape, drill pilot holes with a small bit, remove the template, and then drill the various sized holes for each component. If you like my template (shown below), follow the link to my Google Drive account and download the “jumper wire test box template” file: https://drive.google.com/file/d/0Bz_BJp6_LjKySVVjQTRvVXBZVzA/view?usp=sharing
1UfuUl
The strips of painter’s tape between the components allow you to label each component when wiring for easy removal and reuse; and the jumper wires make experimental wiring a breeze. Simply wire, plug up, test, and rewire if necessary. When you are happy, set up your permanent project box and wire it based upon your tested design.
IMG_2117 IMG_2118
Check out our other fun projects in the menu above and don’t hesitate to comment or contact us if you have questions, concerns, or need advise regarding a project.
Thanks,
uW5Z0b

Homemade Promotional Guitar Pick Project

Homemade Guitar Picks

Hi,

Over the past few months, I’ve been
trying to get the word out about this site and recently entertained the idea of making homemade, promotional guitar picks to distribute. I believe I have stumbled upon a reasonable process and wanted to share it with you.

The process entails printing 56 pick-sized designs on a sheet of transparency film and then laminating it. After that, four laminating pouches are cut into eight separate sheets and are then laminated to the back of the primary sheet one at a time. Finally, the picks are harvested with a Pick Punch and finished with 600 grit sandpaper.

This project takes a little effort, but the final product is a very excellent, medium-gauge pick. Detailed instructions are in the works—in the meantime, have a look at the attached images.

Thanks,

uW5Z0b

IMG_2007.JPG
IMG_2009.JPG
IMG_2008.JPG
IMG_2024.JPG

Sneak Peek — First images of SlipStick Carry-On Electric Slide Guitar prototype

Hi,

I’m here at Orlando Airport waiting for a flight back to St. Louis. I was at a management seminar over the past few days and had originally designed this guitar for the trip, so that I would have an instrument to play during the down time.

I call it a carry-on electric slide guitar because it is 20 inches in length and designed to fit diagonally across a carry-on sized suitcase. It worked well and though I brought a distortion pedal and mini amp, I really only needed my iPhone, the GarageBand app, an iRig interface, and a pair of headphones.

The bench image is early, as I have since moved the strings closer together and added a 1/4″ jack, but I will likely install three strings on the on the finalized model.

There will be more to come.

photo 1.photo 1photo 2

uW5Z0b

December Project — 9 Volt Power Adapter Guitar Pickup

Hi,

December’s project is a high output/low noise guitar pickup, constructed of two power adapter coils, four metal picture hangers, a handful of neodymium magnets, and some electrical tape. This project comes in under $20 and can be modified to fit a number of applications— whether it’s a replacement pickup for a stock guitar or a home build like the six-string steel guitar I’m working on or even a four-string cigar box guitar.

I’m excited to release this versatile pickup design and am extremely happy with the results thus far. It’s stereo capabilities and compact design offer numerous options and I am convinced that further exploration will reveal many more useful applications.

Check out our other fun projects in the menu above and don’t hesitate to comment or contact us if you have questions, concerns, or need advise regarding a project.

Follow the link to this month’s project: https://junkshopaudio.com/9-volt-power-adapter-guitar-pickup/

uW5Z0b

November Project: PVC Mic Shock Mount

Hi,

November’s project is a microphone shock mount that can be made from common materials for under $20. This is a great project for anyone who records sound in varying conditions or someone who desires to get his or her feet wet in elementary building/fabrication.

Check out our other fun projects in the menu above and don’t hesitate to comment or contact us if you have questions, concerns, or need advise regarding a project.

Follow the link to this month’s project: https://junkshopaudio.com/pvc-mic-shock-mount/

uW5Z0b

Introduction

Hello and welcome to Junk Shop Audio; we’re happy you could join us. Audio experimentation is an interesting, yet challenging endeavor; Junk Shop Audio is committed to providing detailed project instructions and relevant dialogue regarding audio related projects and topics.

Junk Shop Audio seeks to simplify the construction of audio projects through the modification of existing products, thus lessening the necessity for electrical experience or building expertise. We hope that you enjoy exploring the nuances of sound manipulation, as our site continues to grow.

“Friend” Jason Carter on Facebook to keep up to date on the latest projects and happenings–search Facebook using email address: junkshopaudio@yahoo.com.

Click the link below for additional information:

https://junkshopaudio.com/about/

uW5Z0b