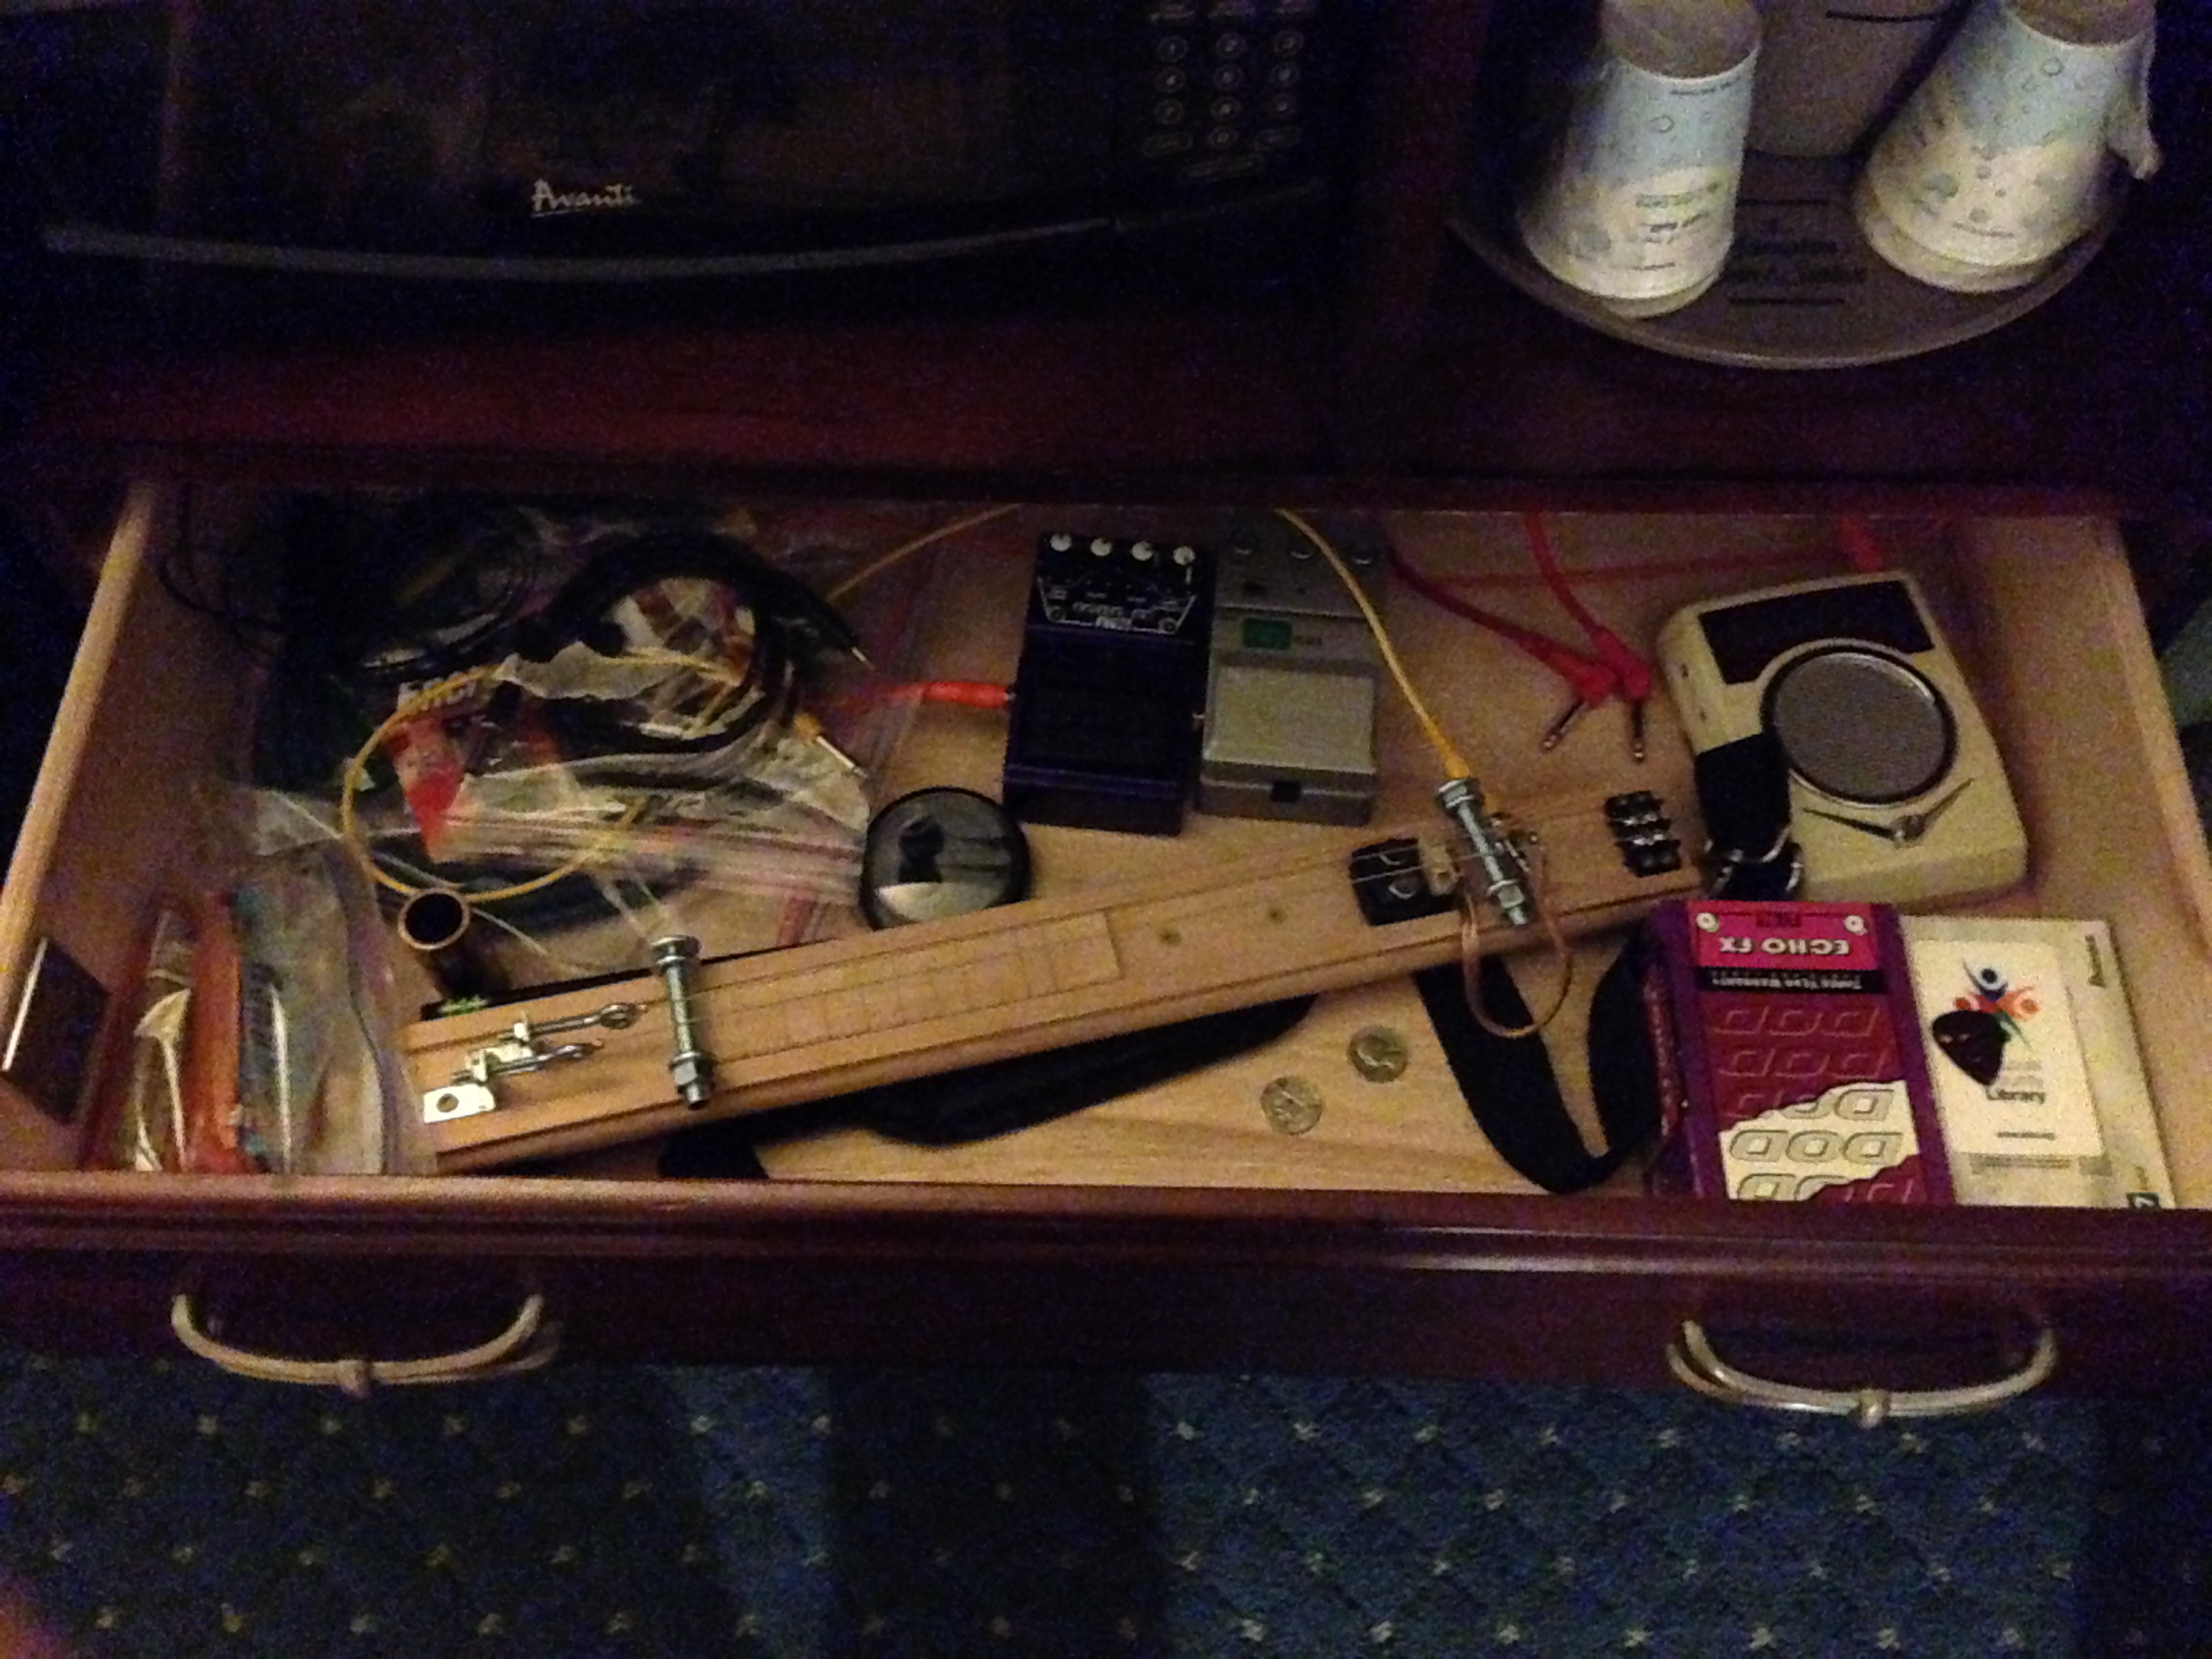
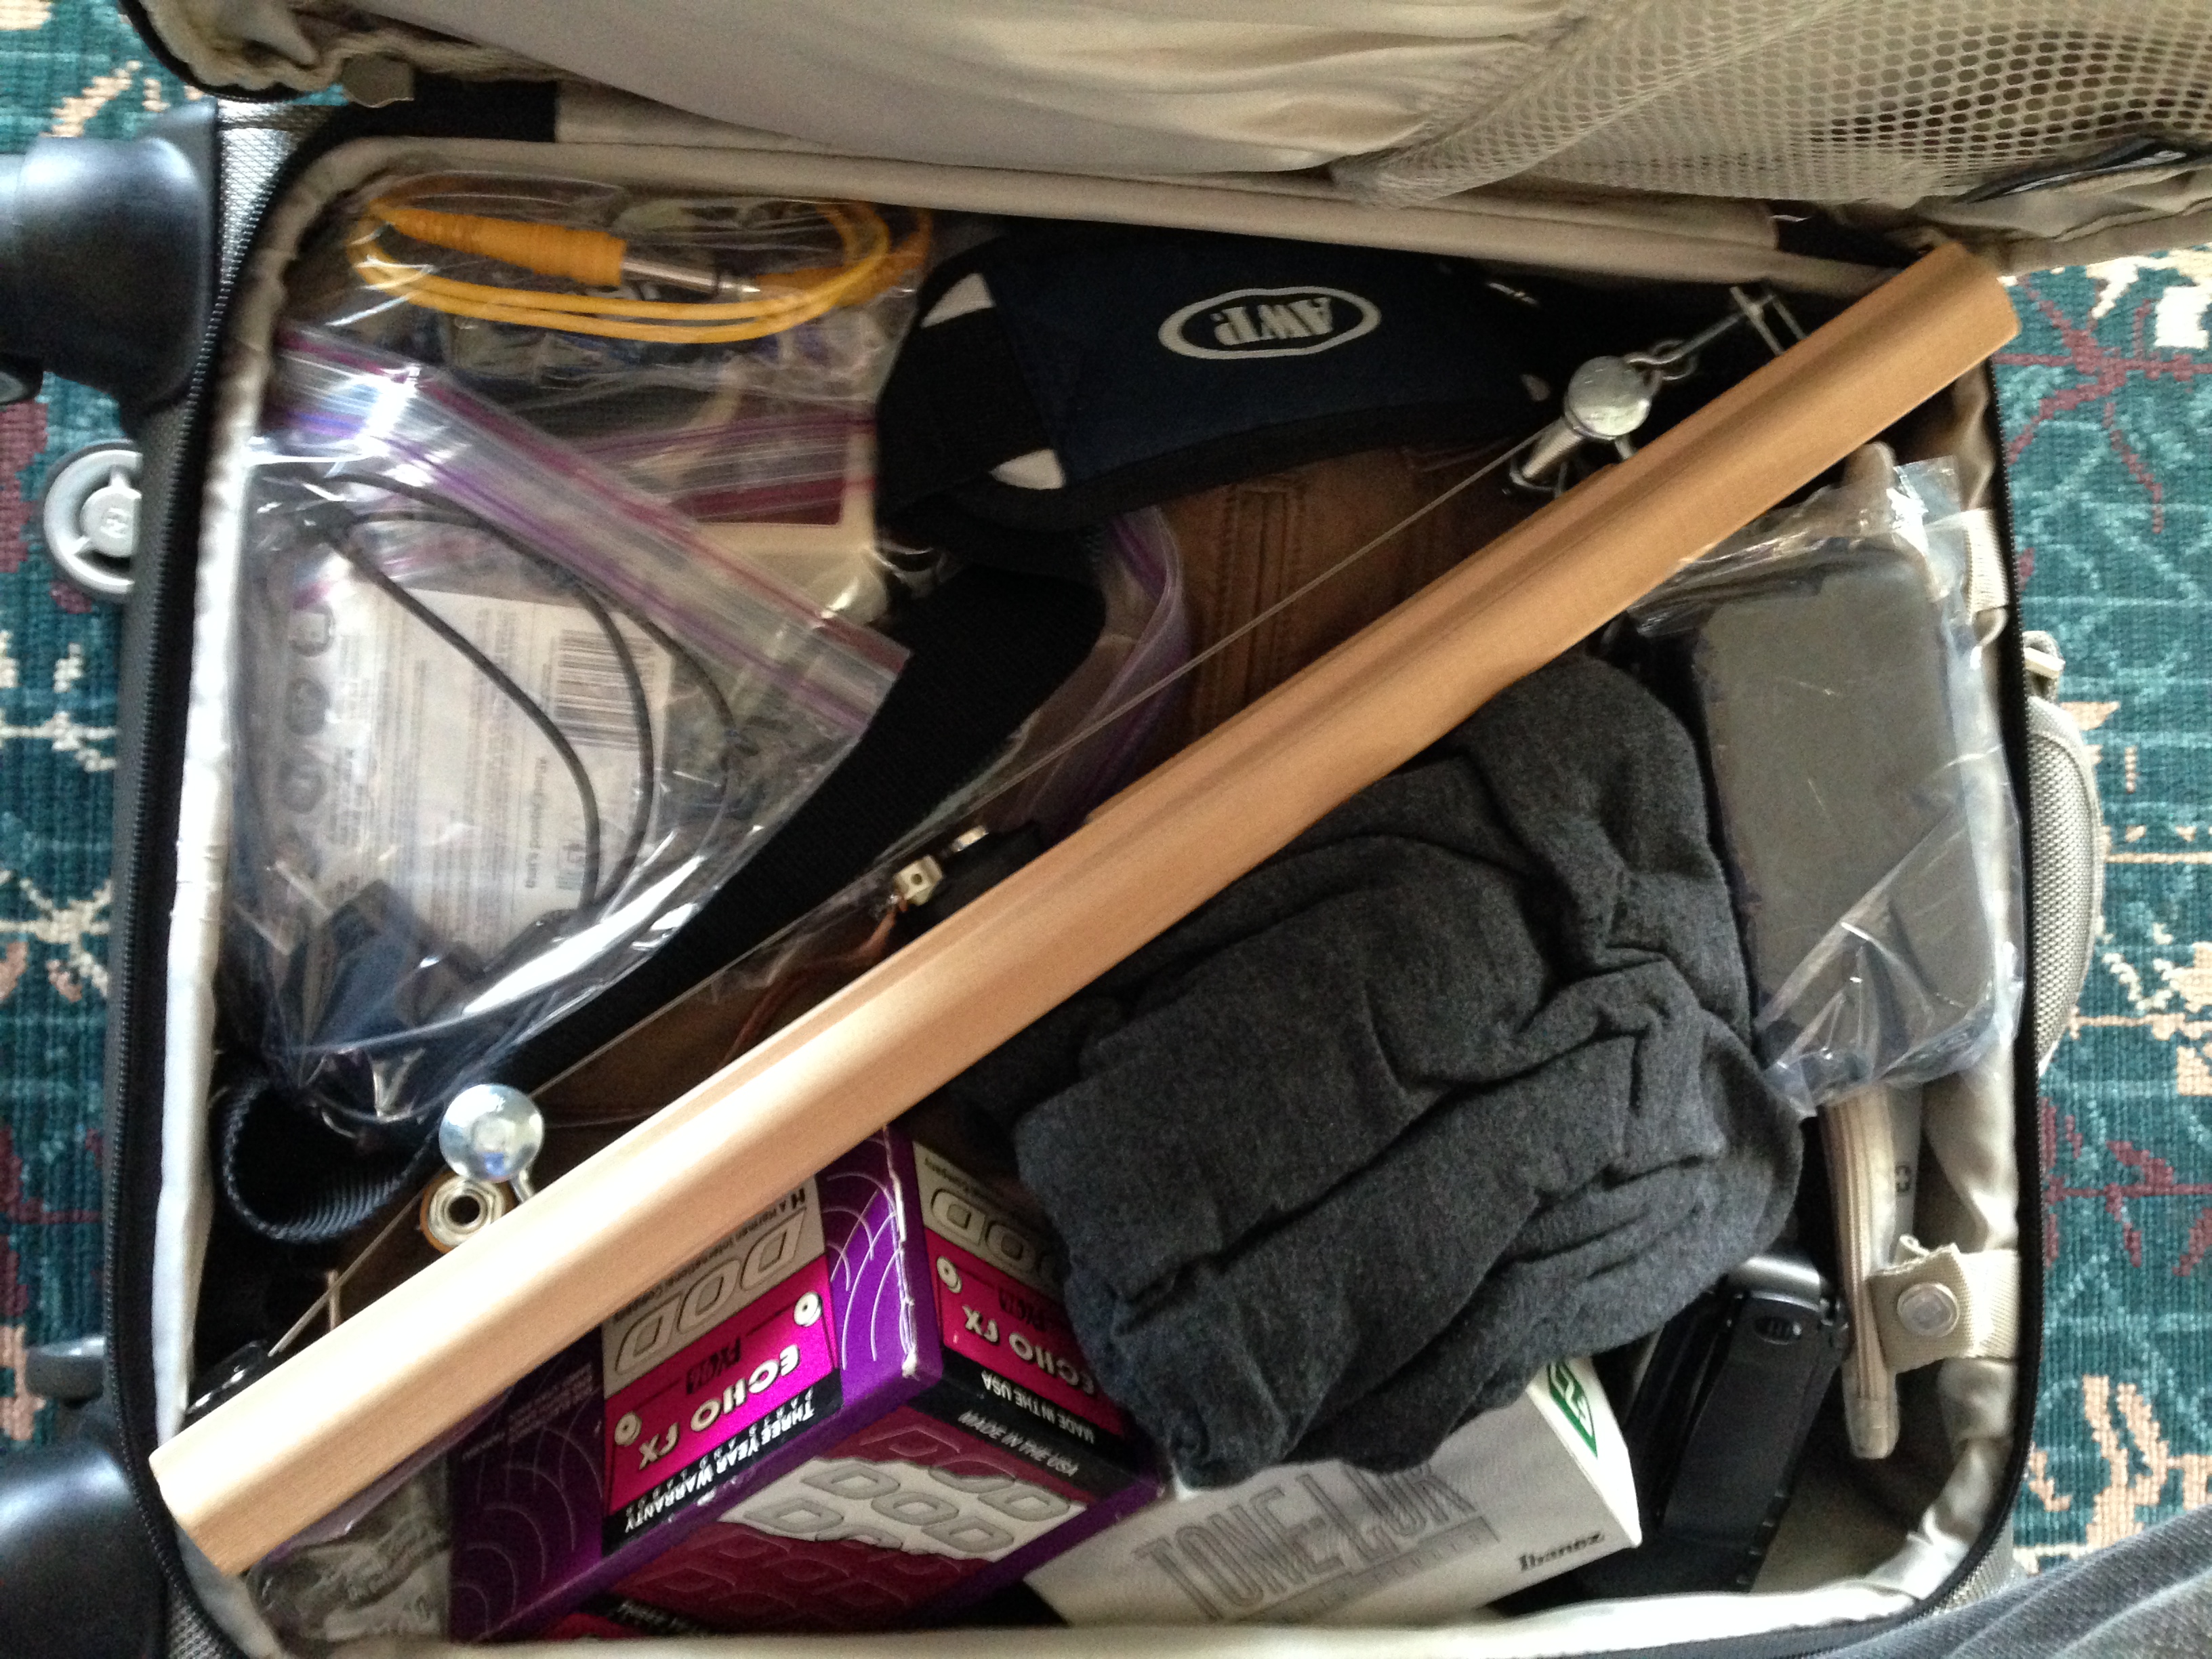
Well…this steel guitar is not actually TSA Certified, but at a length of 20-3/4 inches it does fit diagonally in a carry-on suitcase. I had built the first incarnation of this steel guitar a few years back when I had to go on a business trip and wanted an instrument to take along. I was only taking a carry-on so it had to be small enough to fit inside—it turned out to be a perfect fit.
Follow this link to the official project page for additional photos and build notes:
JSA S2 – Better Video Demonstrations – Audio Clarity with Less Noise
Understandably, this is not technically a “building” suggestion, but presentation quality is just as important as build quality. You can build the most awesome sounding guitar ever, no one will ever know if you can’t properly represent the audio.
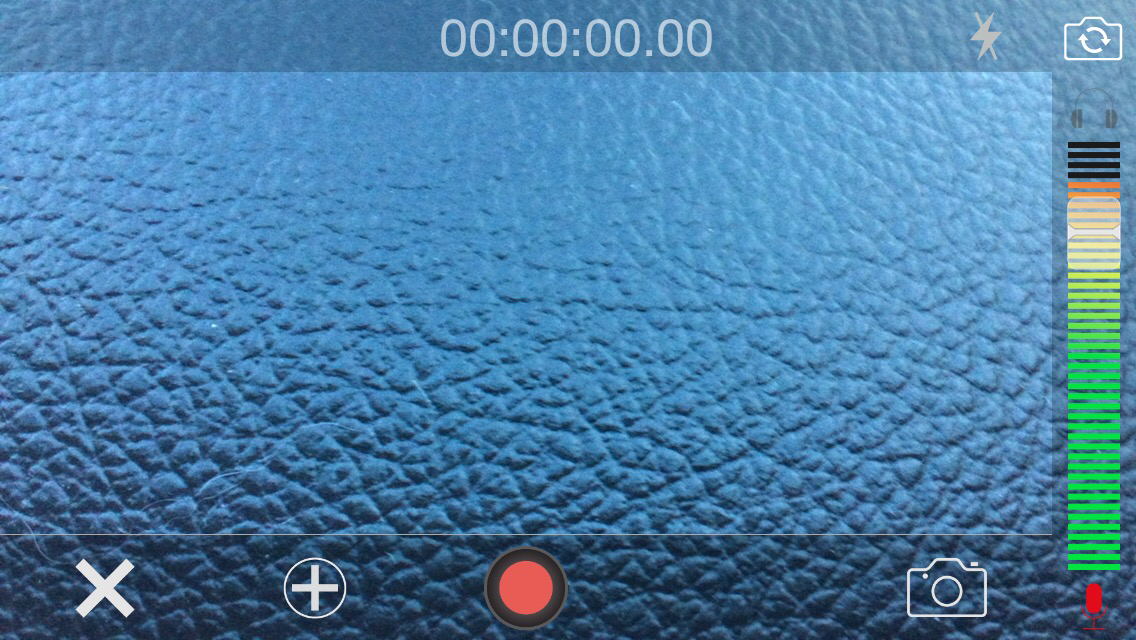
Currently, I’m using the iRig Recorder app along with the iRig Guitar Interface from IK Multimedia. The cost comes in under $20 for both items and each is readily available at the App Store and on eBay respectively.
Here’s a video that I recorded using iRig Recorder. Please excuse the sloppy playing, but notice the clean signal to noise ratio. It’s not a bad audio recording for being recorded with an app on an iPhone. Enjoy!
Click on this link for a full tutorial on how to set up and use this iRig app and interface:
A couple of years ago I built an acoustic guitar case, constructed entirely of cardboard and duct tape. Since completing that project, I have wanted to make a new case for transporting my parlor-sized guitars.
I didn’t want to complete that exact same project, so I drew inspiration from my favorite case from the 90’s, The Coffin Case, which had a red interior and black exterior much like my previous duct tape acoustic guitar case.
My version of the coffin case is constructed similar to the previous case but has interior dimensions made to house a parlor guitar. This case is a bit smaller than the previous case, so it only required six rolls of duct tape, one large 2-ply box, and a length of chain.
Follow the link below for more images and descriptions:
I had a crazy idea to make a book into a guitar and this is the product. It took a while to find the right book, but eventually I landed on this copy of the Complete Works of William Shakespeare. It was a mix of the correct size and thickness; plus, it’s Shakespeare.
I did some quick Internet research and didn’t see any other “book guitars”, so I assumed I was in fairly uncharted waters. I took some time and thought about how I should best proceed. In the end, a straight edge and razor blade seemed the best course.
I would be lying if I told you that the first cut was easy. I’m not in the business of destroying books, but…
I found the center of the book and measured the width of the neck wood. Then, I taped it off and drew the lines. I cut out the side first, to the depth of the neck, and then cut the center to the same depth. After the center was removed, I set the temporary neck in the center and replaced the side pages—everything fit great.
Next, I fastened the outer pages to the back cover with some flat, low profile bolts. I drilled through the pages and back cover, installed the bolts, and then chiseled a small area on the inside of the front cover to allow for the other end of the bolt. Now, the pages wouldn’t fall out and it would be a secure area for the electronics.
I cut down the neck, glued it, and carved the Double Razorblade head design that will be my official Junk Shop Audio head going forward. I cut a channel for my Junk Shop Audio Nd144 pickup and stained the neck with a steel wool and balsamic vinegar blend that looks awesome.
I fastened the neck through the back of the book with flat furniture bolts. These bolts come in a variety of colors and are strong—the neck was firmly attached and the bolts looked cool.
To hold the pickup in place, I used some metal scraps from the 9v adaptor deconstruction. I lined them up on the neck, grabbed them with a length of duct tape, and placed the tape in the correct area on the back of the book cover. the magnets on the pickup will attract to the steel scraps.
I cut a hole for the 1/4″ jack and a small channel between the jack hole and pickup for the wire.
I installed the small piece of angle with three brass screws. and then added the simple machines—made of ground thumb screws and rod nuts—and a bridge made of a cut bolt, filed flat on the bottom.
For the head, I used stainless bolts, brass washers, and brass knurl nuts to hold the strings in place and a cut bolt for the nut. The frets are drawn on in pencil, because I may add a fretboard and frets in the future.
Acoustically, the guitar sounds louder and more bassy than I thought it would; amplified, it sounds really dirty when you kick in the overdrive.
I had this clean Cecil Whittaker’s Pizza box, so I strung it up to see what it would sound like. I cut down the neck, glued it, and carved the Double Razorblade head design that is now the official Junk Shop Audio head. Then, I cut a channel in the neck for my Junk Shop Audio Nd144 pickup and stained the neck with a steel wool and balsamic vinegar blend that looks awesome. The old looking strap came with my Jay G. parlor guitar; it seemed to match this build well. I made a strap adapter out of duct tape, which works well with the disheveled theme.
I cut a hole for the 1/4″ jack, along with removing part of the inner box. The jack works great, but care must be taken when inserting and pulling out the cord, as the wall is a bit weak.
I installed a small piece of angle with three brass screws. and then added the simple machines—made of ground thumb screws and rod nuts—and a bridge made of cut brass rod, filed flat on the bottom. To hold the box closed, I used the strap button, which is made of a brass knurling nut and a vandal-proof bolt—when this is removed the box opens.
For the head, I used stainless bolts, brass washers, and brass knurl nuts to hold the strings in place and a cut bolt for the nut. For the frets I went in a new direction—after marking the fret distances, I cut small grooves into the top corner of the neck to mark the fret positions. These small grooves can be seen from both the front and side, so it is visible from all angles. I like the subtle look of these markers.
Acoustically, the guitar is not super loud, but it’s great for jamming out in the driveway after hours; amplified, it sounds great.
I originally created this test box in preparation for building a portable guitar rig. I had found an old RCA repairman’s vacuum tube box that, if modified, could hold a small tube amplifier, a 10″ Celestion, and a few effects pedals. I’ll likely present this “road rig” as an ongoing, realtime project later this year, but for now I will show you this excellent tool for figuring out complex wiring schemes.
The box is simple in form; the only criteria I used in choosing the donor box was that it be flat as possible and have a length and width just larger than 8.5×11, so that a sheet of computer paper can be used for a template. To create the template, I used a drawing program from an old software cluster called Apple Works, but you can likely use just about anything.
I tried to make my box as versatile as possible and therefore included two rows of six 1/4″ jacks, one row of switches and one row of RCA jacks (which require the same sized hole and are interchangeable), one row on the bottom for speaker jacks and speciality items, and one row above with pilot holes drilled for expansion. You need not fill all of the holes with components, as it can get quite expensive; it’s better to get a few items to play around with initially, leaving space for project specific components.
The pictures are self-explanatory, but the easiest way that I have found to make a box like this is to print the template, tape it to the box as straight as possible using painter’s tape, drill pilot holes with a small bit, remove the template, and then drill the various sized holes for each component. If you like my template (shown below), follow the link to my Google Drive account and download the “jumper wire test box template” file: https://drive.google.com/file/d/0Bz_BJp6_LjKySVVjQTRvVXBZVzA/view?usp=sharing
The strips of painter’s tape between the components allow you to label each component when wiring for easy removal and reuse; and the jumper wires make experimental wiring a breeze. Simply wire, plug up, test, and rewire if necessary. When you are happy, set up your permanent project box and wire it based upon your tested design.
Check out our other fun projects in the menu above and don’t hesitate to comment or contact us if you have questions, concerns, or need advise regarding a project.
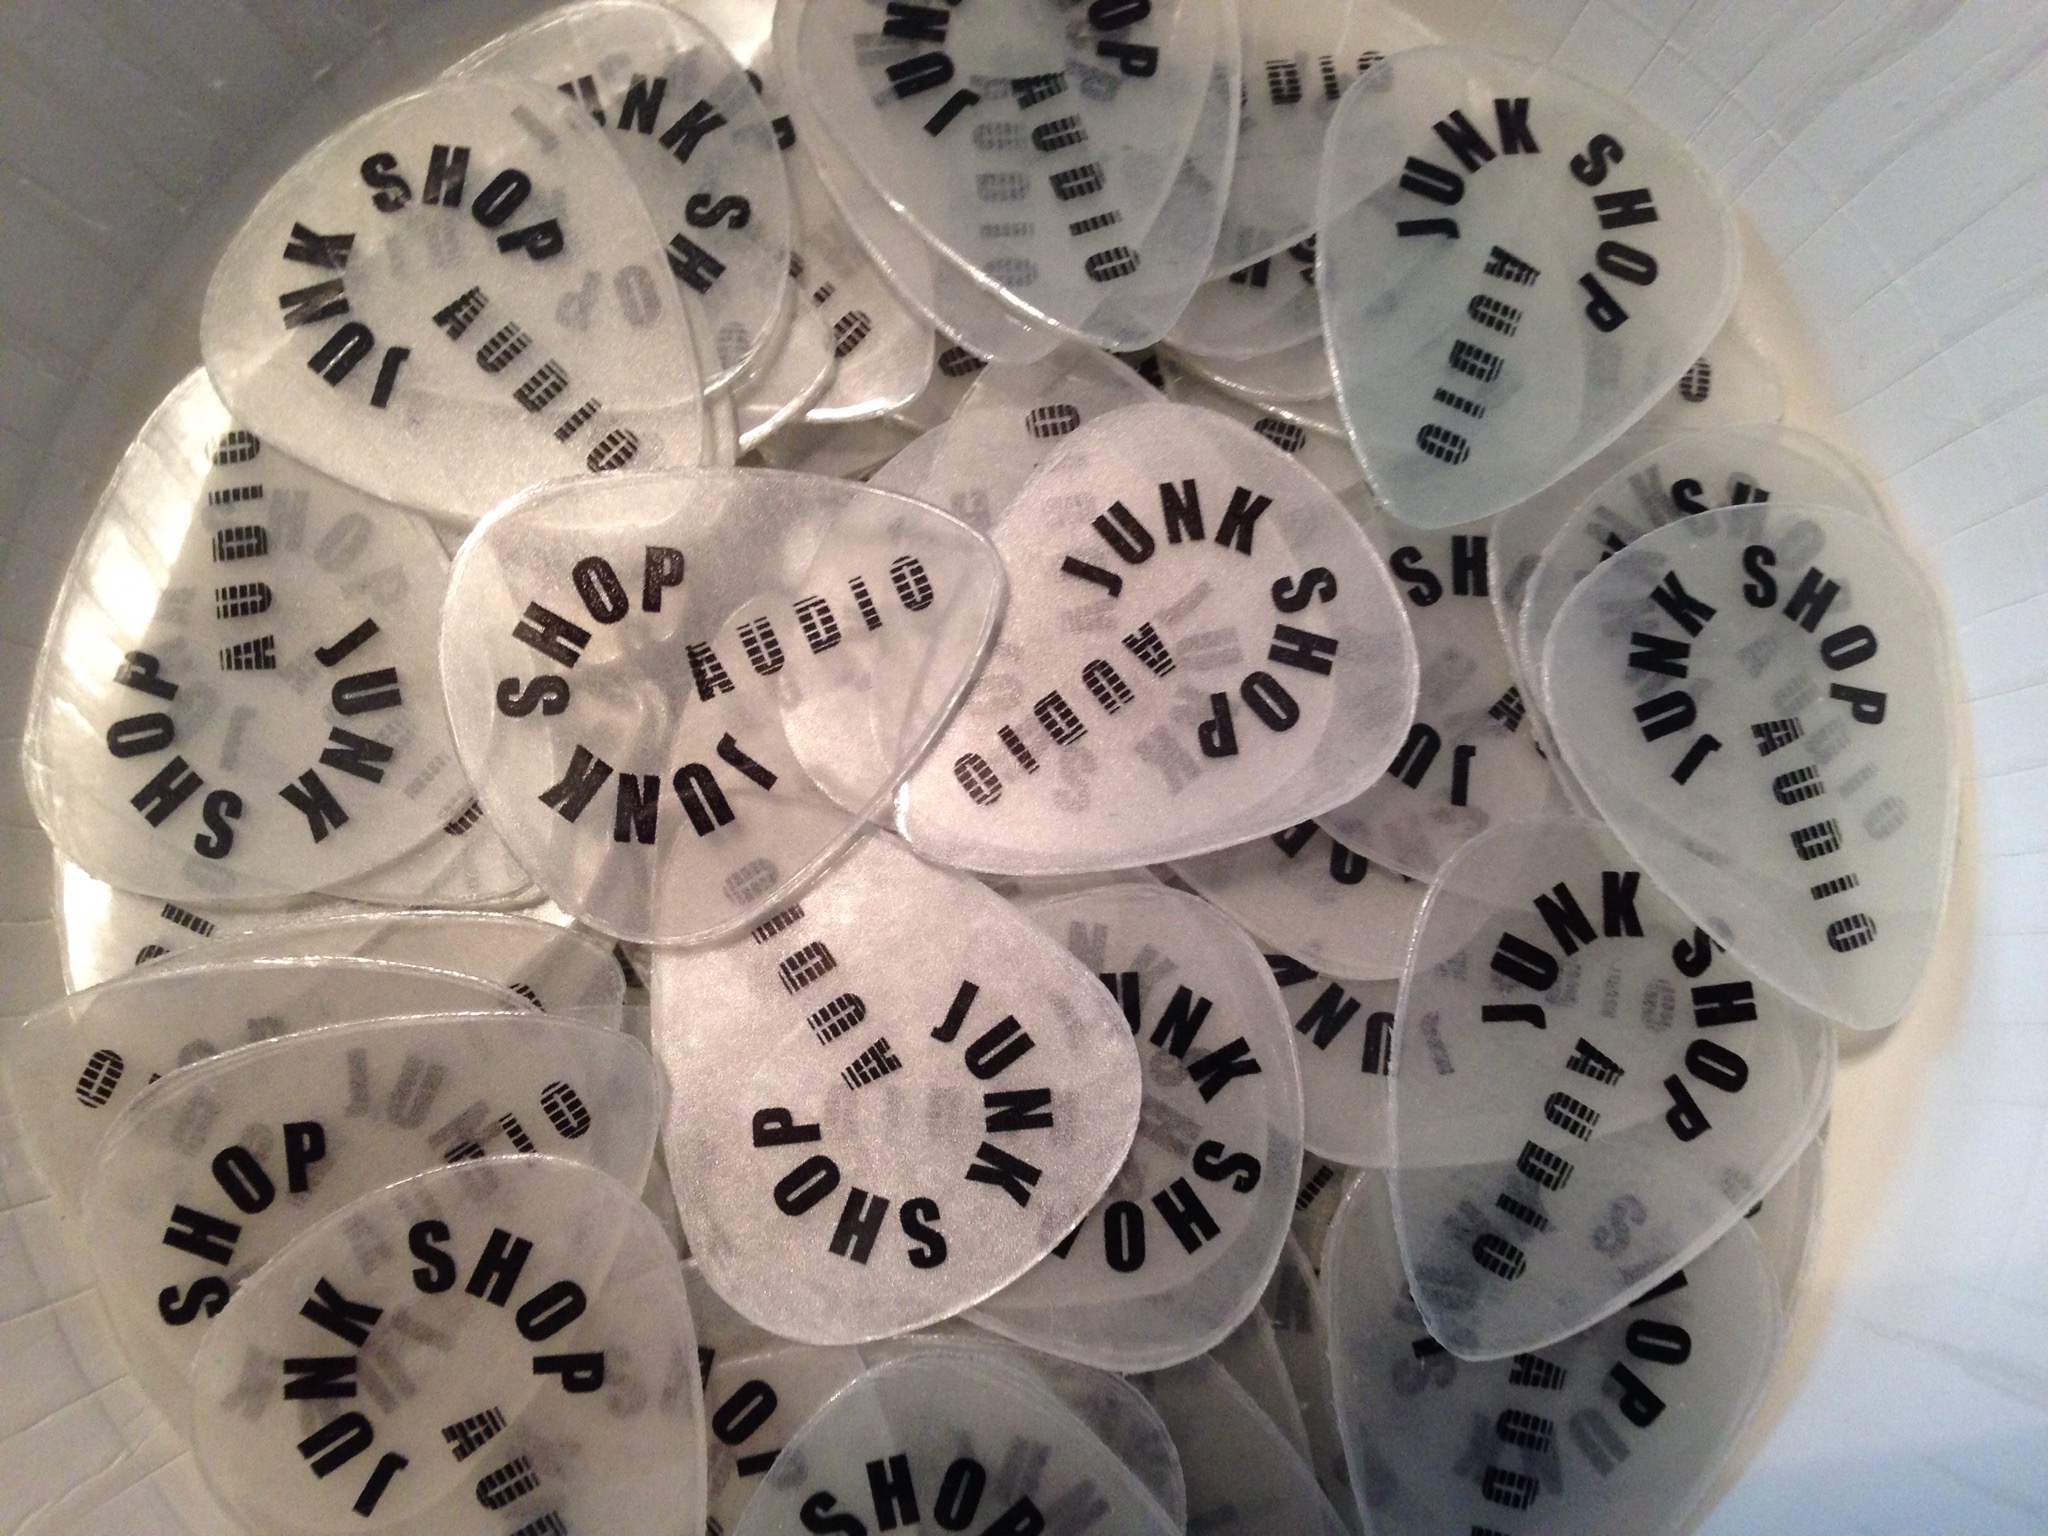
I have released detailed instructions for the homemade guitar pick project. It took some refining, but I believe I have found a reasonable method for creating promotional guitar picks from multiple layers of laminating sheets. It takes a little time and patience, but the notion that one can produce custom guitar picks at home, on a sizable scale, is pretty cool.
This was a interesting, yet challenging project to create—I hope you enjoy the process and are happy with the resulting product. Please feel free to post your custom picks here; I’ll be interested to see your creative designs.
Check out our other fun projects in the menu above and don’t hesitate to comment or contact us if you have questions, concerns, or need advise regarding a project.
Over the past few months, I’ve been
trying to get the word out about this site and recently entertained the idea of making homemade, promotional guitar picks to distribute. I believe I have stumbled upon a reasonable process and wanted to share it with you.
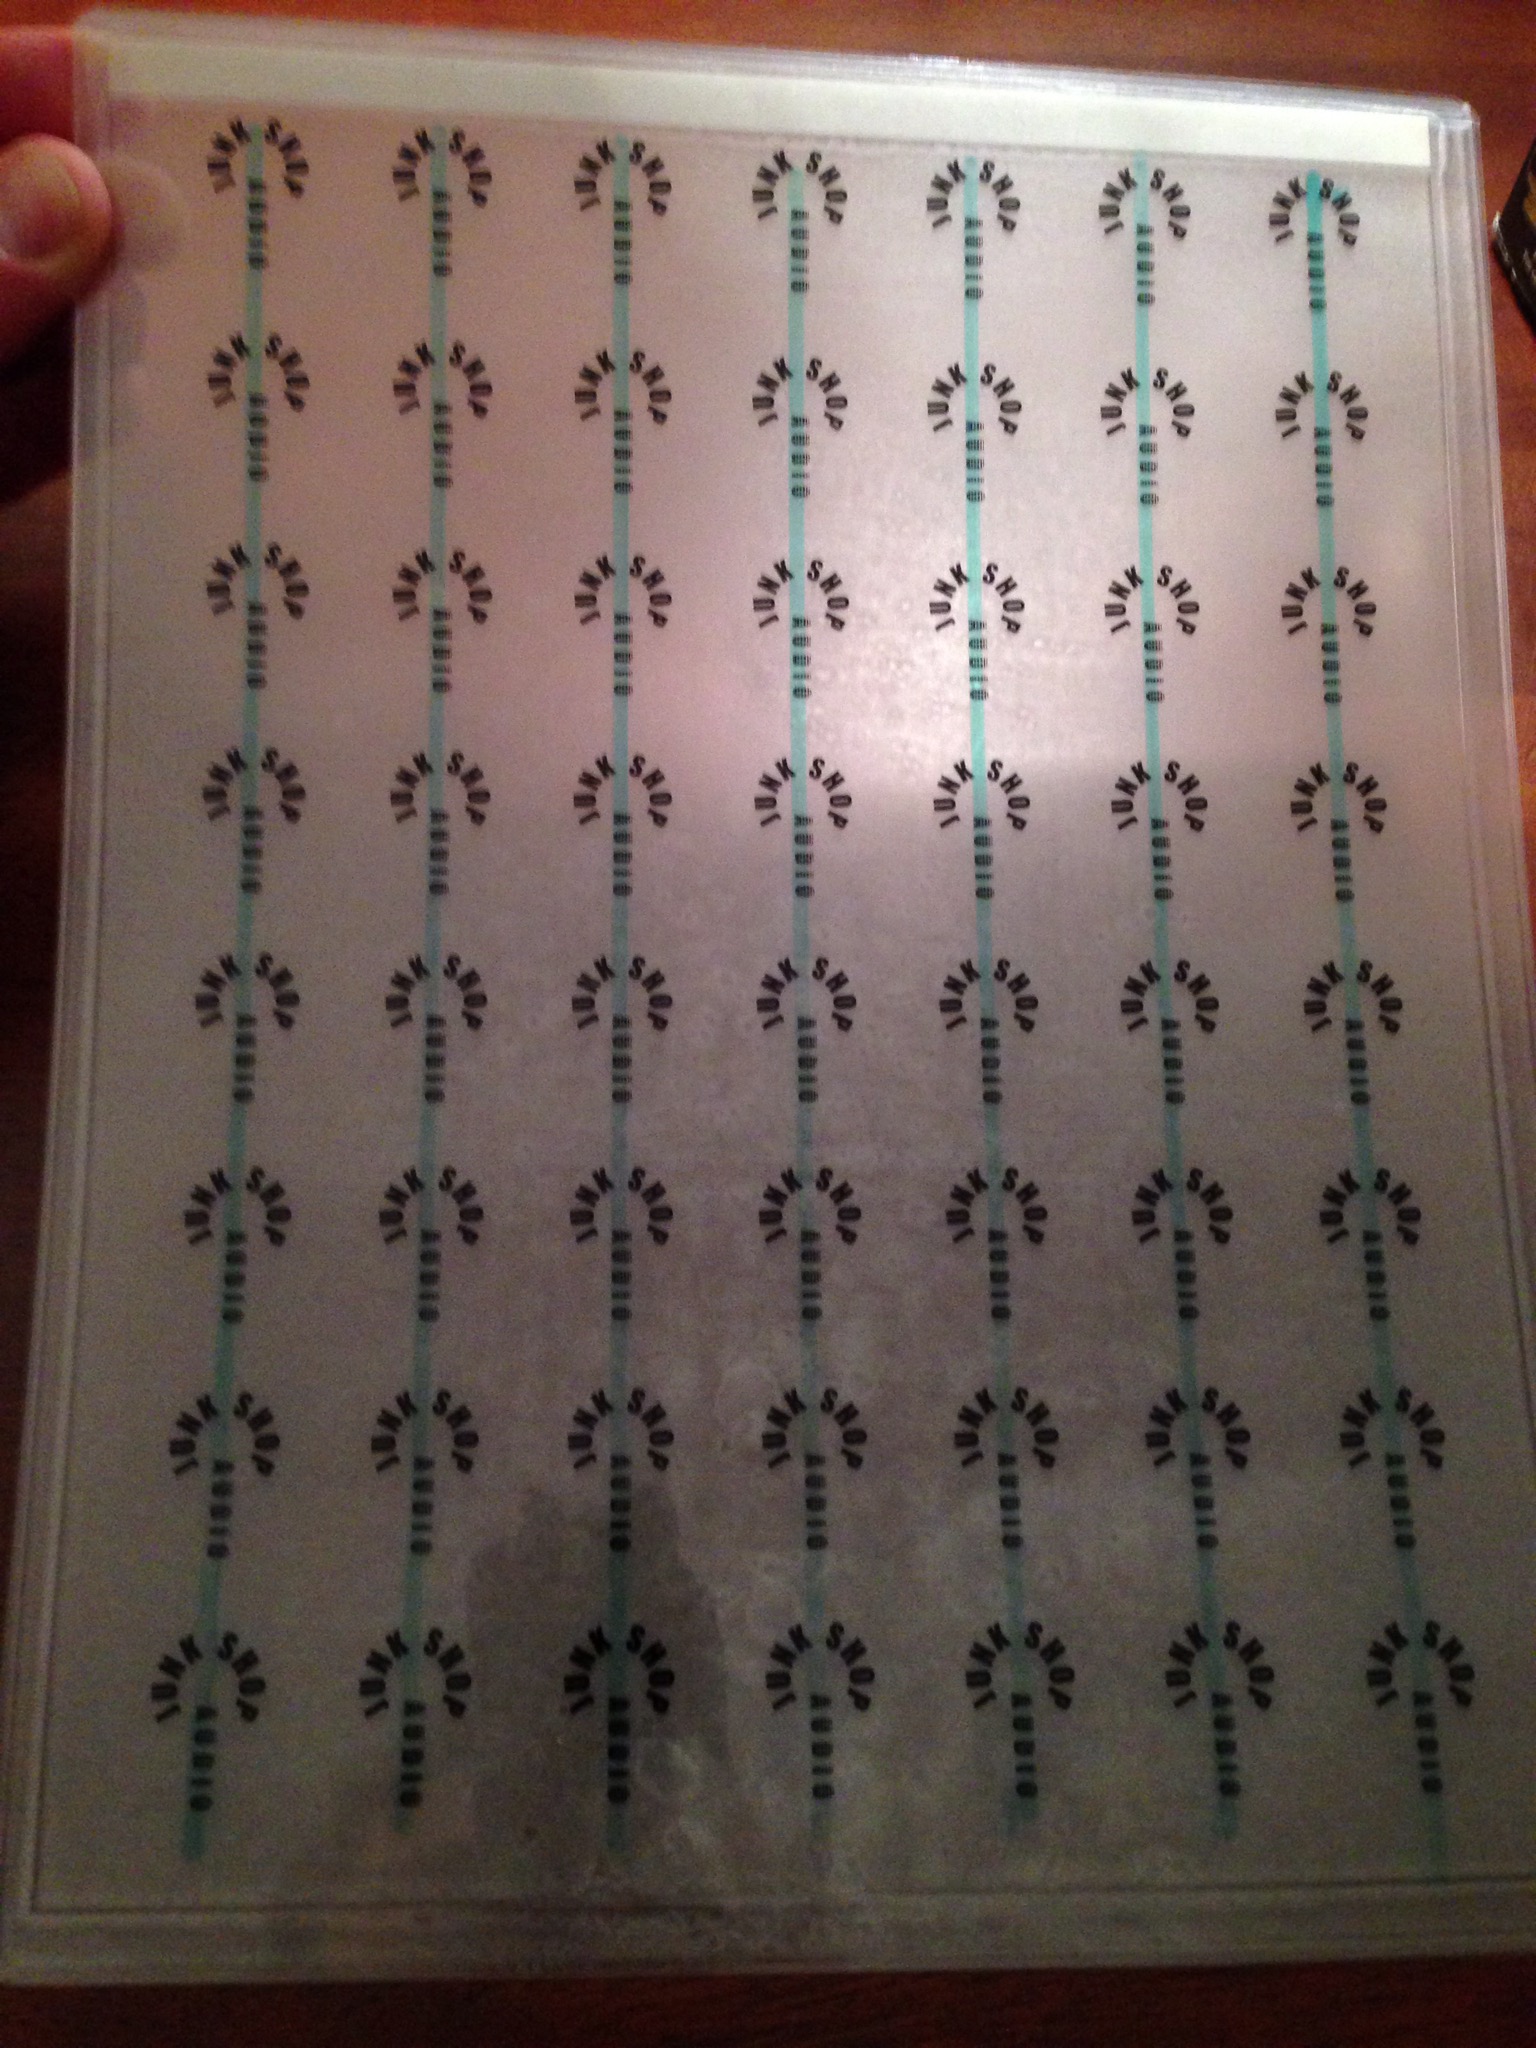
The process entails printing 56 pick-sized designs on a sheet of transparency film and then laminating it. After that, four laminating pouches are cut into eight separate sheets and are then laminated to the back of the primary sheet one at a time. Finally, the picks are harvested with a Pick Punch and finished with 600 grit sandpaper.
This project takes a little effort, but the final product is a very excellent, medium-gauge pick. Detailed instructions are in the works—in the meantime, have a look at the attached images.
I’m here at Orlando Airport waiting for a flight back to St. Louis. I was at a management seminar over the past few days and had originally designed this guitar for the trip, so that I would have an instrument to play during the down time.
I call it a carry-on electric slide guitar because it is 20 inches in length and designed to fit diagonally across a carry-on sized suitcase. It worked well and though I brought a distortion pedal and mini amp, I really only needed my iPhone, the GarageBand app, an iRig interface, and a pair of headphones.
The bench image is early, as I have since moved the strings closer together and added a 1/4″ jack, but I will likely install three strings on the on the finalized model.
December’s project is a high output/low noise guitar pickup, constructed of two power adapter coils, four metal picture hangers, a handful of neodymium magnets, and some electrical tape. This project comes in under $20 and can be modified to fit a number of applications— whether it’s a replacement pickup for a stock guitar or a home build like the six-string steel guitar I’m working on or even a four-string cigar box guitar.
I’m excited to release this versatile pickup design and am extremely happy with the results thus far. It’s stereo capabilities and compact design offer numerous options and I am convinced that further exploration will reveal many more useful applications.
Check out our other fun projects in the menu above and don’t hesitate to comment or contact us if you have questions, concerns, or need advise regarding a project.