


At a past St. Louis Cigar Box Guitar Club meeting, Sean Oliveira brought in a bunch of piano strings from a unit he had dismantled. He was offering them for free, so I took a thick, low string along with a medium-sized one. I decided to challenge myself to build a guitar around the low string, which has a diameter of roughly a 1/4″.
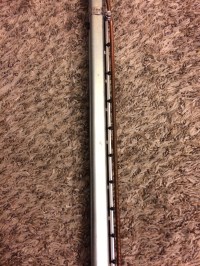
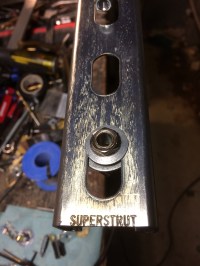
Since this thick string would exert a lot of force against the instrument’s frame, I would need something a bit more resilient that my usual wood structure. I wanted to maintain a size similar to my previous builds so I chose slotted 1-5/8″ x 13/16 strut.

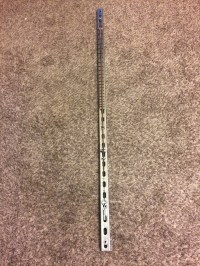
I started with a five foot length of strut and measured the distance between the bridge and the nut on my Peavey bass, which came out around 34-1/4″. Everything needed to be beefed up on this build—two-hole angles were too weak to handle the force—so everything had to be reconsidered.
Tuner and String:


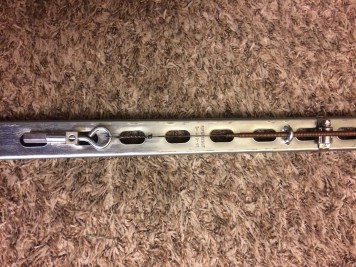
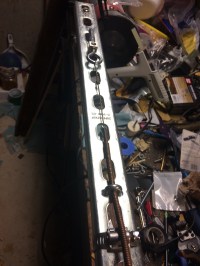
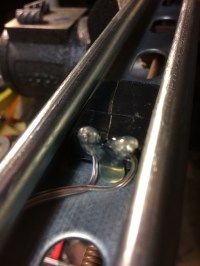
The first thing that I needed was something to hold the string. Usually I would clamp it with a bolt and knurled nut, but a 1/4″ diameter string needs something more substantial. Luckily, I was able to find some aluminum wire lugs in the electrical section at Lowes. These were excellent both for clamping the string behind the nut and anchoring the tuner.
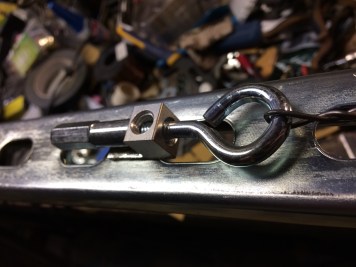
The tuner is made from a heavy-duty 1/4″ eyebolt, a 1/4″ x 3/4″ steel spacer and a 1/4″ rod coupling. The piano string came with a loop, so I removed a small amount of material at the junction of the eyebolt to allow the string loop to slip onto the eyebolt.
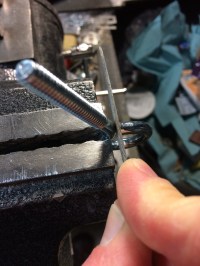
Nut and Bridge:

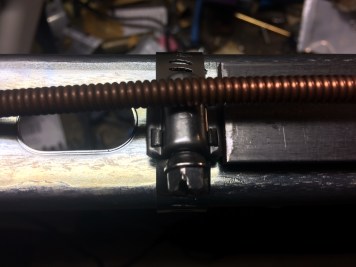


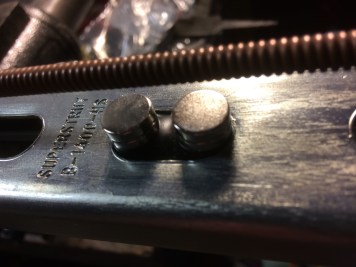
The nut and bridge are made of stainless steel pipe clamps. I wanted to attach the nut and bridge since the vibration of the large string made it difficult to keep a bolt or other material in place by the force of the string alone. These clamps work perfect for the string size and allow for a proper action. Additionally, I added a u-bolt at the back of the nut and bridge. There was very little tension holding the string in place—the u-bolts worked to create a more focused sound.
Fretboard:


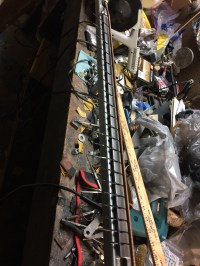

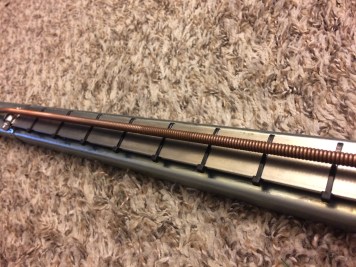
The fretboard is a length of 1/8″ x 1″ steel. It is adhered to the strut with neodymium magnets, which raises the height of the steel just slightly, making the application of zip tie frets possible. I’ve always wanted to try zip tie frets, but I was unhappy with the zip tie being around the back of the neck—this allowed me to place the zip ties around just the steel bar, leaving the back of the strut smooth.
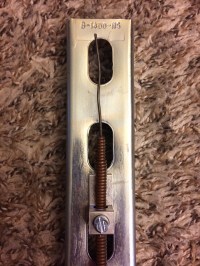
Pickup and Output Jack:

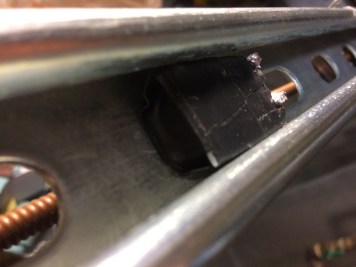
The base coil of this pickup is the same as the Nd144 Electromagnetic Cigar Box Guitar pickup, but I had to modify it to allow for a proper fit. The plastic on the bobbin had to be trimmed to the coil and I used slightly larger neodymium magnets that fit within the slot in the strut.

Nothing special about the 1/4″ output jack. I installed it close to the bottom, with some odds and ends, so that it was out-of-the-way and close to the pickup.
Here’s a quick and dirty video featuring my Peavey bass stack from way back:
(VIDEO PLAYBACK REQUIRES HEADPHONES—SMART PHONE SPEAKERS CAN NOT ACCOMMODATE LOW FREQUENCIES)
Thanks,
![]()